• Art - Blog - Creativity

    Acrylic pouring

    Ever heard of acrylic pours? I hadn’t until a couple months ago. I watched endless streams of YouTube videos on the process. It looked like something I could totally get into given time, space and willingness to get messy. Two out of three aren’t bad.

    I did manage to eek out some space to at the very least make due so I could try this out.

    My very first attempt I used red, orange, yellow and white with Golden polymer gloss medium. Some videos use silcone or WD-40 in the mix as well but I am not a fan of using any sort of aerosol in the house especially in my minimally ventilated basement. acrylic pour
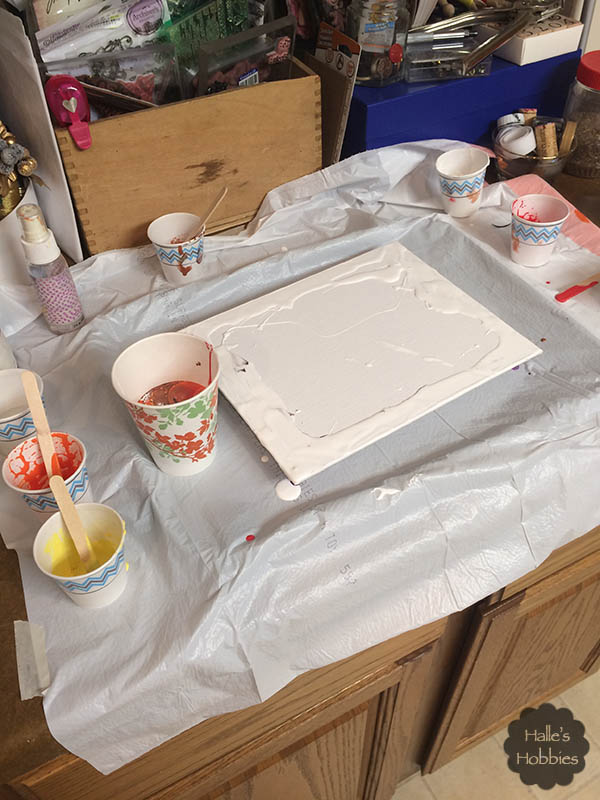
    I’m pouring onto a previously used canvas board that I coated with gesso. I put a bit of white paint around the edges to hopefully assist with the paint moving all the way out to the edges.
    acrylic pour

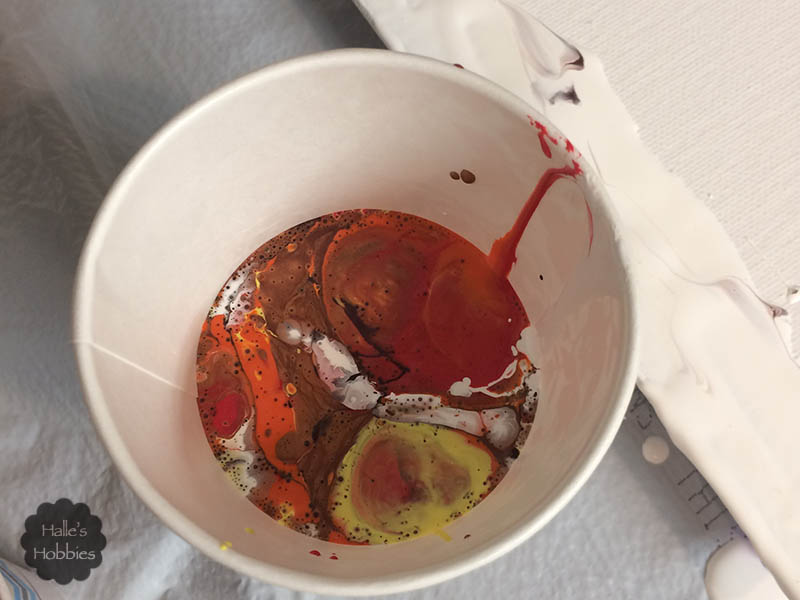
    I did what is called a dirty pour. You dump each of the premixed paints into the pour cup in alternating fashion. I really had no idea what I was doing so I just poured them as I felt like at the moment. I then turned the canvas board upside down over the cup and flipped the whole works over. Flip cup technique OR dirty flip cup technique as some have coined.

    acrylic pour

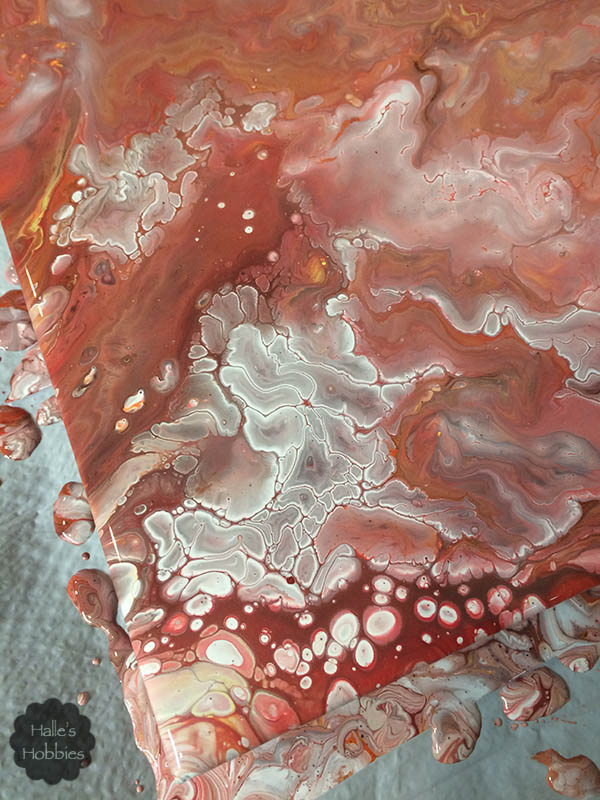
    I was amazed at what happened. The colors mixed and migrated. Color bubbled up from underneath.
    acrylic pour

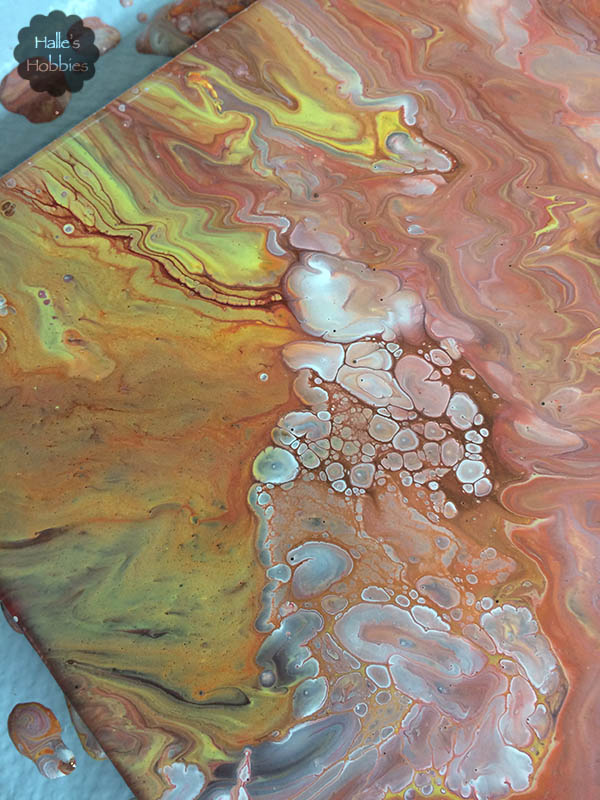
    It was mesmerizing. Even the paint that flowed off the edge was beautiful.
    acrylic pour

    These colors made me think of agates…especially Lake Superior agates.
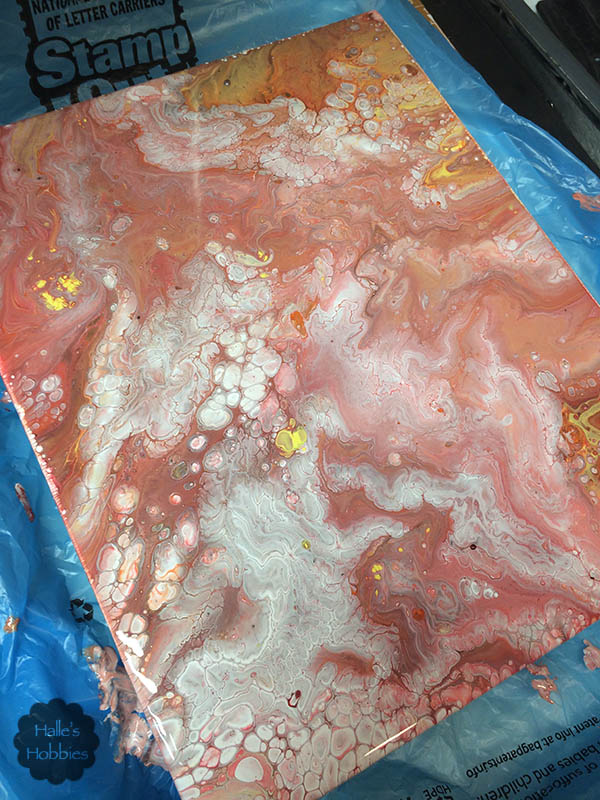
    acrylic pour

    When I moved the canvas to allow it to dry I ended up losing some of the magic. I fear the secondary location wasn’t completely level so more paint rolled over the edge than I had wanted.
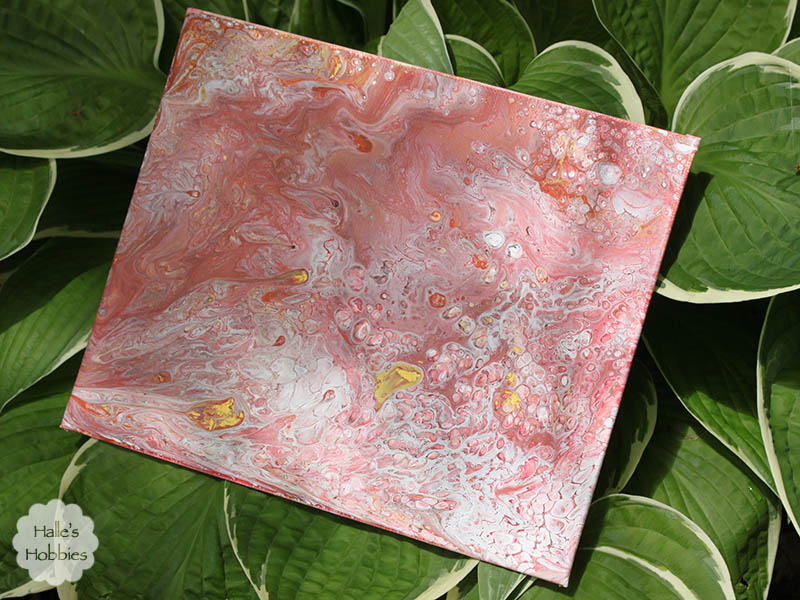
    acrylic pour

    Here is the end result. A little more pink than I’d hoped but interesting none the less.

    I’ve created several more and even took a video of part of the process on one attempt. I’m pretty sure its my favorite end result. It’s so darn fun. I’m experimenting with cheaper pouring medium. I’ve only had one big failure and guess what!?  I just did another pour straight over the top of it.

    More to come…I promise.

  • Art - Creativity

    Remember the summer

    I’m back from vacation! It was wonderful…mini-me and I had a great time. Now that I’m caught up on laundry and all the other not so fun stuff once you get back home, I wanted to get creative again.remember the summer

    I dug into my scrap bucket for inspiration. The background paper started out lavender…some distress paints did the trick on toning that right down.

    I’ve been very drawn to blue/orange combo lately. It’s bold and exciting. remember the summer

    The tickets attached to the page are from a family road trip in the early 1980’s with my parents. Amazing that mom still had those little bits squirreled away in a box of memories for so many years. The colors fit perfectly and cemented the direction I was headed with this page.remember the summer

    The tangible bits of ephemera brought the memories alive within my head. I knew I had to use them and remind myself to remember that summer.

    Linking up with Art Journal Journey for Summertime Love

    Art Journal Journey
  • Around home - Blog - Outdoors

    T Tuesday: landscaping edition

    Last week we had a beautifully cool, breezy, low humidity day. Outside projects were definitely on the docket. The biggest of these was replacing landscaping. This has needed to be done for quite some time.

    Here’s a photo from 2 years ago…T Tuesday: harvest edition| Halle's Hobbies

    The log border was already starting to get a little wonky. Fast forward two years and it was rotting away.

    Now it looks like this! Mini-me and I did this one ourselves. The edging is recycled rubber. Nice and flexible to bend  and form to what your little heart desires. We had a couple of surface tree roots to contend with so we just made sure to line things up so that I wouldn’t have to pound a stake through the root. 

    I did end up going through what I can only assume was root a couple inches underground on the back side of this flower bed.

    We were so happy with how nice this one looked and how easy it was to install that I went back for more material to fix up another eyesore area in need of upgrade.

    I’m not sure if you can tell but along the right side of the photo is some black edging that was basically laying down…definitely not how we installed it so many years ago. Frost heave has done a number on it.

    Now it looks like this….

    Complete with a couple new perennials.

    I love how this looks so much!

    Since at least half of the black edging pieces were still salvageable, I put them around my water barrels.

    That is kind of our haphazard area. Mismatched pieces of this and that have all found their way over here. It all works though. Now if we’d only get some rain to refill my barrels.

    So after a hard days work a little refreshment is always in order.

    Just a couple more days of taxi driving for volleyball this week…then two weeks off before it starts up again…everyday. Mini-me and I are also getting ready for a little trip north. The boys are too busy working to come with us. I’ll be sure to share that adventure in a couple weeks.

    What are you doing today?

    Oh and just for you Chris…