• Blog - Creativity

    DIY workstation ironing board

    Lately I’ve been feeling the urge to make another quilt. A fun, random scrappy quilt. A real scrap buster quilt.  I have several totes full of fabric. I’d say about 1/3 of it dates pre 1980’s. Of course not old enough to be really cool retro fabric…just that awkward 70’s fabric that really doesn’t mesh well with today’s patterns. However I do believe it will work well in a scrappy quilt because it will be small pieces and hey, its scrappy.

    One of my main issues with quilting in my current space is that I don’t have room for both a cutting station and small ironing board. It’s one or the other so usually I set up my tabletop ironing board on the game table and am constantly walking back and forth.

    sewing space

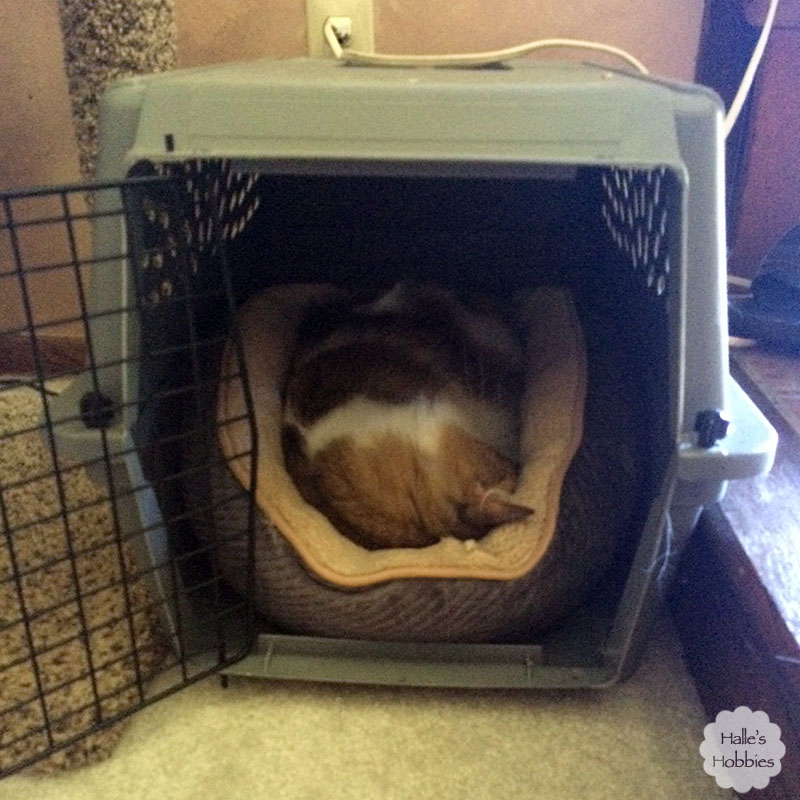
    Marvin is also an issue. He is not good about obeying the rule of no cats on the table. It’s a constant battle with him. I’m afraid he’s going to either burn himself or knock the iron down and have it burn the carpet. Either way it’s bad.

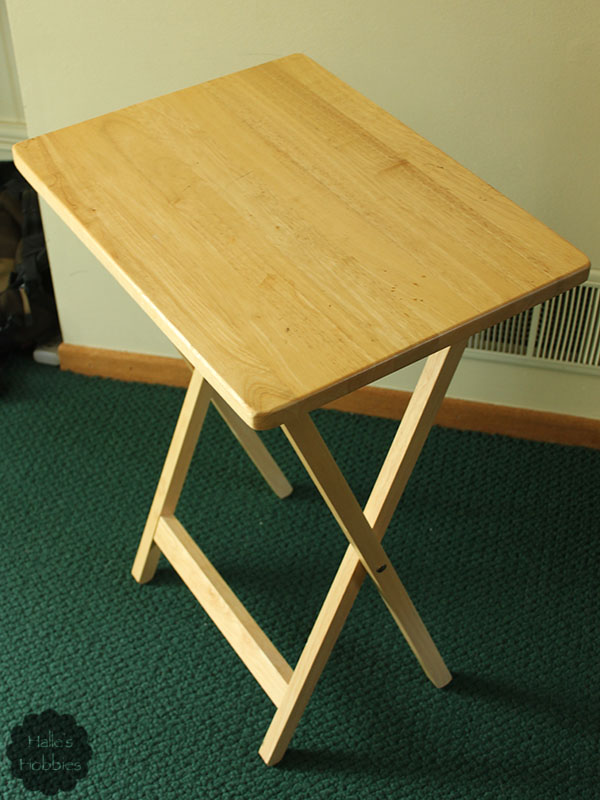
    While browsing around at Goodwill I saw this wooden TV tray for $3.99 and was inspired to create my own ironing board that is perfect height for ironing while remaining seated and folds away when not needed.

    DIY workstation ironing board

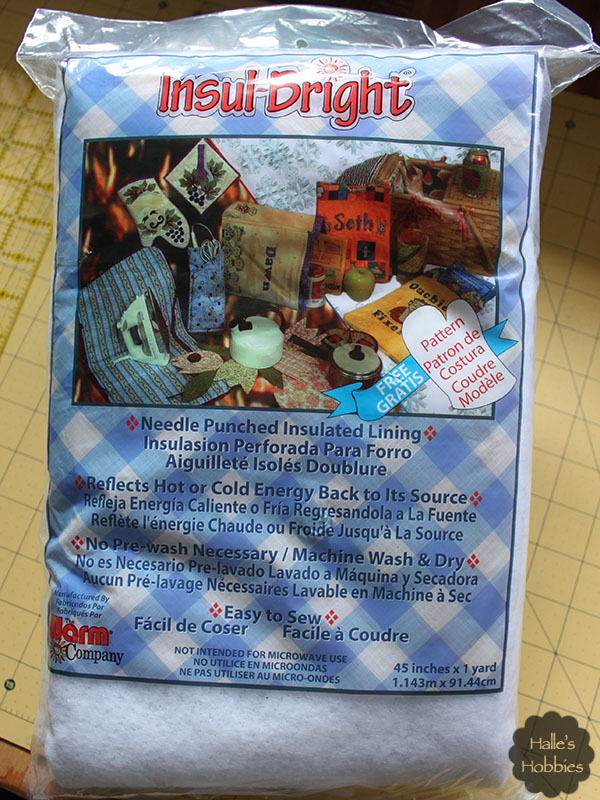
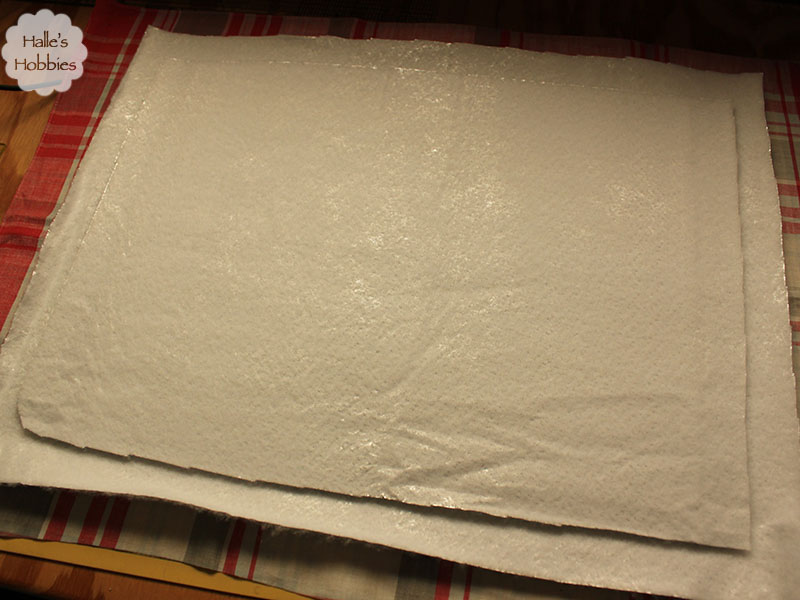
    I knew I needed special batting for this project. I researched a bit then found the product I needed on Amazon.

    DIY workstation ironing board

    At this point I turned my TV tray upside down onto the batting and traced around. I then cut another piece of batting about 2 inches bigger so it would wrap around the outer edge of the tray. I then cut a piece of vintage tablecloth about 3 inches bigger than the previous batting piece. I just eyeballed all the pieces….you know me, I hate measuring.

    DIY workstation ironing board

    I used a staple gun to attach it to the underside of the TV tray in the same way you’d upholster a chair seat. You basically alternate stapling from side to side pulling the fabric tight as you go leaving the corners for last. The corners are mitered by folding then stapling. There are lots of tutorials and how-to videos out there for this if you’ve never done it before.

    DIY workstation ironing board

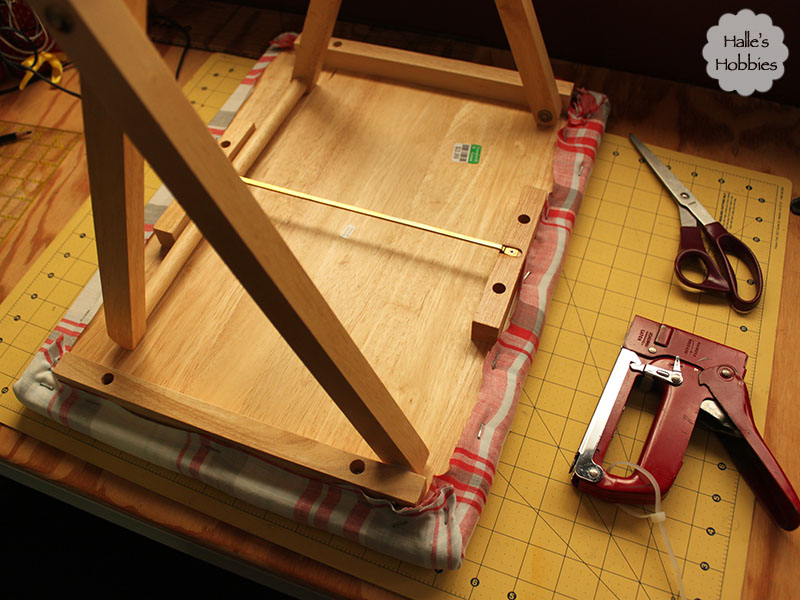
    After getting the fabric stapled down good and tight I used my scissors to trim away any extra. The underside isn’t really ever going to be seen so I don’t care if it’s perfect.

    DIY workstation ironing board

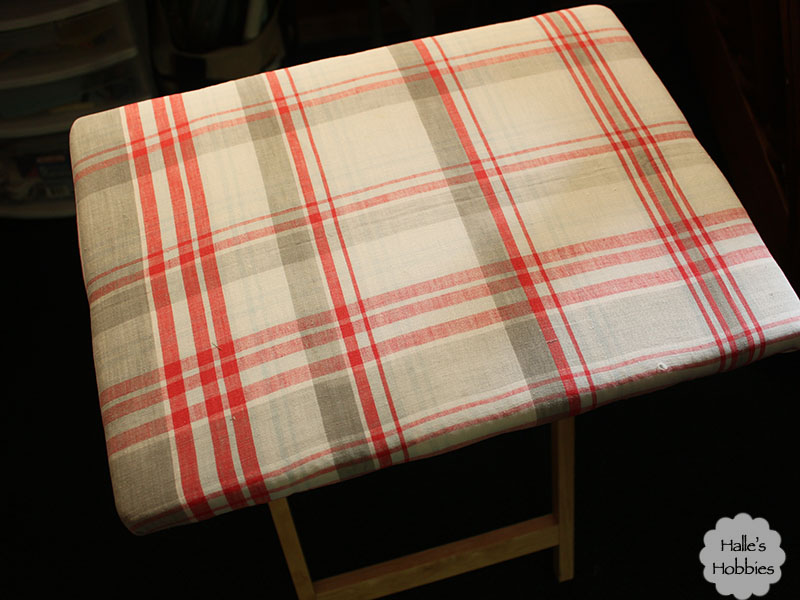
    Ta-da! Now I have my new work station ironing board and no excuse not to get to that scrap busting quilt.

    DIY workstation ironing board

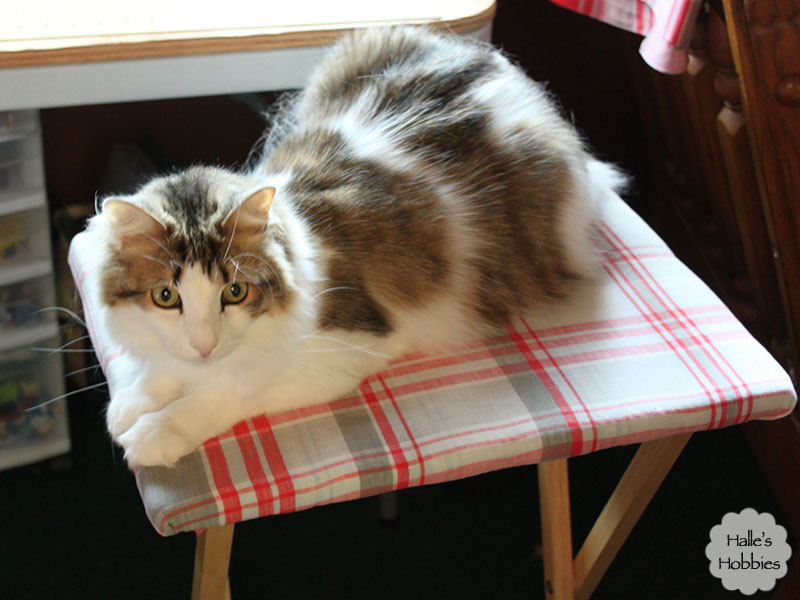
    Or have I just made an upholstered cat stand? What a turkey!!

  • Art - Blog - Creativity

    T Tuesday: painted poppies edition

    I was really hoping to share a video today for T stands for Tuesday but I’m having trouble with it. Perhaps next week. Instead I’m going to share the canvas painting I did yesterday.

    IMG_1415

    I’m fairly happy with how it turned out. I must admit though after I was interrupted by a phone call I had to take, my painting mojo kind of wavered. I’ll likely do another as this one has already been claimed.

    After painting and a cup of green tea….

    IMG_1408

    I was energized so I got to work cleaning and organizing some spaces that have been on the list for a while. No photos…bummer.

    IMG_1404

    After following me around for a while Marvin was exhausted and put himself to bed in his kennel. This where I put him when he comes in before the alarm wanting to talk about things. I’m not interested in talking about things before the alarm…at all… I carry him downstairs and stick him in the kennel. He settles right in and is fine with it…and quiet until I actually get up. He may look small in here but keep in mind this is a dog kennel…not the tiny one either. Its the mid-size one.

    Today is another action packed Tuesday. It’s the last Tuesday before school starts. Summer is all but over.

    What are you doing today?

  • Art - Blog - Creativity

    Impressionist poppies

    Yesterday a recommended video came through a YouTube update email. Normally I ignore those but this one combined with the fact that I actually had the time to watch one made quite the impression…or perhaps that should be impressionist. *wink* Thanks Jane.

    I was instantly inspired to give this technique a try. This also gave me an excuse to start another journal. Yeah I know…like I really need another journal. This one is actually a Creative Memories scrapbook album.

    album turned journalI decided to get real with myself.  I’m never going to scrapbook. And certainly not in this album. It’s the same as some of those clothes in my closet. I’m never going to wear them so why have them unless they can serve another purpose.

    Since Creative Memories albums have a metal edge on each side of the page, I decided to cut a piece of scrapbook paper down to the proper size to fit in between. IMG_1391

    I had originally intended that some of the original pattern would show through but evidently I was heavier handed with the paint than expected.

    Impressionist Poppies

    I created the page in a similar manner to that described in the video. I really like the result. I’m not into recreating others work but I do really appreciate the inspiration and willingness of others to teach and share.

    Mini-me saw my practice page and said she’d really like a painting of this in her room.

    Impressionist Poppies

    I think it would really look great on the grey walls. I’m sure there will be a few more practice attempts before the real deal on canvas.