• Blog - Crafts - Creativity

    Gnome ornaments

    I always like to have a little something to give to friends… usually it’s handmade…what else would you expect from me.
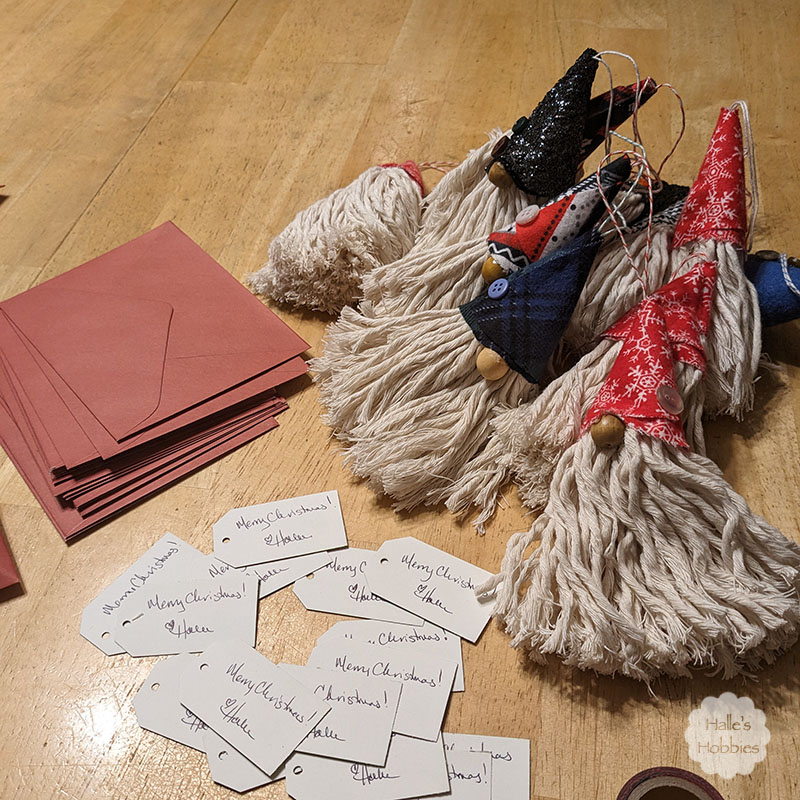
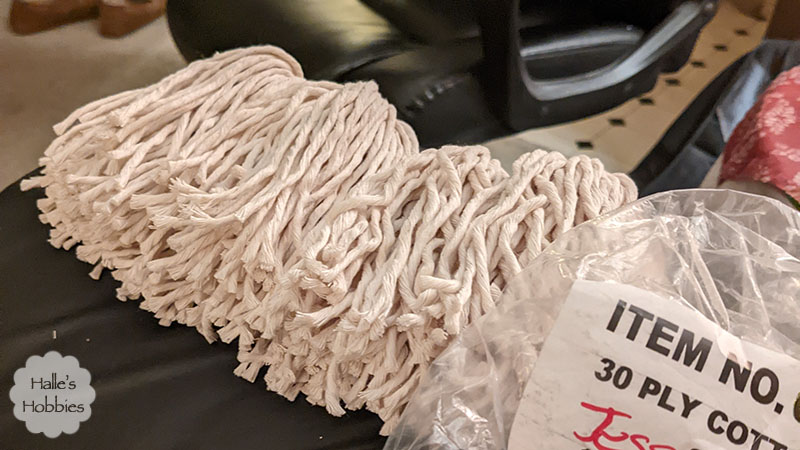
    Mini-me brought home a large spool of kitchen twine that she had used in an art installation last year. I wasn’t sure how we were ever going to get through all the yardage until I started making these cute gnome ornaments.
    I was inspired by a Pinterest video. https://pin.it/4wRPmea

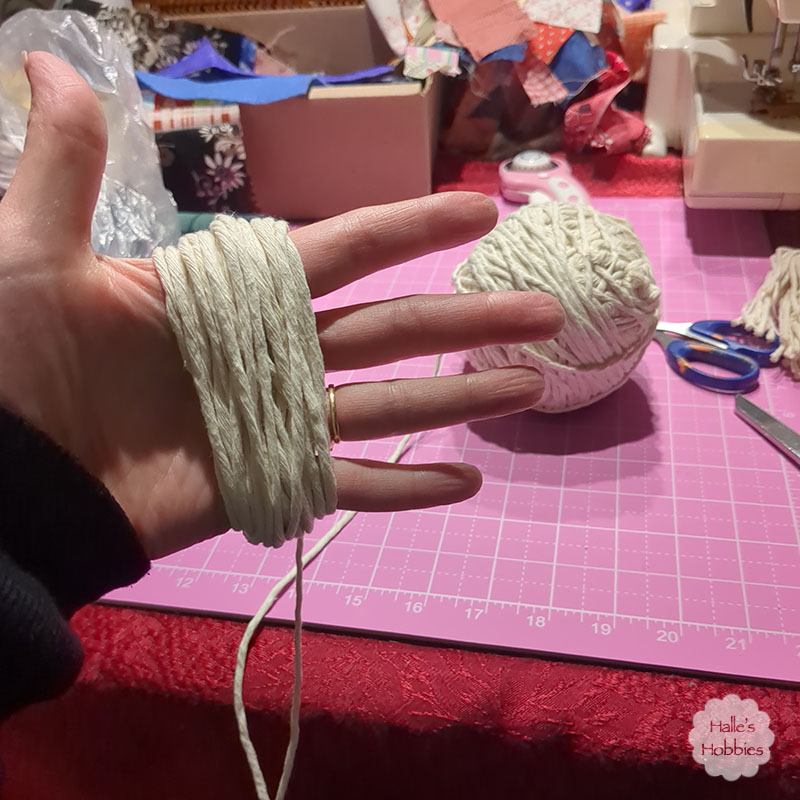
    I wrapped the kitchen string around my hand until it felt thick enough. I tied the middle then slipped off my hand and cut the opposite side from the tie. I then tied a loop of bakers twine to serve as the hanger before beginning work on the hat.
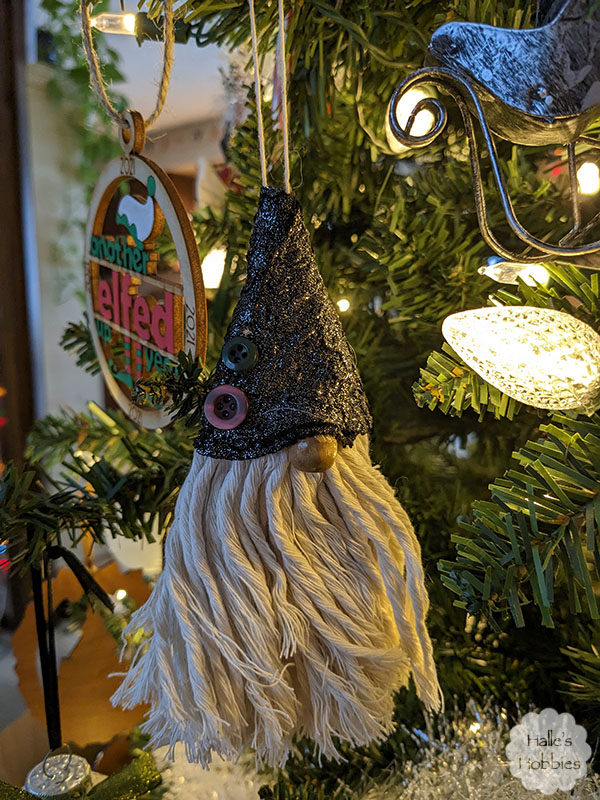
     I made a circle template with a bowl then cut it in half. I used scraps of flannel from my stash for the hats. After rolling my half circle of flannel into a cone shape.  I used a hot glue gun to adhere first the hat together then stick the hat to the gnome body being careful to thread the hanger loop through the top of the hat. I then added a coordinating button or two to the hat and a wooden bead tucked up under the rim of the hat for the perfect gnome nose.
    Thankfully I also have a stash of wooden beads to make the noses.
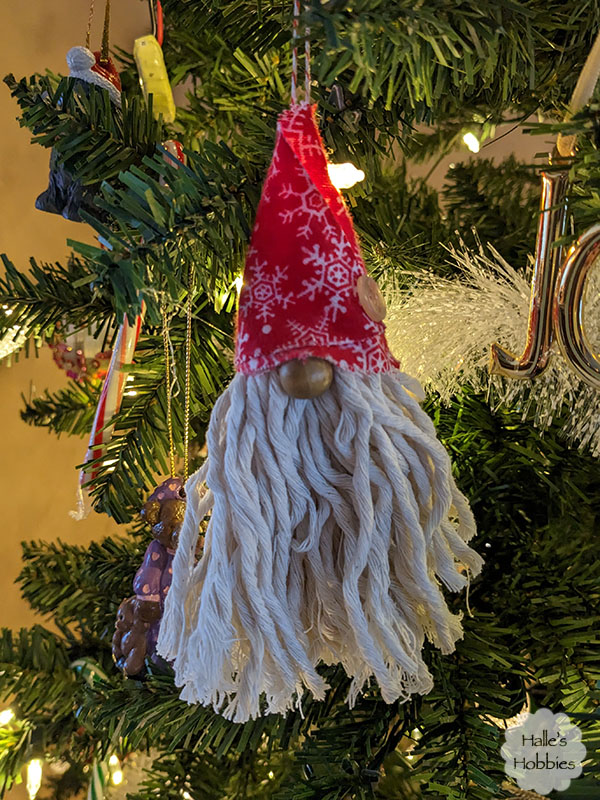
    They turned out so cute and I used up the whole spool! Renew, reuse, recycle. ♻️

  • Blog - Crafts - Creativity

    Small journal love

    I was recently inspire to create some new journals. These are single signature journals.

    I’ve never thought to create small journals such as these but I realized that these are going to come in very handy.

    I used scraps of heavy fabric for the outside of the cover and recycled posters for the inside of the cover.

    The denim cover is from a pair of jeans that my now college-aged daughter wore as a preschooler.

    Since the embroidery was so cute on it, I saved the leg. Waste not, want not.

    I used about 15 pages of various papers for the signature.

    I wasn’t worried about them all being exactly the same size, in fact, I prefer that there is some variation.

    The rose on the left is a digital creation of mine. I had a group of mine printed at Kinkos to make sure that they would print properly if I were to sell them as digital downloads. I have not taken that step yet but maybe someday. In the meantime, I have some fun and uniquely me pages to play with.

    The right side has one of the tags I have created from the masterboards I’ve been creating with scraps. I like to stitch around them both for interest and to secure the edges.

    Here’s yet another tag slipped in a side tuck on the page. The tuck is from my stash of mini colleges. Also a scrap busting project.

    Both masterboards and mini colleges are things that I tend to do when I’m lacking that creative spark. They are quick, use lots of scraps and are great to have around for later projects.

    Here is yet another example of both being used on one page.

    Attaching an envelope to the edge of a page then folding it to the back creates a fun flip out that can hold a secret note or photo or whatever you want to tuck away for safe keeping.

    I’m really having fun with these journals. They are quick, no pressure of strict theme, multi use and just really darn cute.


  • Blog - Crafts - Creativity

    Panda pillowcases

    When I spotted some panda fabric at local quilting store I just had to grab it. Mini-me loves pandas. I thought I’d make her a cute accessory for her dorm room.

    My neighbor has been making beautiful custom pillowcases for family and friends over the summer. I’ve been admiring her handiwork. I happened to be with her at this particular quilt shop and guided me on how much I needed to purchase for a set of pillowcases.

    After giving me a brief verbal tutorial, she passed along the YouTube video tutorial she followed to create very professional results with French seams.

    I tried to snap some photos along the way but honestly without the video, my photos may not make a whole lot of sense. Not being one to try to recreate the wheel…and really just wanting to get these made…I didn’t take enough photos to create a tutorial of any sort.

    Sausage rolled fabrics that had me questioning my sanity.

    I’m mainly sharing my images to of course show off the cute fabric, but also to show how crazy this process seems and how you may fear you are doing something wrong…but don’t worry…it all comes together in the end.

    Again, this had me questioning my sanity…closing the seams with right sides out and raw edges exposed. All I have to say is, patience…follow the process…it will turn out right in the end.

    I love this little detail. A small tab of contrasting fabric.

    And here you have them…perfect French seam pillowcases…no exposed seams or raw edges. It’s a kind of magic especially when you think about the fact that I only sewed three lines of stitching, Crazy!