• 3D printing - Blog - Creativity

    My style notebook

    I am a prolific list maker and idea jotter. I am constantly grabbing a sheet of notebook paper to quickly write my ideas. It gets a bit chaotic with some many pages of half crossed lists laying about. I started thinking that if I could have a smallish notebook with me that I could keep everything in one place.

    This idea, like so many others, has been rattling around in my head for a while. Lately I was inspired by an image of a stack of small pamphlet stitched notebooks on Pinterest. That in combination with a Readers Digest Condensed book cover I had in my stash and thinking of the function of a travelers notebook I put the three together to create my own version to better suit my needs.

    As I said before, I constantly have papers to jot ideas or work things out visually. Such as this drawing on how I wanted the elastics to work in the spine. Originally I was going to have 3 signatures to my book but after drawing it out I realized that I’d need 4 to have the elastics at the same end of the book.

    I used my new book cradle to assist in the binding process. 

    Mr. G 3D printed and assembled this very sturdy tool for my bookmaking. In the past I’d used an old phonebook for this process with very mixed results.

    This book cradle makes it a breeze to accurately make holes in the spine with an awl. The results are perfect.

    I added a but of reinforcement to the spine of my gutted Readers Digest Condensed book.

    Then used eyelets to reinforce the holes for the elastic cording.

    A bit of lace covered the unsightly bits quite nicely. All that was left was assembly.  And the glamor shots.

    Anyone remember Glamor Shots at the mall circa 1990s? Oh yeah… I have some cringe worthy photos from that place. Faux fur stole and white gloves…geesh. Sorry…ADHD squirrel moment!

    The glamor shots…

  • Art - Creativity

    Junk journal pages from long ago

    Technically these aren’t super long ago… but a couple months old. Honestly, with the way this winter is dragging on and on it still feels a bit like January-February. It’s all just a cold white blur.

    My wonky junky journal is getting super thick. I’m on the last signature and am trying to be a bit more aware of the thickness of embellishments I am using. 

    I hadn’t realized that I never posted any of these pages. Thankfully I was looking through the folders on my laptop and discovered my error.

    I love the colors in this one. I was certainly wishing for warmer days when I created this one.

    This page has hidden journaling about my baby girl turning 20! What in the world…that just isn’t possible.

    Again with this page I am wishing for springtime. How foolish I was to think it was coming anytime soon.

    I used a scrap of fabric to make a little fabric flip to hide a bit of journaling.

    When I finished this page I realized that my date stamp ended with 2022. I had to improvise. Since then I ordered this new date stamp. My problem is solved until 2032.

  • Blog - Crafts - Creativity

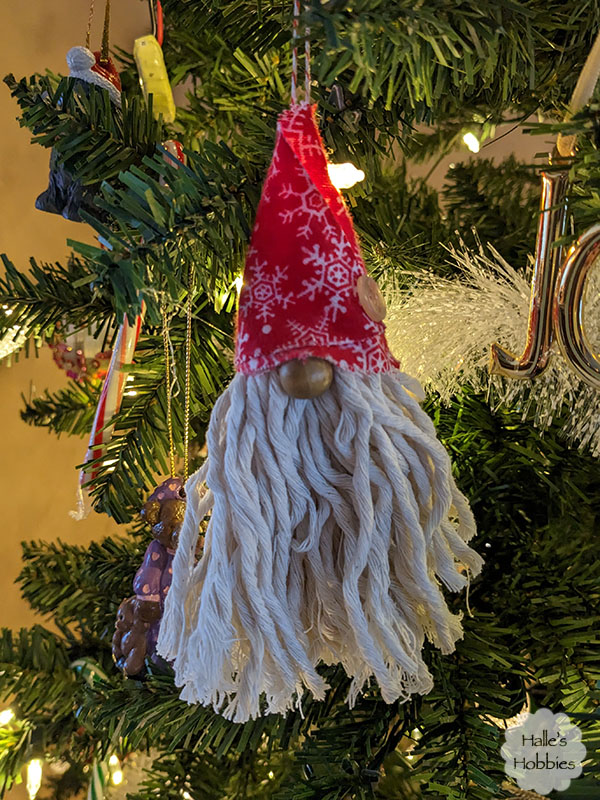
    Gnome ornaments

    I always like to have a little something to give to friends… usually it’s handmade…what else would you expect from me.

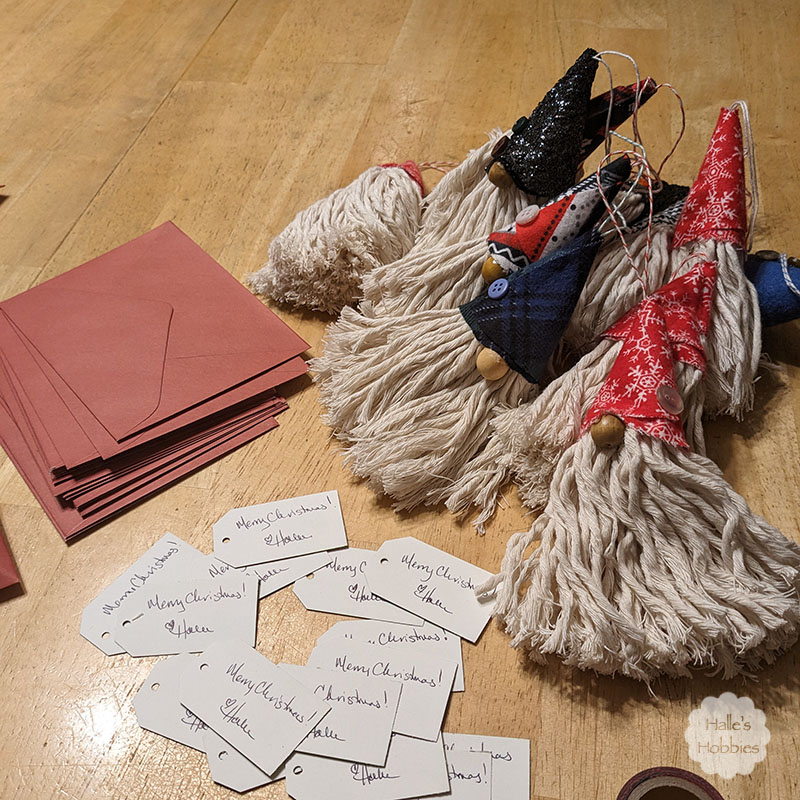
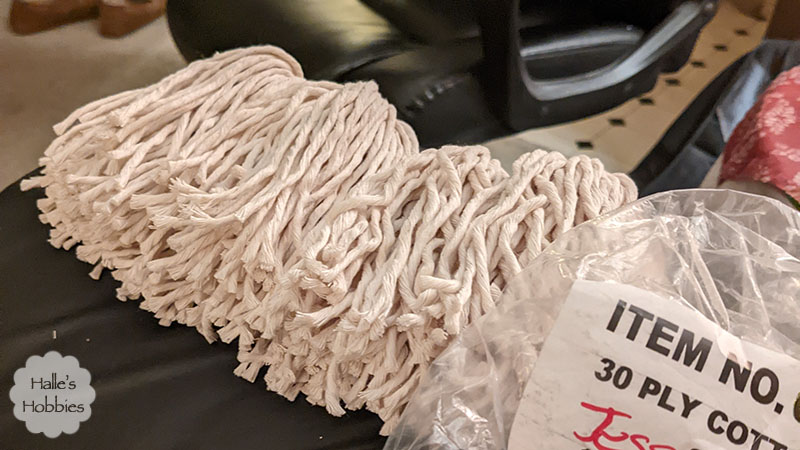
    Mini-me brought home a large spool of kitchen twine that she had used in an art installation last year. I wasn’t sure how we were ever going to get through all the yardage until I started making these cute gnome ornaments.

    I was inspired by a Pinterest video. https://pin.it/4wRPmea

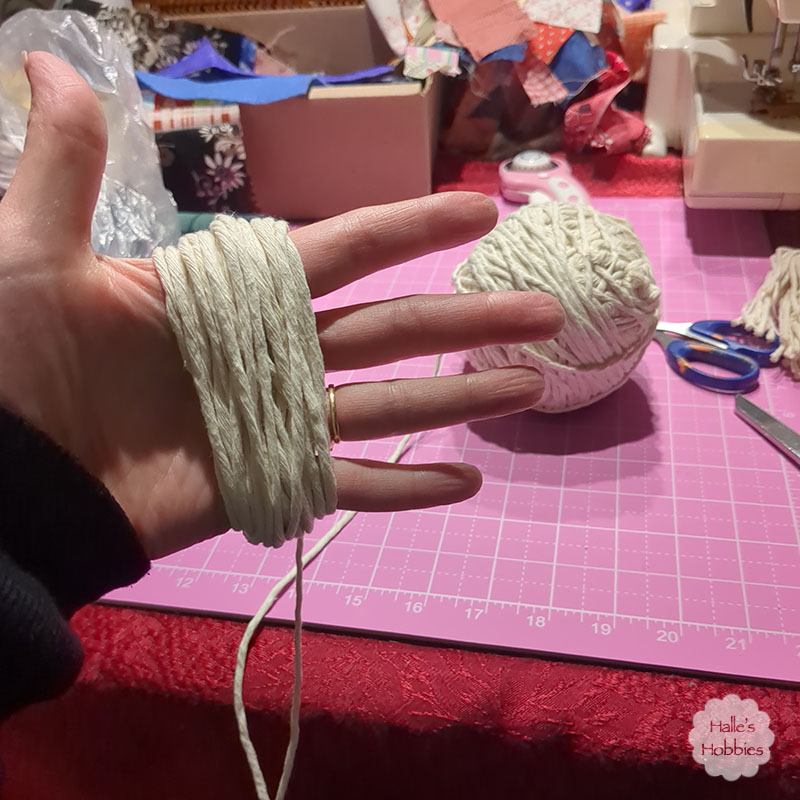
    I wrapped the kitchen string around my hand until it felt thick enough. I tied the middle then slipped off my hand and cut the opposite side from the tie. I then tied a loop of bakers twine to serve as the hanger before beginning work on the hat.

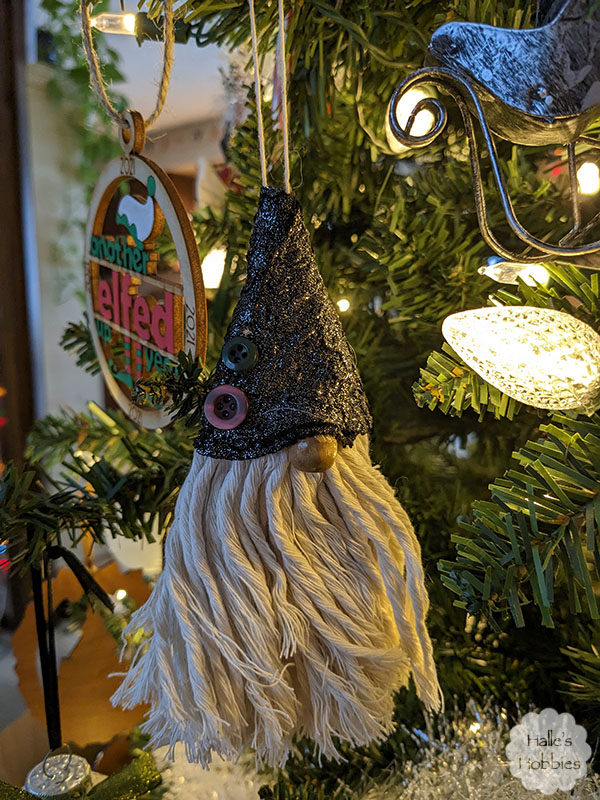
     I made a circle template with a bowl then cut it in half. I used scraps of flannel from my stash for the hats. After rolling my half circle of flannel into a cone shape.  I used a hot glue gun to adhere first the hat together then stick the hat to the gnome body being careful to thread the hanger loop through the top of the hat. I then added a coordinating button or two to the hat and a wooden bead tucked up under the rim of the hat for the perfect gnome nose.

    Thankfully I also have a stash of wooden beads to make the noses.

    They turned out so cute and I used up the whole spool! Renew, reuse, recycle. ♻️