• Art - Blog - Creativity

    A second look: Sweet season journal page

    Today for Second on the 2nd I’d like to share one of my favorite pages of all time. Sometimes all the pieces fall into place just right. You reach a creative bliss. This was one of those times for me. Sure wish that happened more often.

    Take a look…eyes

    4/6/2013

    After our snow yesterday…yes you read that correctly…snow on April 5th, I guess I wanted to remind myself that a new season is actually upon us. It is Spring according to the calendar and before we know it, the weather will be hot and humid.

    When I started this journal page I had no idea where it was going.

    20130406_1706

    I spread my super thin, lame gesso over the pages in my Watkins cookbook journal then kept adding layers of paint and stamping.

    20130406_1705

    Next I wanted to try out some molding paste applied through a stencil…a technique I’ve seen several times on YouTube videos. I love the texture it adds. I’ll definitely be trying that one again!

    20130406_1708

    I used water and walnut ink to age this library card which is placed on top of a bit of a forest scene magazine page. Love it when things like that work out. Still looking for more texture I glued down a bit of flower trim.

    I am incredibly happy with the way this one turned out.

    20130406_1704

    And look..the sun is even shiny bright today promising that the season is actually changing.

  • Blog - Crafts - Creativity

    T Tuesday: coffee stained edition

    Welcome to another rousing edition of T stands for Tuesday where we grab a cup a and share what we’ve been up to. I’m taking a bit of liberty with that rule this week and I know our wonderful host, Elizabeth, won’t mind a bit.

    Before we begin I must apologize for the poorly lit photos. My laundry room/craft room has both florescent and incandescent lighting. Choosing the right filter for proper lighting is nearly impossible.

    Now on with the show…

    As I was cleaning out the school supply shelf which holds both new and partially used supplies, I happened upon a spiral bound sketch book from one of the kids elementary school days. The cover and drawings were long since gone, the spirals smashed and many pages crumpled. I decided to salvage what I could before the whole thing ended up I the recycle bin.

    T Tuesday: coffee stained edition | Halle's Hobbies

    So now what. I thought binding them into a journal would be a good choice but boring white pages have never made me want to use them them. Aged pages always draw me in.

    This technique isn’t new, I’ve used it myself on many occasions. The one thing that really appeals to me is the randomness of dyeing or staining. You never know exactly what your going to get.T Tuesday: coffee stained edition | Halle's Hobbies

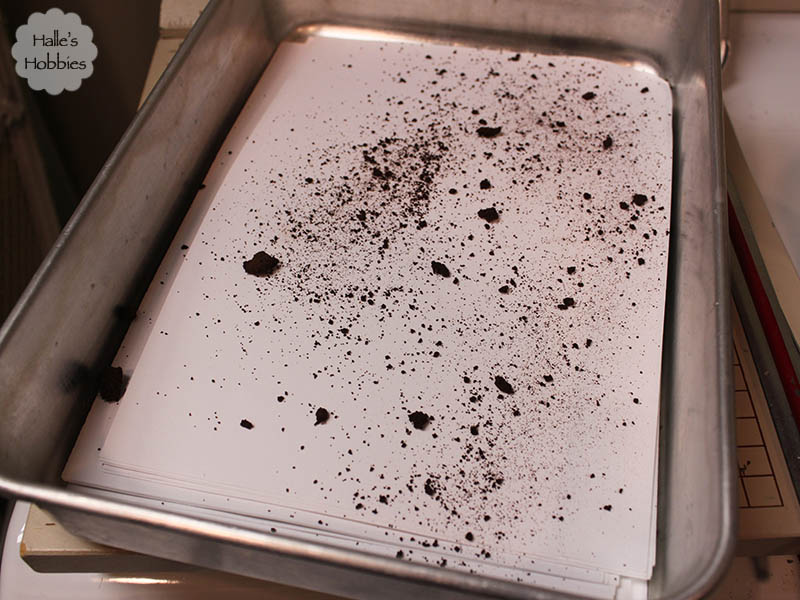
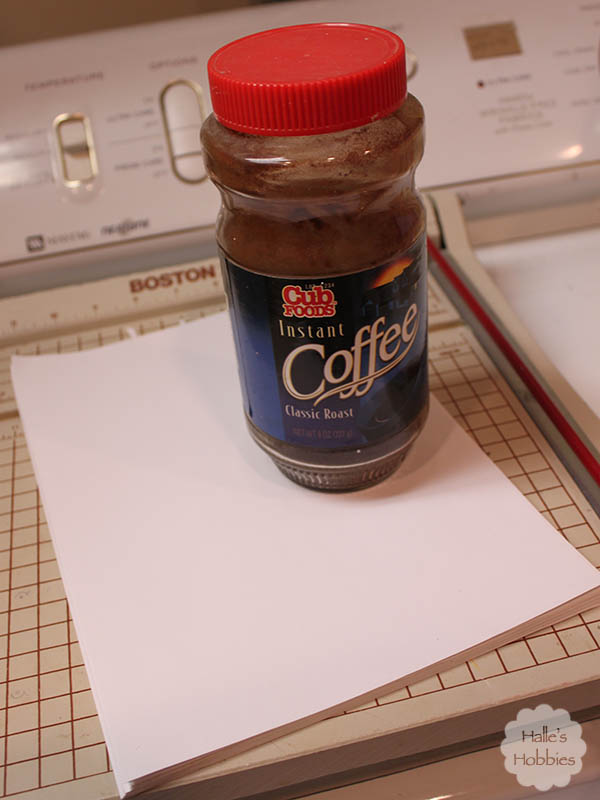
    Since I had a large stack of papers I wanted to make sure that there was irregularity of staining throughout the pages. I sprinkled instant coffee grounds every few pages in the stack.T Tuesday: coffee stained edition | Halle's Hobbies

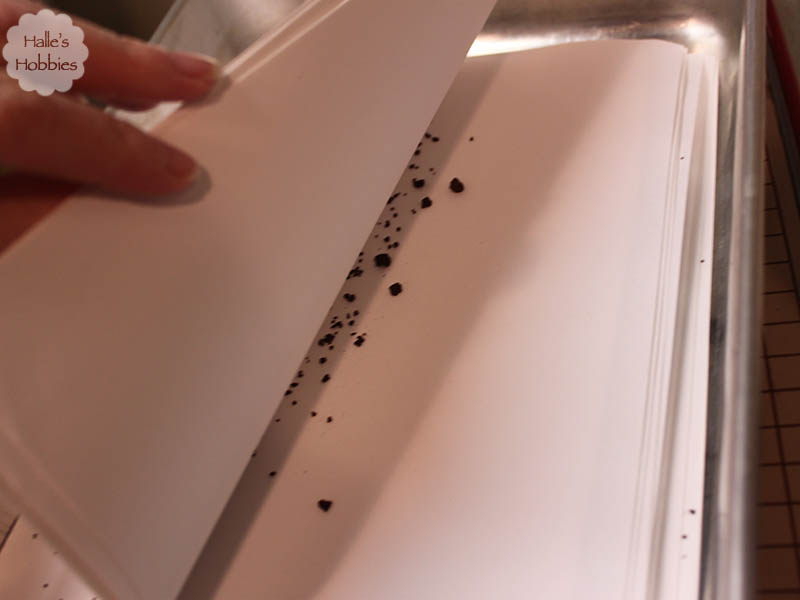
    I used a spray bottle to gently wet the coffee to start the staining process.

    T Tuesday: coffee stained edition | Halle's Hobbies

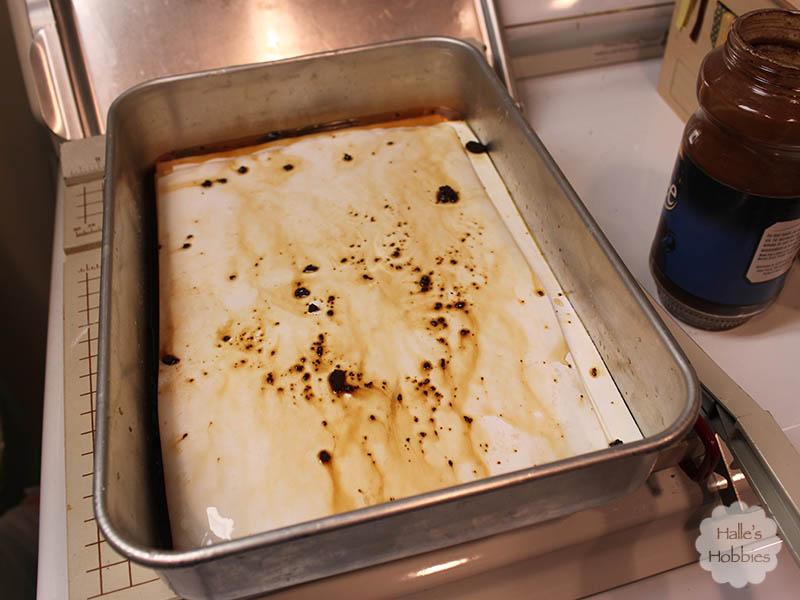
    After letting it sit for a while I poured in more water and used a second container filled with water to keep the papers submerged.

    T Tuesday: coffee stained edition | Halle's Hobbies

    I left the pages for a day…perhaps a little longer.

    T Tuesday: coffee stained edition | Halle's Hobbies

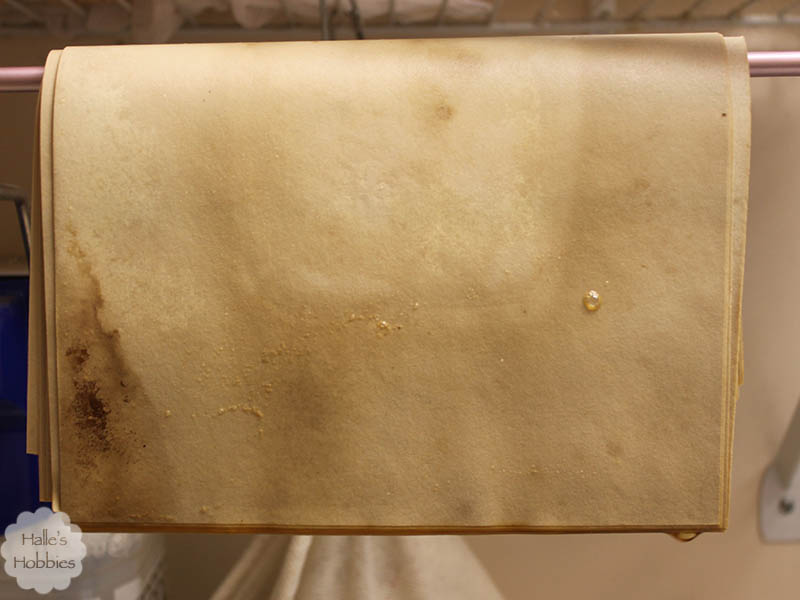
    Now I had a stack of really soggy papers. Since I don’t have the room to lay each out individually I had to come up with a quick and easy solution.

    T Tuesday: coffee stained edition | Halle's Hobbies

    I used old shower rings through the wire shelving to hold a metal knitting needle. They were able to drip dry over the laundry sink. Worked perfectly.

    T Tuesday: coffee stained edition | Halle's Hobbies

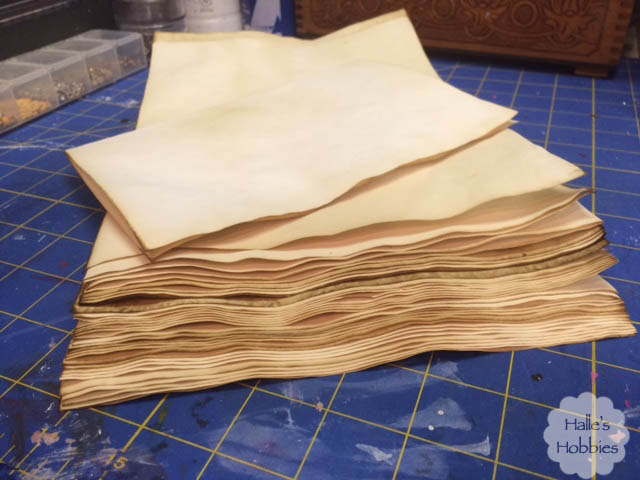
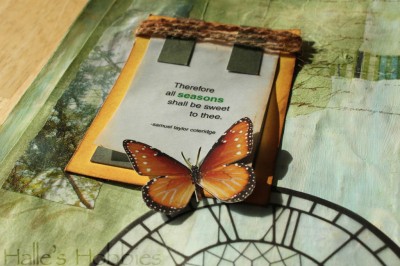
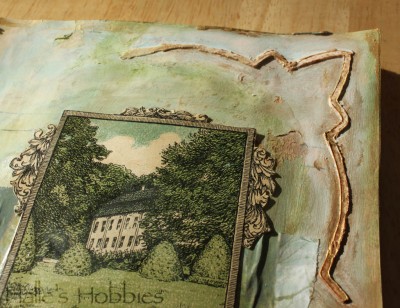
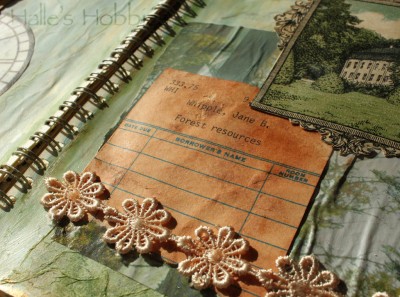
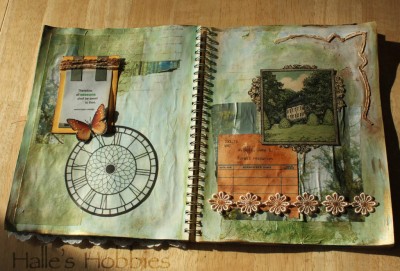
    Just look at those yummy pages…the color and texture really make me happy!

    T Tuesday: coffee stained edition | Halle's Hobbies

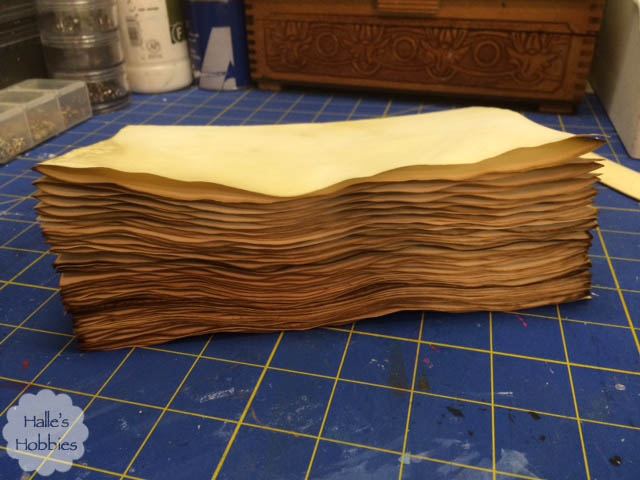
    Now that I’ve got them all folded I have to decide what sort of book I want to make. The last book I made with coffee stained pages really turned out well. I cut up a suede jacket for the covers. I’m pretty sure I used all of the suede while making some Ren Fest pouches. It is garage sale season though so I might just get lucky and find something that speaks to me. Until then I will set these aside.

    This should be my last really busy Tuesday for a while since most things are winding down for the summer break. I may start back with my knitting group occasionally which is Tuesday mornings. Of course.

    Today I’m meeting girlfriends for a birthday lunch. Gosh, lots of May birthdays. It’s the last little hurrah before school is out on Thursday.

    What are you doing today?

  • Blog - Crafts - Creativity

    Graduation card

    It’s grad party season…that means is card making time too. This year I decided it might be fun to use the school colors for each of the graduates especially since both of them are really active in athletics.

    I searched around on Pinterest for inspiration. I saw a few cards featuring tassels and thought that would be really fun. In fact it was the tassel in particular that prompted me to look up their school colors so it would be more meaningful.

    school colors graduation card

    I used my Cuttlebug with the Sizzix Bricked embossing folder to give the texture to the white layer of cardstock. It added that “school” look I was going for.  The tassel is embroidery floss. They are quite simple to make. I wrapped the floss around a card until I had the desired amount…personal preference here. I slipped a length of floss through the top and tied a knot. I then cut the bottom and pulled the card out. I cut another length of floss and tied it around bundle approx 1/4 inch from the top.  I poked a hole in the hat and threaded the top strings through and taped it to the back of the hat before mounting. I trimmed the ends nice and even to the desired length after attaching the hat. The hat was made using a 2 inch square punch which I then adhered with 3M foam mounting tape.  I also used the foam tape under the congratulations banner for interest.

    I have one more card to create but that one will be blue and yellow instead of the black and gold. I think I may create a few more in our school colors as well as long as I have the supplies out. I know I’ll be needing the eventually.