• Blog - Outdoors - Tutorials

    T Tuesday: worm tower edition

    T stands for Tuesday

    Today for this edition of T stands for Tuesday I thought I’d share a DIY project made from recycled pieces of the kids old play set.

    recycled wood worm tower | Halle's Hobbies

    I read about worm tower composting on Pinterest. It looked like a great solution for my raised bed garden. Most of the links I saw used a PVC pipe instead of wood.

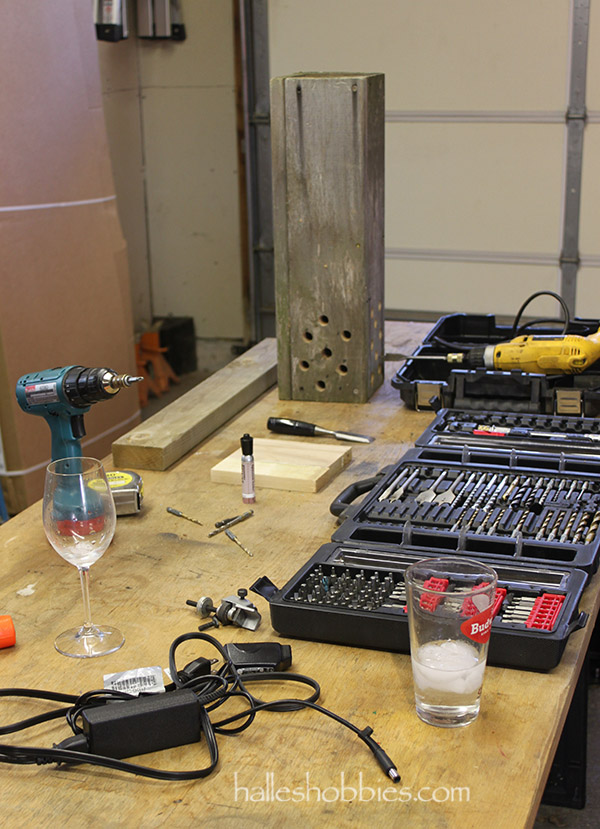
    Since we had scrap cedar laying around it seemed like a perfect use without spending any money. Mr. G did the construction and drilling of the holes for me after I explained my idea.

    recycled wood worm tower | Halle's Hobbies

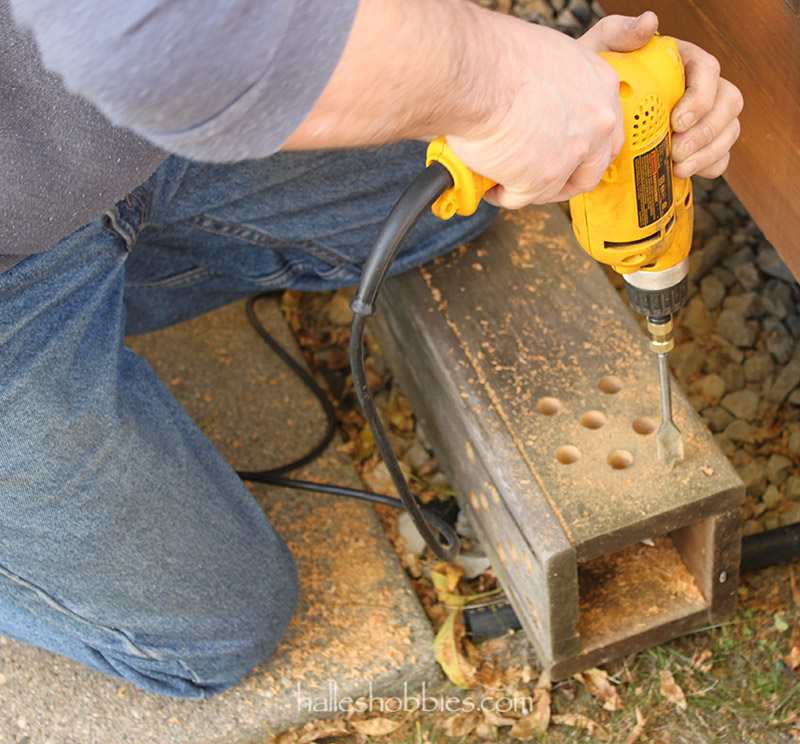
    The holes let the worms migrate in and out of the tower to spread the compost throughout the raised bed.  Isn’t that awesome…they do the work for me!

    recycled wood worm tower | Halle's Hobbies

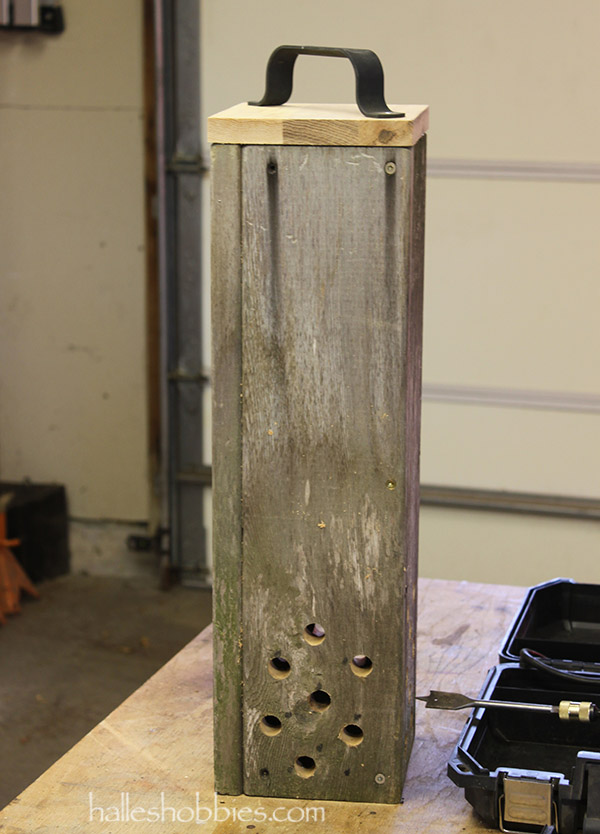
    We even had an old handle in the shed from the sandbox cover. A perfect fit for the lid.

    recycled wood worm tower | Halle's Hobbies

    Now it was time to  install … I dug down to the bottom of the box…well truth be told the box doesn’t have a solid bottom….just landscape cloth. I assume eventually that will rot away.

    recycled wood worm tower | Halle's Hobbies

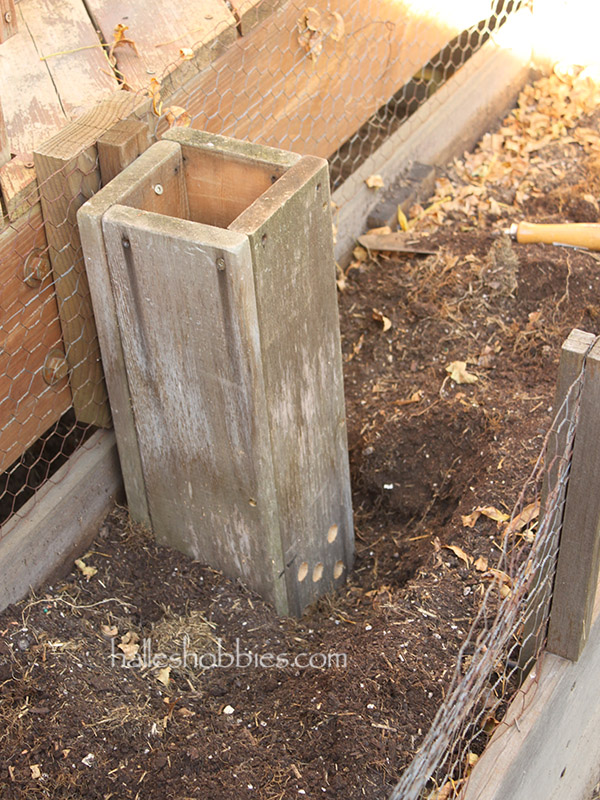
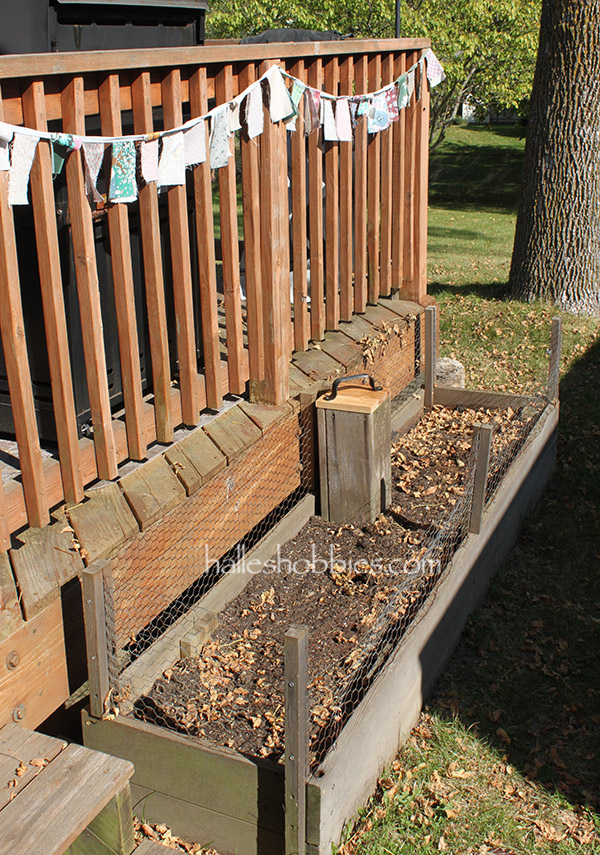
    I back filled all around the tower and attached it with one screw just in case some critter decided to try and mess with it. It looks like it’s always been there.

    recycled wood worm tower | Halle's Hobbies

    Now all I needed was some composting worms.  Amazon.com never ceases to amaze me with what I am able to order.

    recycled wood worm tower | Halle's Hobbies

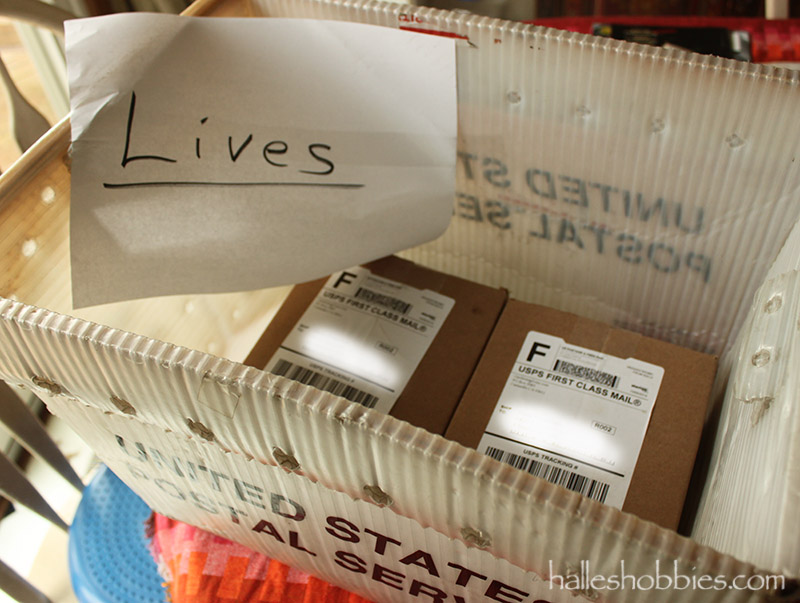
    This was a strange bin to find on my front step a few days later.

    recycled wood worm tower | Halle's Hobbies

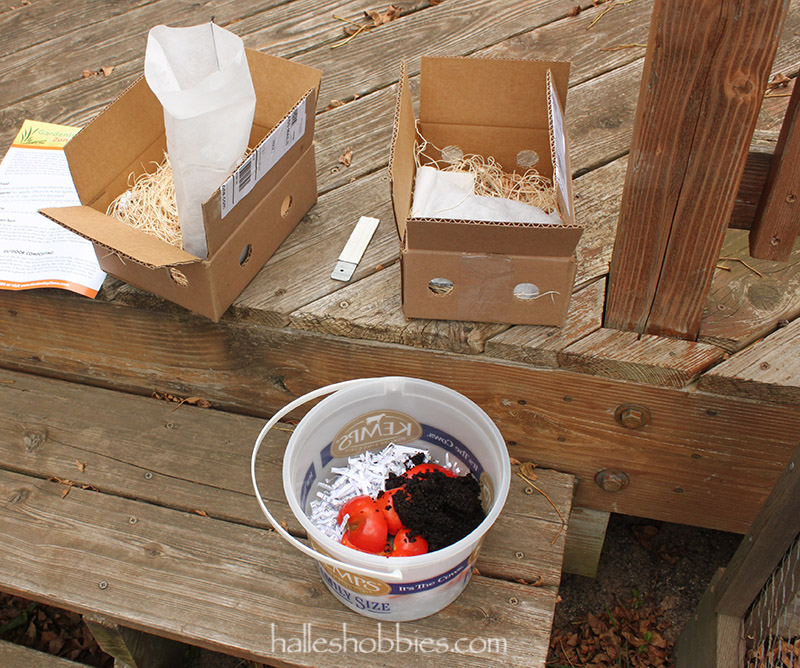
    I started saving kitchen scraps after ordering my worms. The paperwork that came with them said they also enjoy paper and cardboard. I grabbed a couple handfuls of shredded paperwork and started layering the material in the tower.

    recycled wood worm tower | Halle's Hobbies

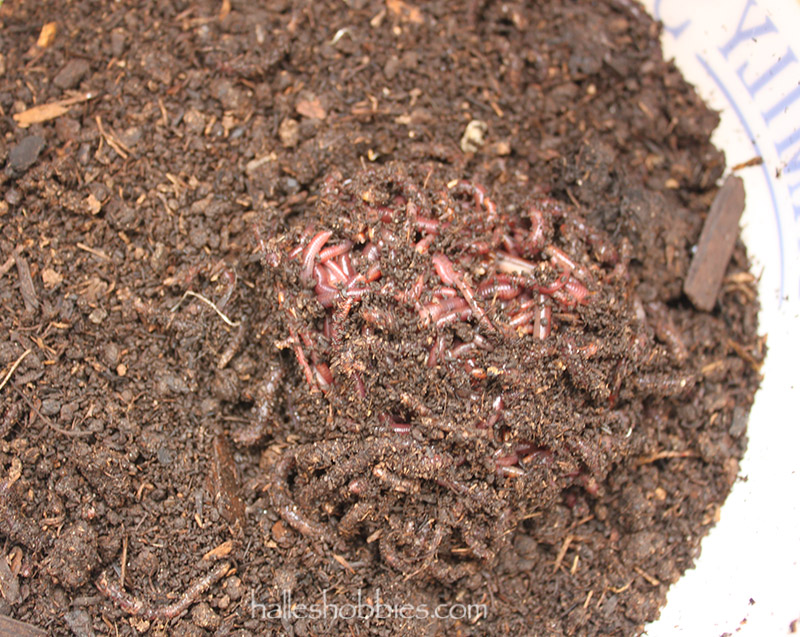
    Honestly I was worried about getting the worms…would they still be alive? Yep…red and wiggly. I have no idea if they will survive a Minnesota winter  in the garden and worm tower. From what I read they do have a good chance of survival.  Only time will tell.

    Do you compost? I’d love to hear about your system.

  • Art - Blog - Creativity - Tutorials

    Tutorial: Journal prep of a vintage book

    Since I was starting a new journal I thought I’d share with you my process for prepping the book.  First find yourself an old book that appeals to you. For me it was the size of this book. Not too small or too big… Just call me Goldilocks.journal prep5

    Look inside to see what kind of binding you have.journal prep1

    This inside cover gave me a really good indication that I had a sewn binding but I had to make sure.journal prep4

    Yep…sewn binding. Perfect! Now we’re ready for the thinning of pages without leaving chunks of torn pages along the inner spine. Removing pages reduces bulk since the altering of a book whether journal style or a themed altered book adds lots of bulk!

    I find the center of each signature (as seen in the above photo) and remove the page from each side.journal prep3Like this. I go back and carefully pick out all of the torn fragments. It will appear as if nothing has changed until you look at the page numbers. You’ll have a definite gap which would make reading the story a real challenge at this point.

    I remove at least one page from each signature, sometimes more. You can always go back and remove more. journal prep7

    Here you can see the gaps along the spine and how the book is more narrow going toward the outer edge. This is exactly what you want. journal prep8

    You have a nice stack of pages for your altering pleasure when you are done.

  • Blog - Crafts - Creativity - Tutorials

    Dress pattern ball

    After Christmas I decided to really change up the fireplace mantel from my standard color scheme. I usually stick with warm colors but was definitely ready for a change.

    After a month of feeling as if something was missing I decided to make a decorative ball to set on top of my stoneware pitcher.

    20150205_7430

    I used a 2.5 inch foam ball as my base. I cut a dress pattern into roughly 2 inch squares.

    20150205_7432

    I stacked 2 in a crisscross manner then put a pencil into the center. I then dipped the tips into white glue and pressed the tip into the foam ball. I continued this until the entire ball was covered. 20150205_7433

    I think it looks a bit like a dried hydrangea sitting on top.