• Blog - Crafts - Creativity - Tutorials

    Recycled T-shirt bags

    t-shirt

    First of all, I have to admit that this is not my original idea. I’ve seen many versions of this on Pinterest.    box pleat

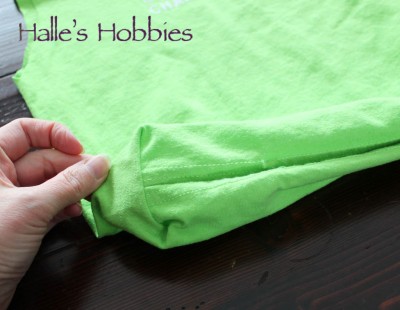
    But after going through the kids clothes and coming up with 2+ garbage bags full to pass along to a friend, it inspired me to keep a couple school shirts for this project.

    This project couldn’t be an easier. I turned the shirt inside out then stitched the bottom closed.  Next was the box pleat to create a flat bottom. Basically you sew perpendicular to the bottom seam at each corner. You end up with a triangle of fabric that is not usable bag space. Gosh, I think I’m making that more complicated than it really is!! Here’s a link that shows the process if I just confused you.

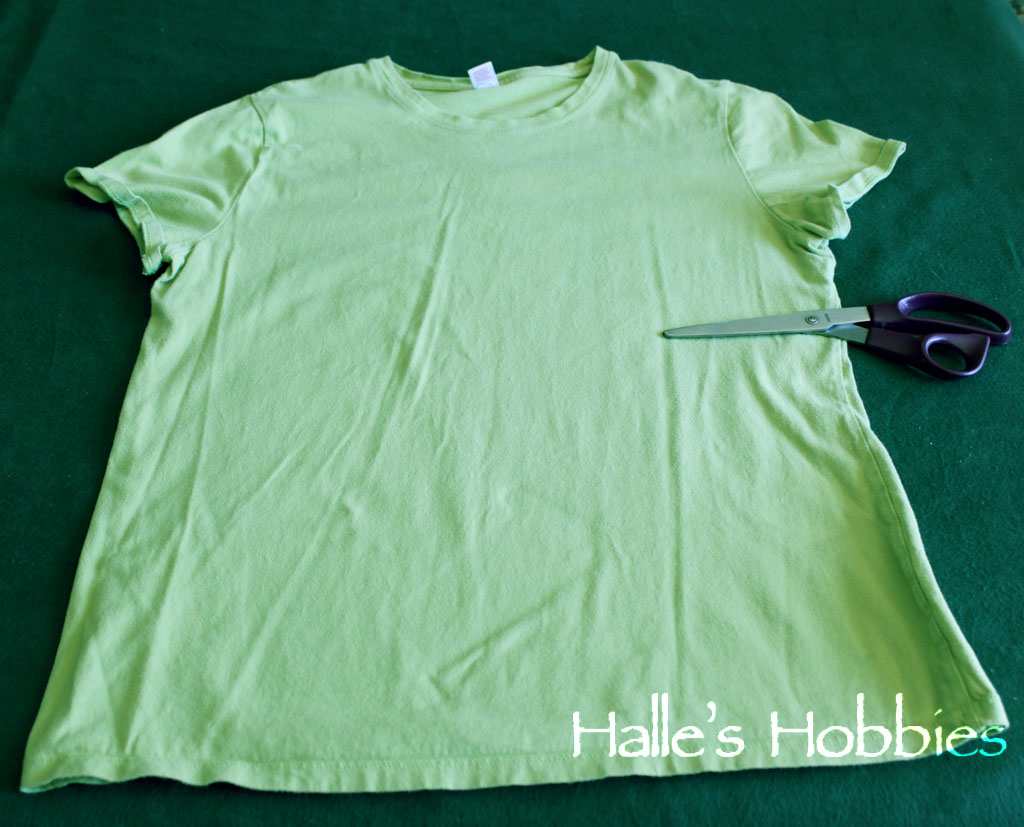
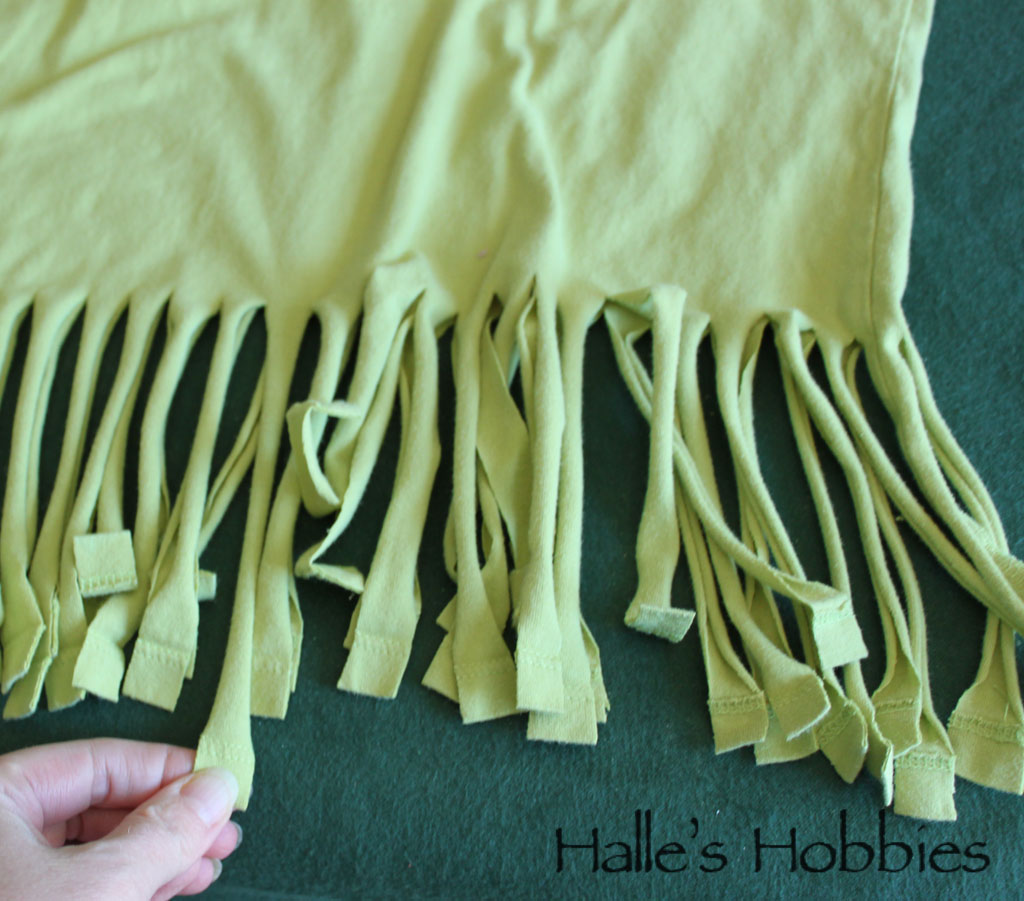
    Anyway…then I turned the shirt back right side out and cut off the sleeves and made a scoop cut at the neckline. No pattern just start cutting. We all know what a plastic handle bag from the grocery or discount store looks like….that’s what you are going for in shape.

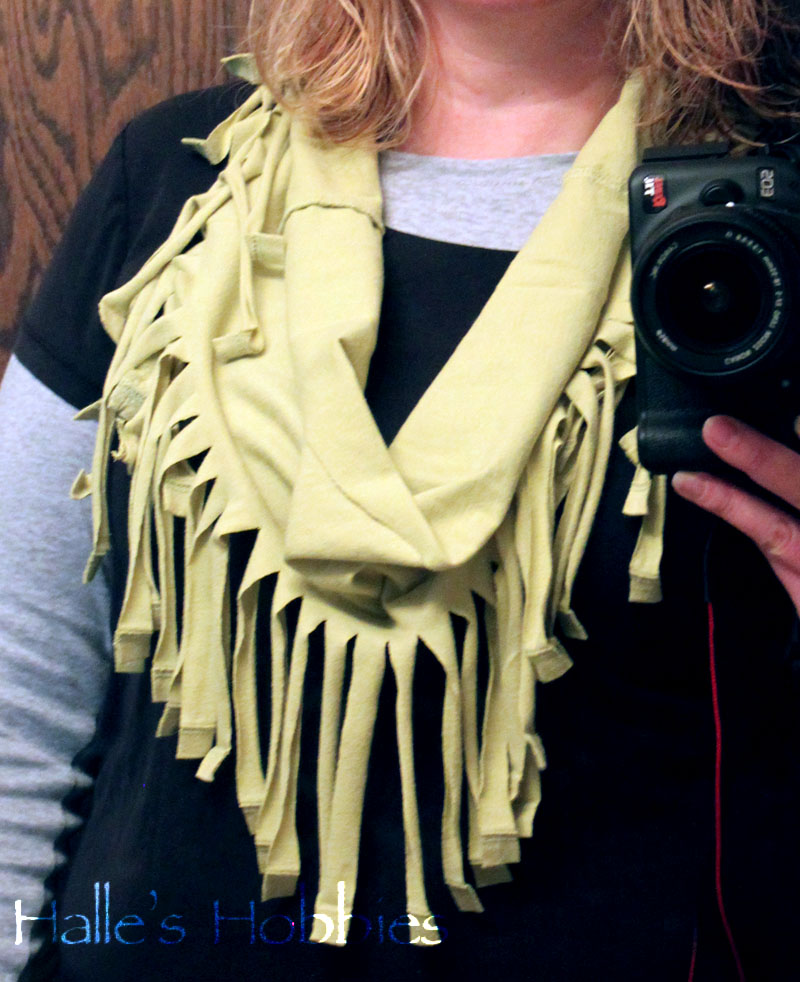
    All in all, not too shabby for a few minutes work. It saved a couple of shirts from the rag pile since  they’d likely never be worn again.

    Little J claimed the lime green one as soon as she returned home. It was her shirt to begin with so now it will continue to serve her in a different capacity.

  • Blog - Creativity - Tutorials

    Upcycled t-shirt scarf

    While cleaning out my closet this week, I discovered this chartreuse t-shirt. It was destined to be donated  since I just couldn’t get used to the color on me.
    I had seen a tutorial on Pinterest for a fringed t-shirt scarf so I figure…why not try it.

    So back to my project. I cut the shirt below the arms then cut fringe about half way up the shirt.
    I then tugged on each fringe until it stretched nicely giving it nice texture and movement.
    And the completed scarf…
    I think I can handle a splash of chartreuse much better than a whole shirt of it.
    Sorry that each of my photos are a different hue. The actual color is somewhere in between this photo and the previous one.  Bad photo day for me and Photoshop can only do so much.

  • Blog - Creativity - Tutorials

    Citra Solv with National Geographic background technique

    I am totally hooked on this “new to me”  technique. I’ve seen it in a magazine, You Tube, blogs etc. Trust me…this technique has been around the block a time or two. Of course, I am super late in actually trying it but I had said I wouldn’t buy any new art supplies. Well…technically I didn’t buy a new art supply, I bought a concentrated cleaner. That counts right!?!?

    Anyway…Since not everyone on the planet has read about it I’ll tell you what I did. It is so simple and has such cool results.  A word of caution…this will be messy…protect your surfaces, hands and clothing.

    First you take the CitroSolv concentrate full strength and pour a bit into a small container. I used a foam brush to apply it directly to the front and back of the National Geographic pages I wanted to use.  The more ink on the  pages the better. After slathering on the CitroSolv to as many pages as you’d like…close the magazine and walk away for about 20 mins or so. When you come back…put on a glove and start opening the pages…they will likely fall right from the magazine as the CitroSolv seems to un-glue the binding as well.

    I hung my pages to dry with clothes pins overnight.

    I painted a few pages with CitroSolv before going to bed to see if the effect would be any different. The effect seemed a little more “muddy” to me rather than having the cool bubble effect. Still totally usable papers…just different.

    These are some of my favorites but as you can see below…I ended up with a bunch of fun papers to play with.