• Blog - Crafts

    After Christmas crafts

    On Wednesday I was on a mission to get all of my errands complete before the snow then wicked cold snap was to hit. I went 11 places in just under 4 hours. Shockingly I didn’t spend a bunch of money either. I was hitting all the loss leader deals at various stores while still getting the essentials to last into next week. I wasn’t even planning on going to Michael’s but since I was just down the street from it I decided to check out the 80% off all Christmas deals.  I picked up the needed supplies to make a couple of wreaths.
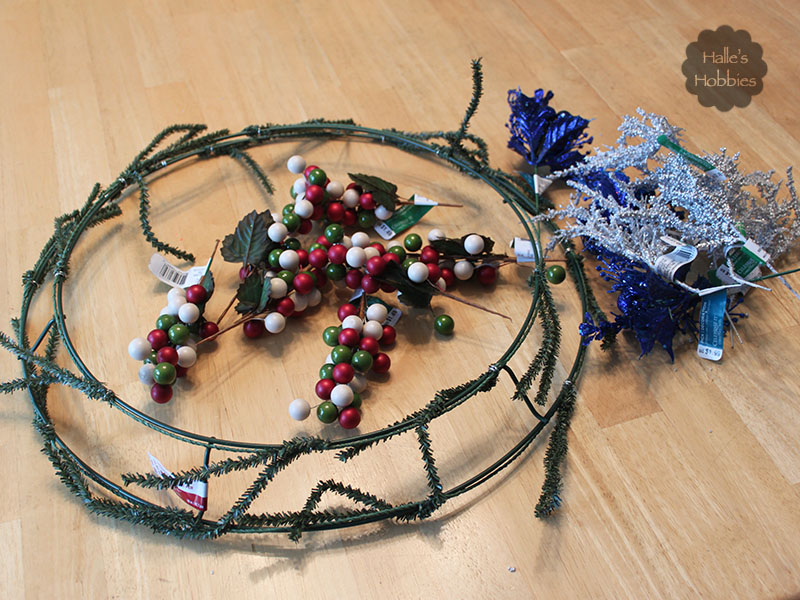
    Deco mesh wreaths | Halle's Hobbies

    Since we are putting away all of our Christmas decor today, it was now or never next year for wreath making. So I gathered my supplies and set to work.
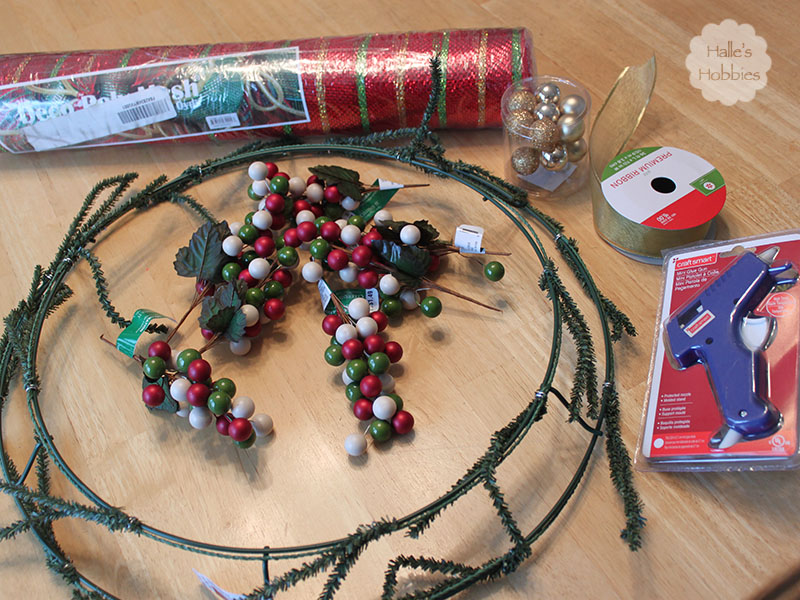
    Deco mesh wreaths | Halle's Hobbies

    I also had to find a video tutorial on the process of creating a deco mesh wreath.

    This one worked for me.

    What I didn’t comprehend was just how huge this was going to be!
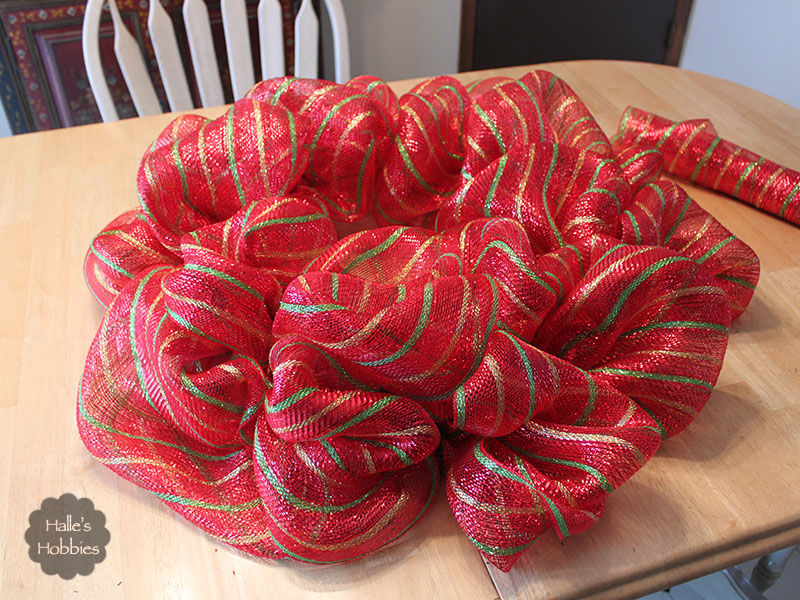
    Deco mesh wreaths | Halle's Hobbies

    It became painfully obvious that the scale of the elements I had purchased would be completely wrong.
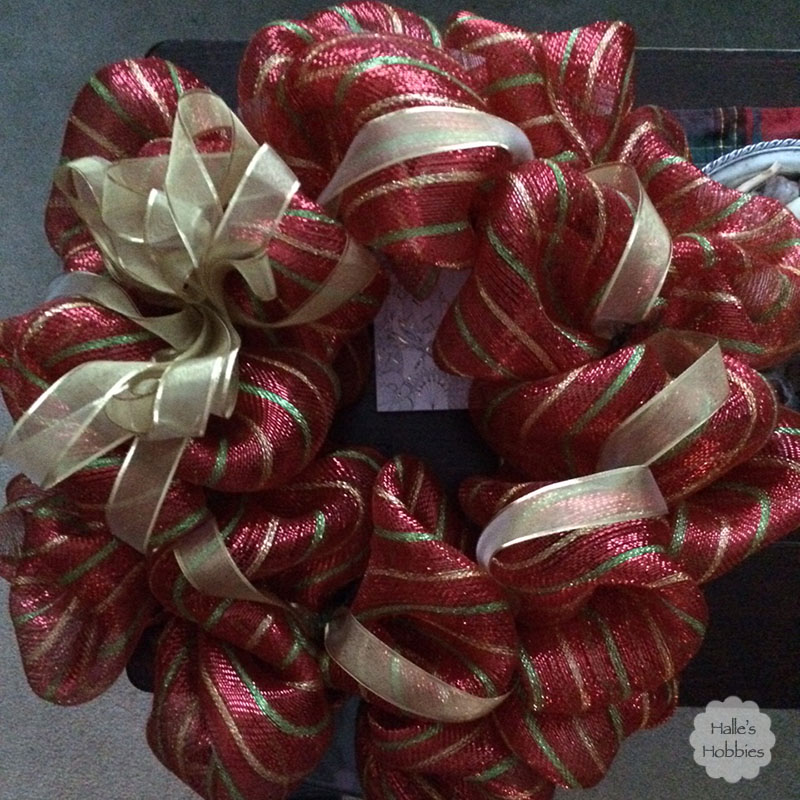
    Deco mesh wreaths | Halle's Hobbies

    I added some ribbon…and what appears to be a nice bow in the photo. Nope…just shoved the rest of the ribbon in there for storage until I can find someone to help me with the bow. Did I mention how much I suck at making bows!?! I called my crafty neighbor for help and evidently she lacks that skill as well. I’m thinking with the addition of a proper bow and perhaps some plastic Christmas balls this would work for an outdoor wreath.

    Next I set to work on a winter themed wreath. Something to take you through until Easter.
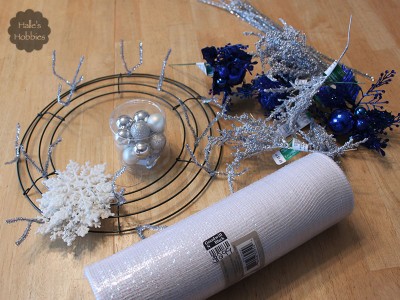
    Deco mesh wreaths | Halle's Hobbies

    Did you notice the price sticker on the deco mesh…? Goodwill $2.99 and I used a 25% off coupon so it was really $2.24, sweet! The wreath base was purchased previously when I made my burlap wreath. I started out and realized that the green wire base was showing through in a very unflattering way. First I doubled the number of pipe cleaners on the base but the green still showed through. It needed to be white.
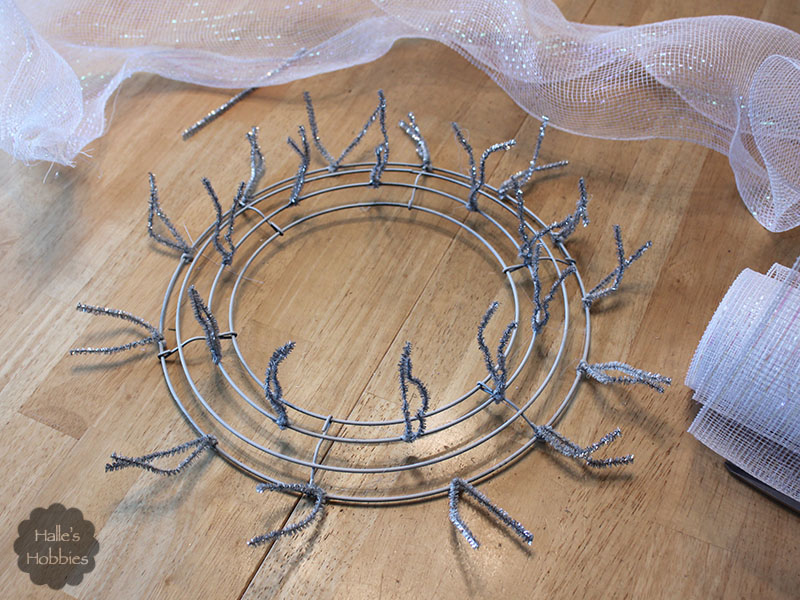
    Deco mesh wreaths | Halle's Hobbies

    Lucky for me, the temps were hovering around freezing yesterday so I was able to give the base a quick shot of paint in the garage.  Honestly, I’m surprised at how quickly it dried. I was really worried since the can said not to use below 55°F.

    Isn’t it pretty!?!
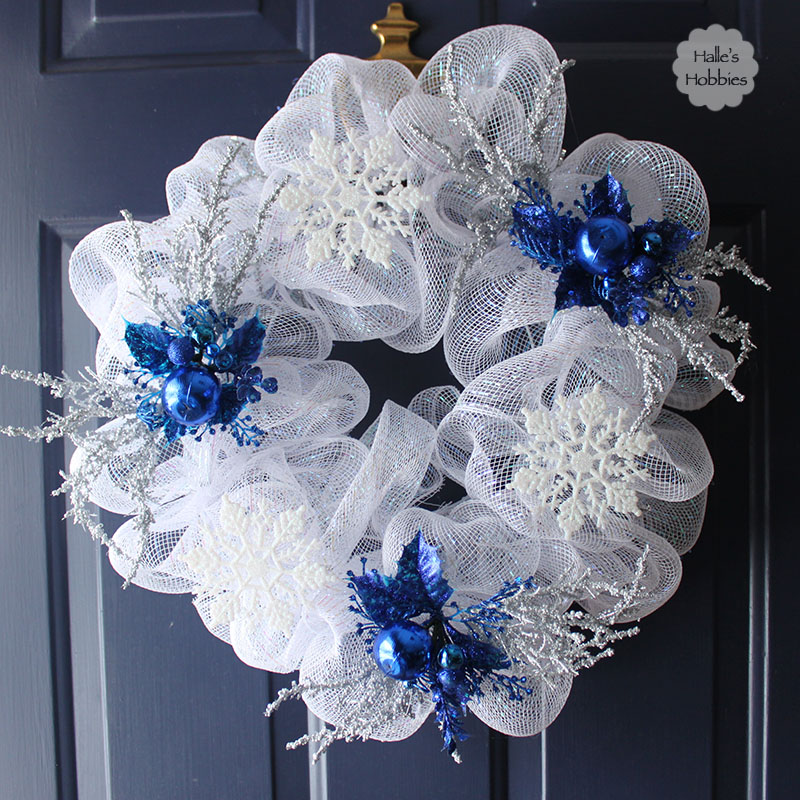
    Deco mesh wreaths | Halle's Hobbies

    I was making it for a gift but it looks so good on my front door that I think I’m keeping it. Shhh…
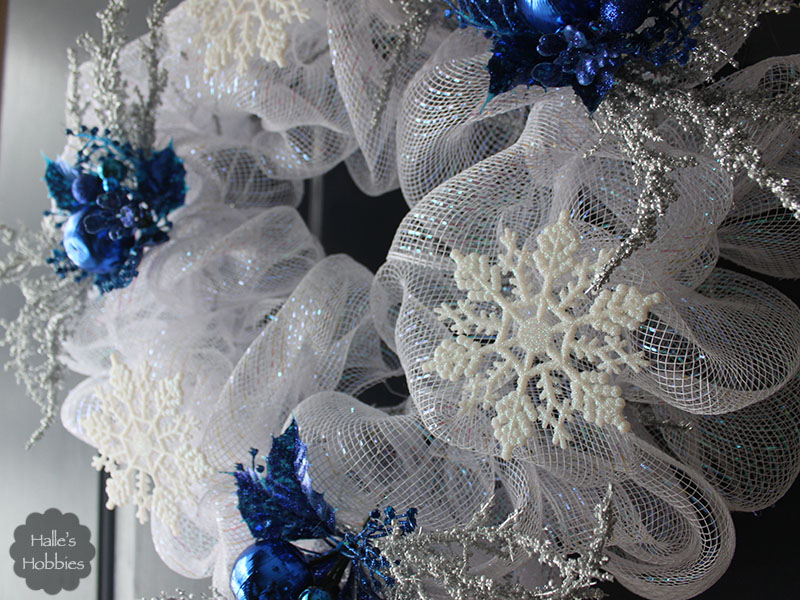
    Deco mesh wreaths | Halle's Hobbies

    I love the iridescent shimmer in the mesh. Perfect match to a cold winter day.

    Do you decorate for “winter” to carry through until St. Patrick’s Day or perhaps Easter?
  • Art - Blog - Kitchen

    T Tuesday: two posts collide edition

    It’s a two for one deal here at Halle’s Hobbies… I’m linking up with both Art Journal Journey and T stands for Tuesday today.

    Why you say? I decided to embrace my word of the year and enjoy the meeting of two worlds instead of stressing over it.  Technically they’ve met. 🙂 This is one of the things about the blogging community that I really enjoy. So much crossover and one blog leads to another and soon you’ve went down the rabbit hole but learned so much along the way.

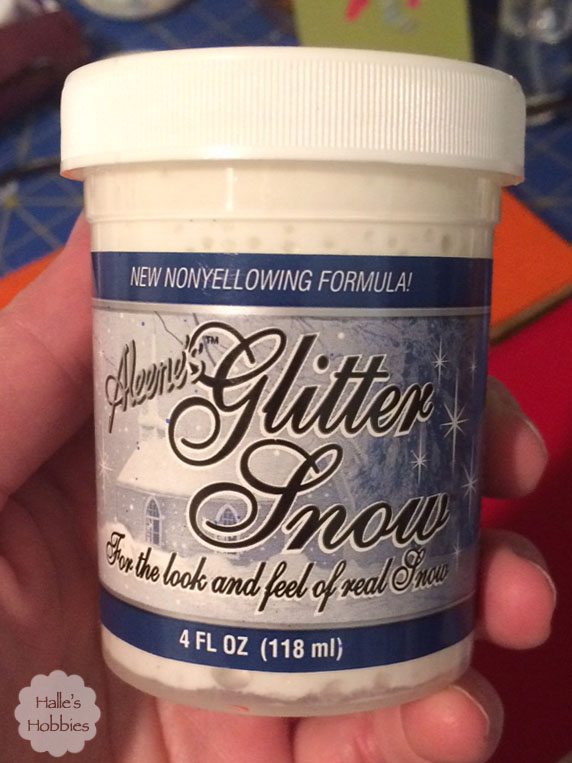
    The Winter wonderland theme this month on AJJ gave me the opportunity to play with a new supply.

    Winter Wonderland supply | Halle's Hobbies

    It came in a box of paint from a garage sale. I wasn’t sure that I’d ever use it. Since I was using my sturdy board book heART journal, I knew it would hold up to the weight and wetness factor of the paste.

    Winter Wonderland art journal page | Halle's Hobbies

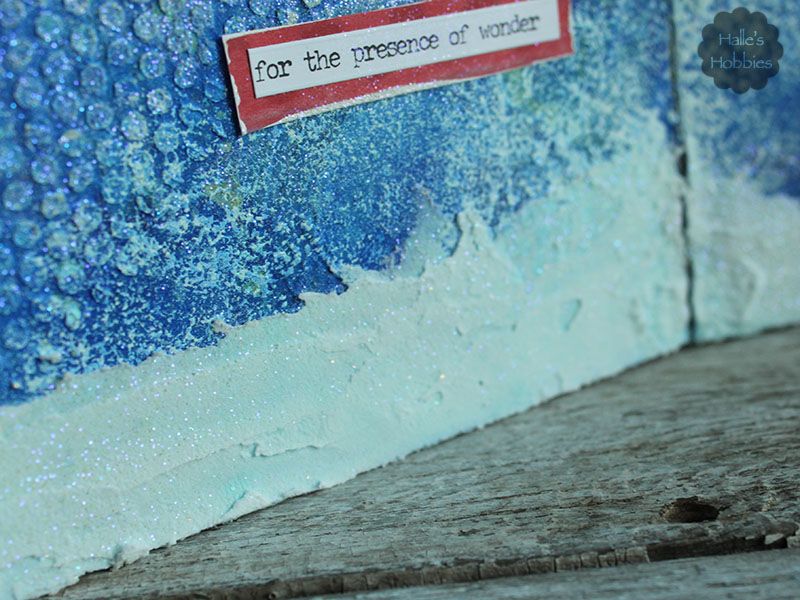
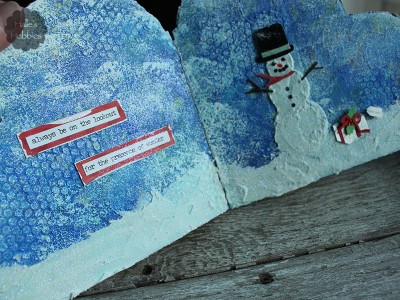
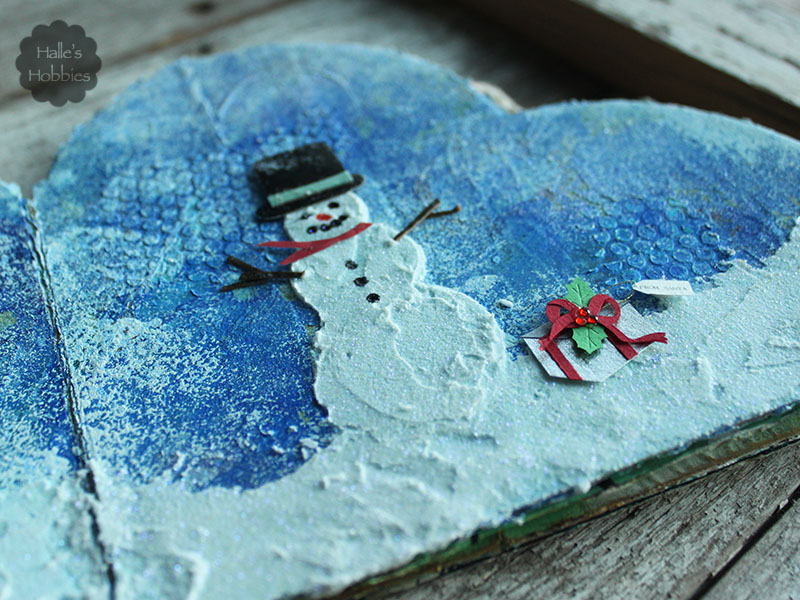
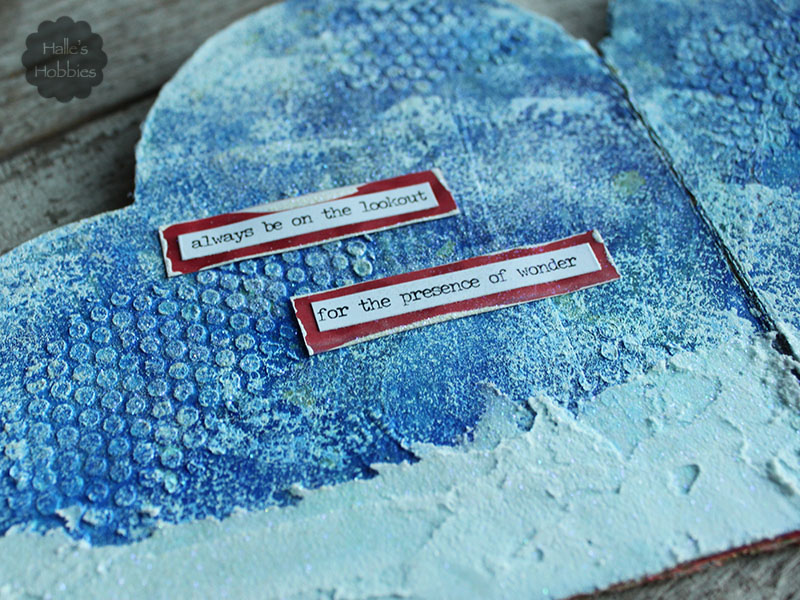
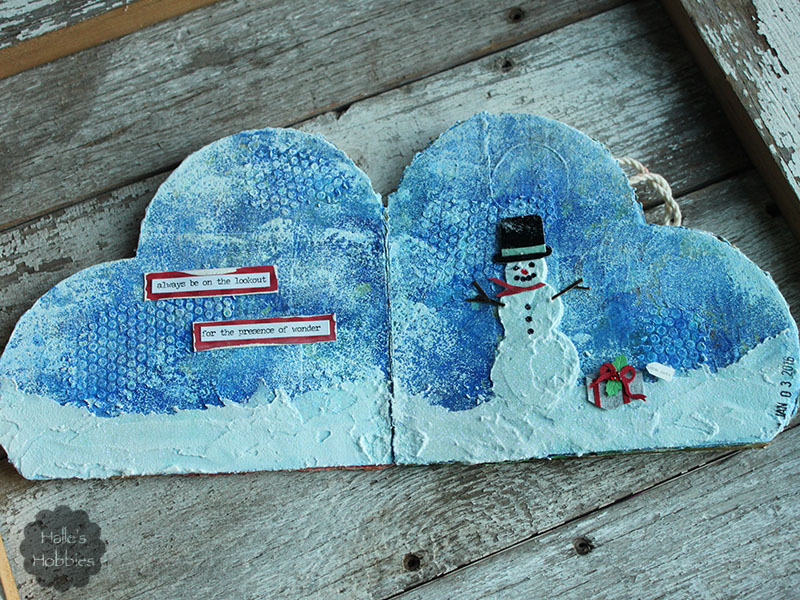
    I am certainly glad I kept it. Look at the texture it provides. And the sparkle! The photo capture of the sparkle is nothing compared to the real deal. It really does look like snow glistening in the sunlight on a crisp Winter day.

    Winter Wonderland art journal page | Halle's Hobbies

    Winter Wonderland art journal page | Halle's Hobbies

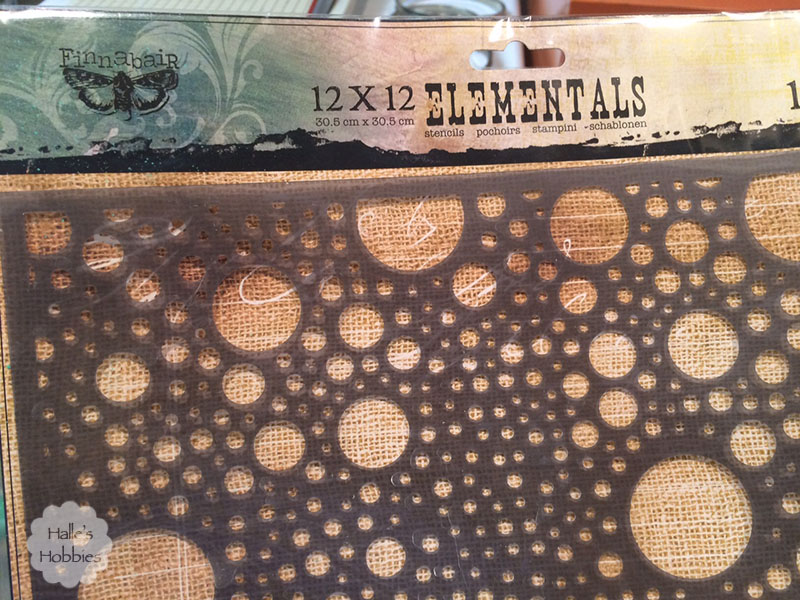
    I used this stencil with a palette knife to create the snowman.

    Winter Wonderland supply | Halle's Hobbies

    Winter Wonderland art journal page | Halle's Hobbies

    I wish you could feel this page. So much texture on the background and the snow is soft. A really unexpected result for me even with the jars claim.

    Winter Wonderland art journal page | Halle's Hobbies

     I hope my T stands for Tuesday friends have enjoyed my latest journal page.

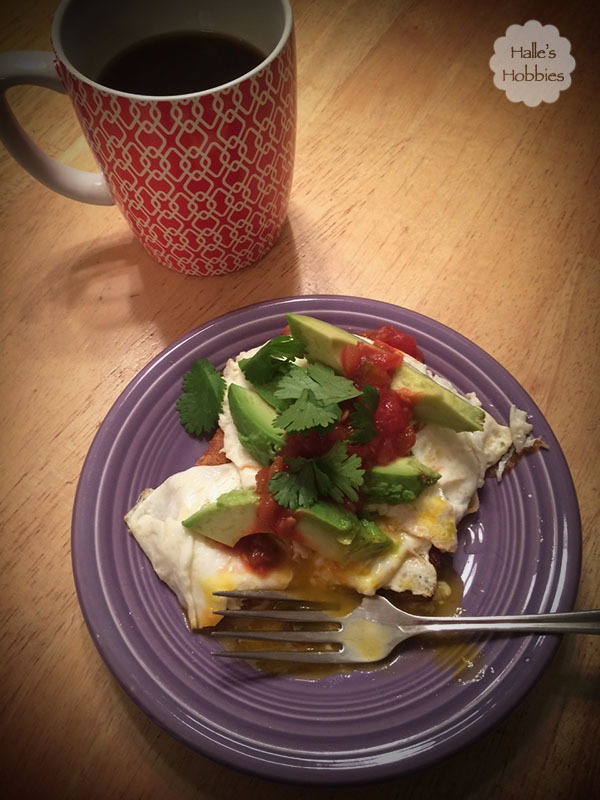
    In keeping with the rules spirit of T day, I’m sharing my beverage as well as the healthy breakfast I enjoyed yesterday.

    T Tuesday enjoying healthy breakfast | Halle's Hobbies

    What else does the day have in store?

    T Tuesday | Halle's Hobbies

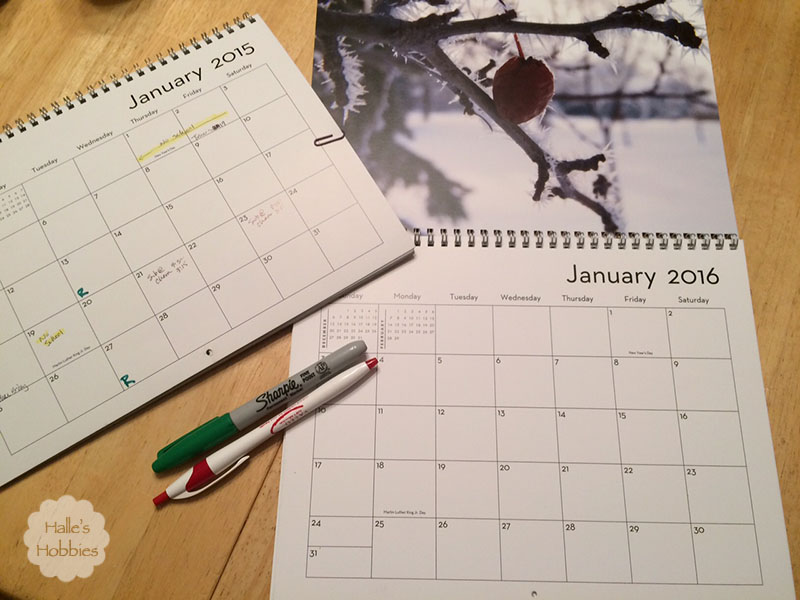
    For starters, the transfer of important dates from one calendar to the next. Sometimes I wonder why I continue to keep a paper calendar since most everything is kept electronically now. But a hard copy is always good. When I rely on technology, that’s when it fails me.

    I’m also going to tackle taking down Christmas decor, get in a little exercise and sort paperwork for taxes. I actually started our taxes yesterday. I hate waiting on this. I really like to know where we stand.

    What are you doing today?

  • Around home - Blog - Crafts

    A second look: My favorite quilt

    To start out the year we are looking back…wait…didn’t I say I was looking ahead in the previous post?

    Secondlook

    We are looking back because it’s Second on the 2nd hosted my my dear friend Elizabeth. Each month on the second she asks that we dig into our blog and reshare a post that deserves a second look.

    Sewing is a passion of mine as well as recycling. In this post from August 2008 I share my favorite quilt and a little about it’s creation.

    We still use the quilt today. It’s now 15 years old and is very well loved.

    Take a look…

    eyes

    This denim quilt was my very first large scale recycling project.

    I carry it in my van for picnics, beach days, a stop at the park or one of those dreaded winter emergencies. After the latest trip to the beach I hung it on the deck rail to dry. I was taken aback by how many memories this quilt holds for me. I love how it has frayed over time. Maybe others would think of this as a flaw but to me, it shows it has been throughly loved.

    I made it when my first born was an infant. Oh, to have that much time on my hands again! I wanted to make something that he could lay and play on, that would be durable, washable, textural and colorful.

    I had a ton of jeans that were never going to fit again plus my hubby’s worn out ones to cut into circles. I used a plate to trace each and every circle by hand then carefully trim with scissors.


    The colorful squares (trust me there are squares under there) were from a stash of fabric I had gotten as a teen when my “grandma” across the street moved from her home to her daughters in CA. She knew I loved sewing and crafting more than her own granddaughter.

    My mom had somehow collected tons of small spools of thread in various colors, not sure why since she didn’t sew but did own a machine. Maybe just wishful thinking on her part. Anyway, I figured that I could make the quilt even more colorful by using different spools of thread throughout the quilt. Generally the bobbin thread and the spool didn’t match as I sewed.

    If you’re curious how I made it check out this tutorial. I think I got my instructions from a magazine but the tutorial has excellent instructions.