Tag : bookbinding

21 posts

Just yesterday I was thinking about buying a planner to help me keep a better handle on my blog and personal/family commitments. The family uses a shared digital calendar but I feel the need for something personal as well especially for the blog and art stuff. All of a sudden I remembered the art calendar challenge. It honestly feels like more than 5 years ago but there it is…2014.

Take a look…

1/1/2015

December complete!
2014 art calendar challengeThis challenge hosted by Kate has been a good one for me.  I was able to stay on track and have ended up with a great keepsake from 2014.

2014 art calendar challenge

From the start, I had the idea in my head of what I wanted the end product to look like.

2014 art calendar challenge

After taking this photo I decided that perhaps gluing the pages together would give it more visual appeal. 2014 art calendar challenge

And I was right…  In addition, it provided stability to the binding.

2014 art calendar challenge

I’m in love with how this looks. I don’t want to come off as patting myself on the back but I have to admit that I’m so happy that my vision of this project actually came to fruition. 2014 art calendar challenge

~~~~~~~~~~~~~~~~~~~~~~~~~~~~~~~~~~~~~~~~~~~~~~~~~~~~


I might just be making myself a planner after all. We’ll see if I get inspired enough, quickly enough. HA!

Thanks for stopping by for Second on the 2nd.

Hello and welcome to another edition of T Stands for Tuesday.

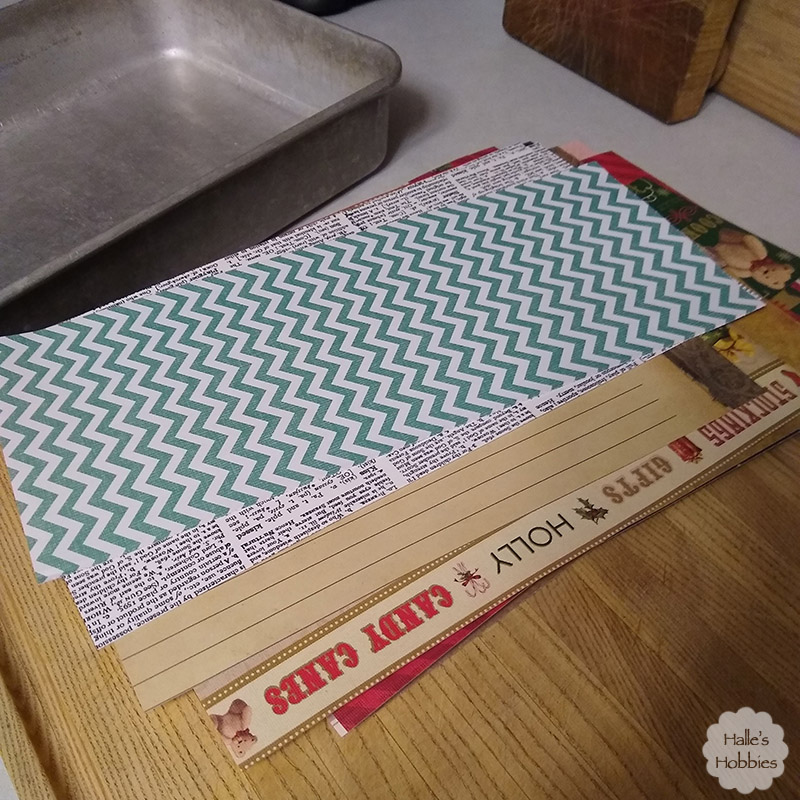
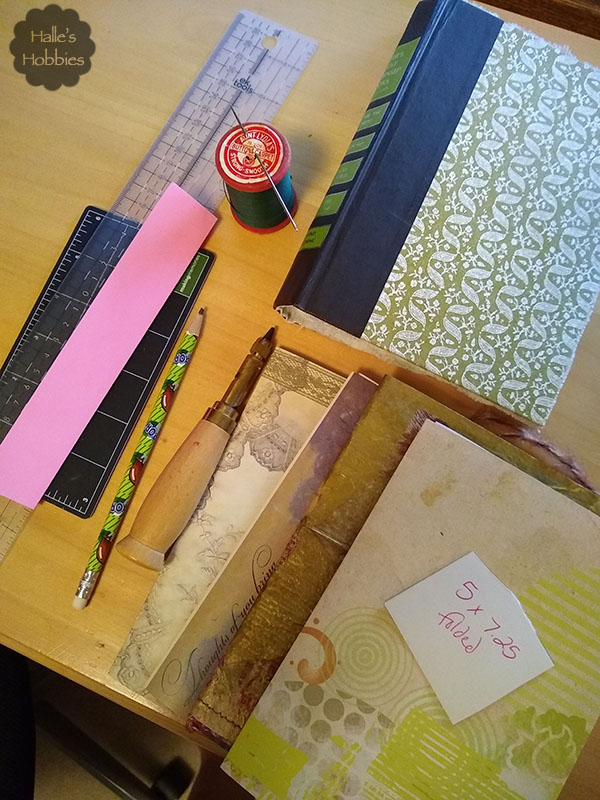
Over the past week or so I’ve been pulling together papers from my stash to begin the process of creating my December Daily journal.

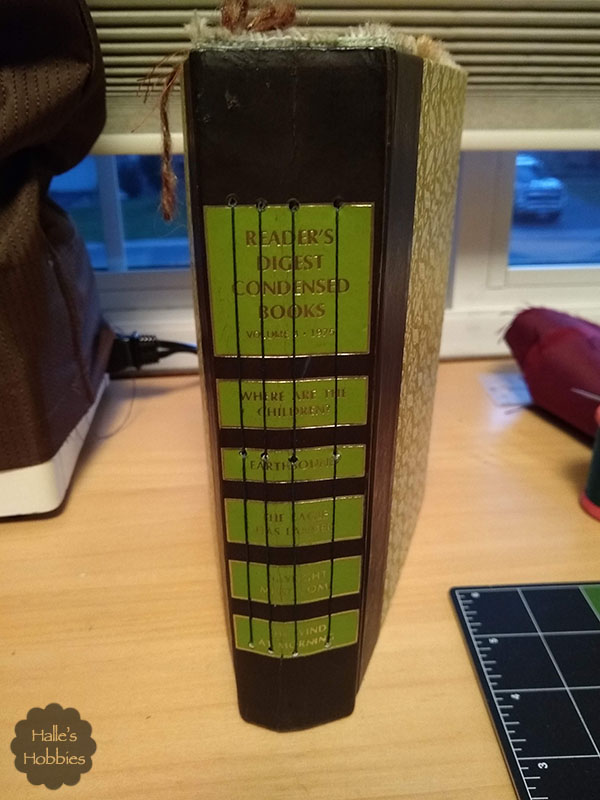
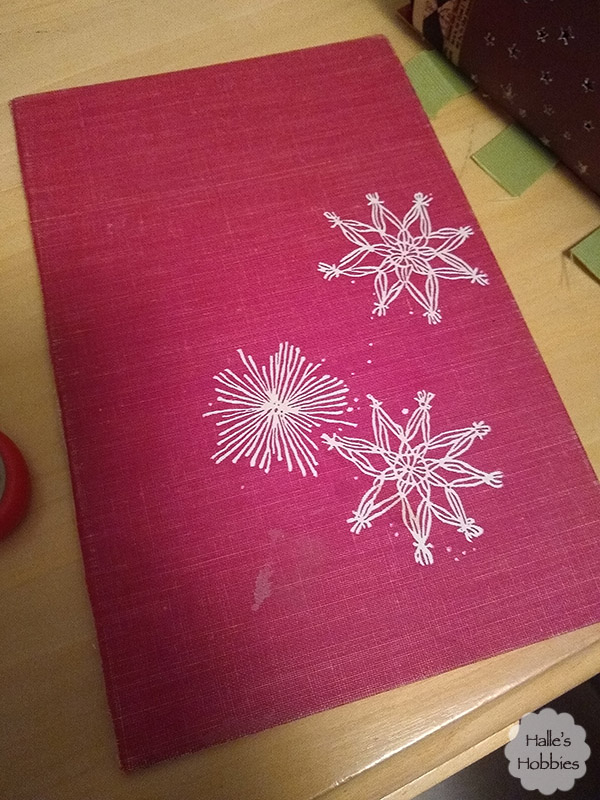
I also dug out a set of book covers I’d been saving for just the right project. I wish that I hadn’t discarded the spine…although it may have been in bad shape. Oh well…I’ll find a way to make it work for me.

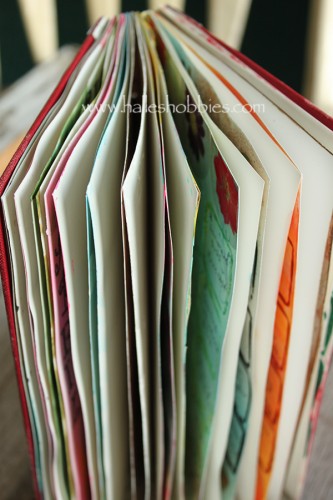
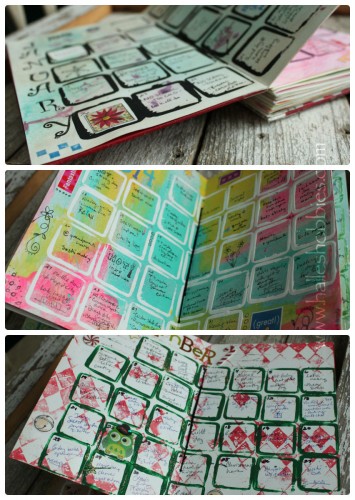
Originally I was thinking that I’d use crisp bright colors for my journal, however I discovered that the vast majority of my papers were one sided prints. This is fine in some ways but left A LOT of blank white pages. Yes, I know…journal…but I like having color and pattern to break things up a bit. Besides…plain white pages are intimidating.

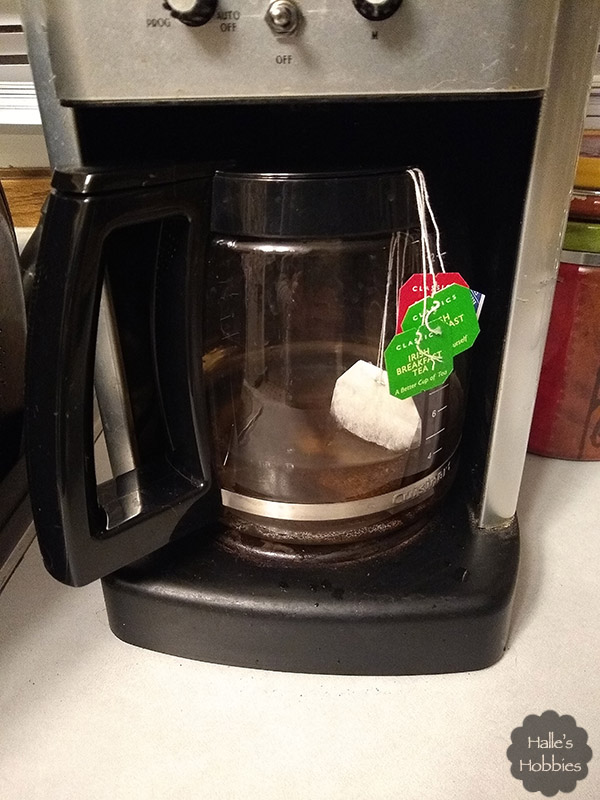
I decided while cleaning the coffee pot (because I can’t seem to do just one thing at a time lately) that it would be a good time to do a bit of tea dyeing of some paper. I really wanted to tone down that white and give a more cohesive look to the journal.

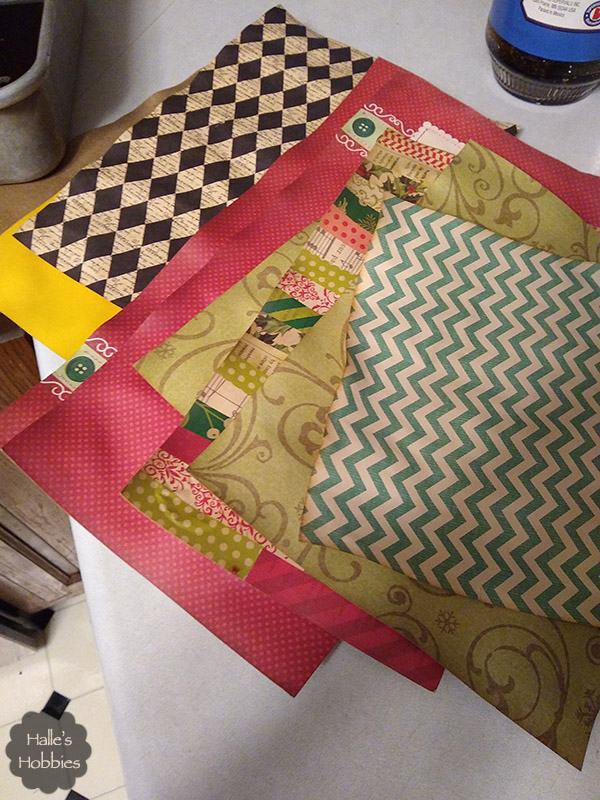
After soaking the papers in the tea solution I baked them in the oven. Yep…Mr. G came in from the garage…asked me what I was doing. “I’m baking paper.” He shook his head and told me that he was going to pretend he didn’t hear me. I chuckled to myself thinking about the fact that I’d be ironing them too.

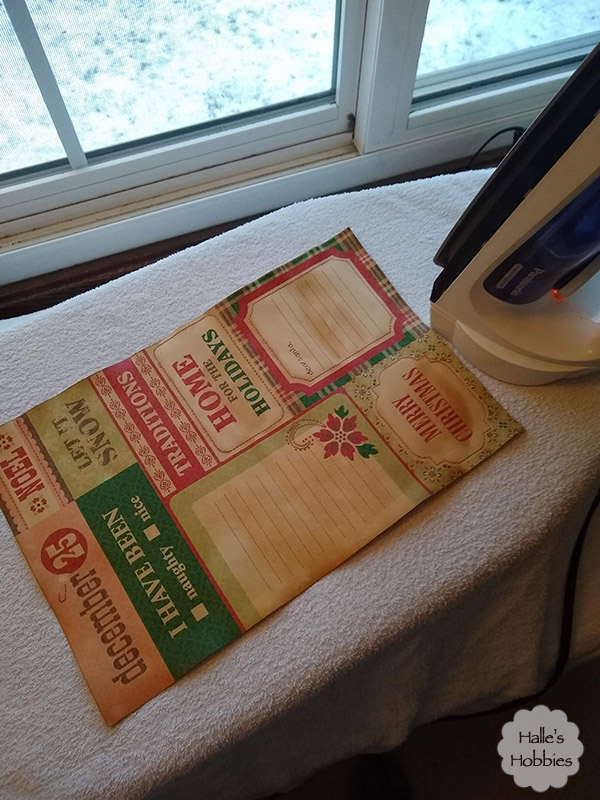
I wasn’t happy with the level of aging from just the tea staining. I added some instant coffee to the mix which definitely did the trick. My papers where a lovely shade of brown…perfectly aged.

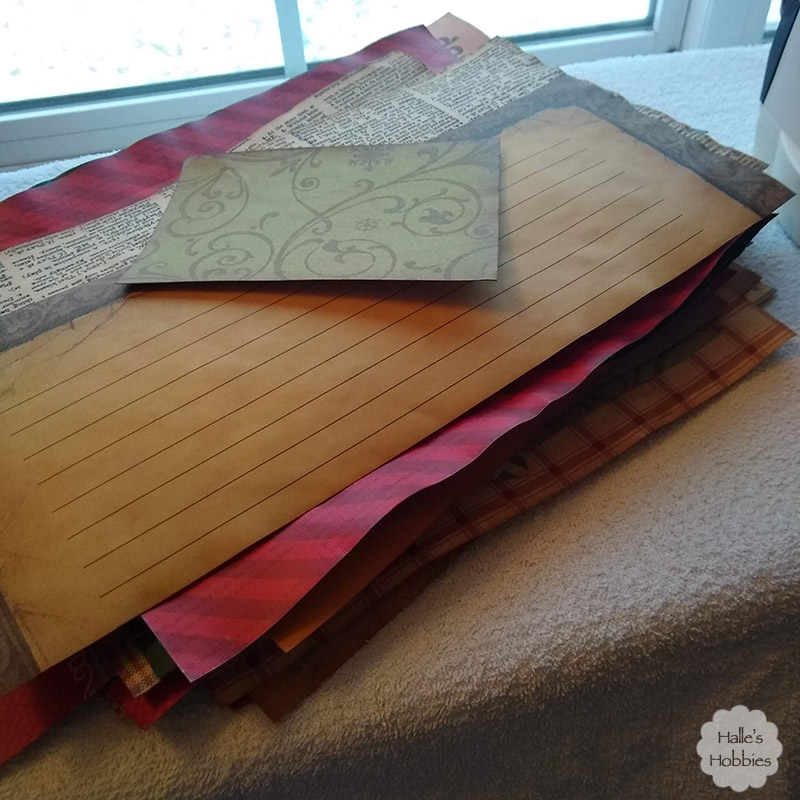
Would you like to know the most important thing I learned through this process? Caffeine absorbs through the skin. I spent about an hour with my hands in and out of the tea/coffee water. I didn’t think a thing about it until I realized about 100 pages into the book I was reading in bed that I wasn’t a bit tired.

Not….one….tiny….bit.

Typically I can get through about 10 pages before my eyes start to slam shut and I read the same paragraph over and over. Nope not Saturday night. I read the entire book. Seriously…the whole dang book. Finally I got up and took some Benadryl to make me sleepy…even though I knew I’d have the dreaded brain fog the next morning.

So let this be a public service announcement to all of you…wear water proof gloves of some sort!!

Sticking with my caffeine induced post…Mr. G bought me some coffee beer. 

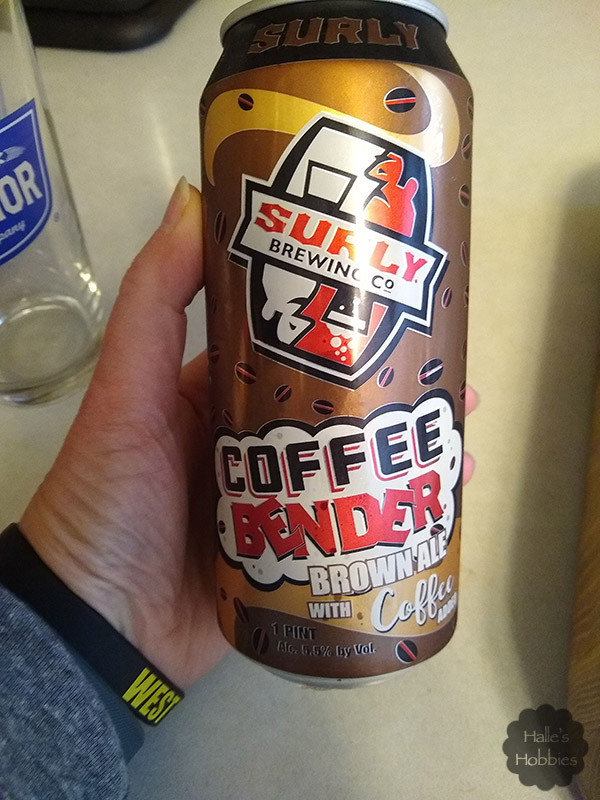
It was pretty good. Just one though. Definitely not one I could drink more than one in an evening…or even in a week. That 4 pack will last a while.

What are you doing today??
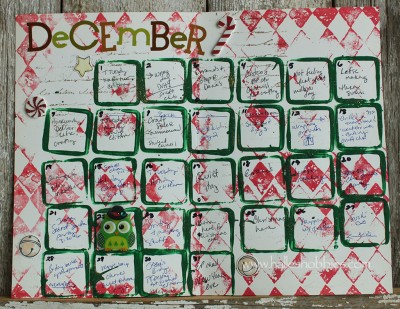
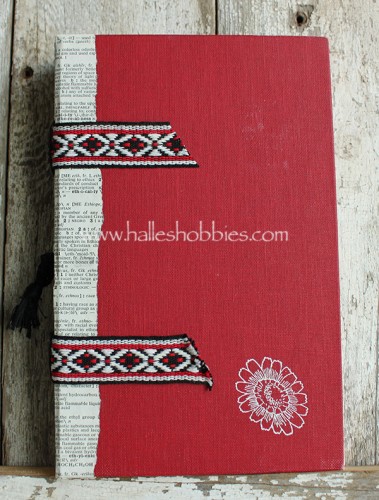
As promised last Tuesday I am sharing the handmade journal I created. I was going to take a crazy number of photos of pages then edit and decided that was just way too much work!! Instead I recorded a video showing the journal page by page with some babbling narration from me.

I’m sure I am not the only one who doesn’t enjoy the sound of their own voice so listening to this over and over was a little hard for me.

Enjoy!

Handmade Journal

Last week I learned that having a washi obsession isn’t exactly front page news…and that it might be fun to share our collections.  Ok Eileen…you ready to share too?! 

Mini-me organized the tapes for me. I love how they look but have no patience to make it happen. Lucky for me she loves to both craft and organize. My paint drawer often gets a makeover as well. :)

This set of blue tapes I love!! A couple of them look like sun prints and one like shibori.

My black tapes get used a lot. They give that pop on a page or card that just helps me say “DONE”.

I love this bin as well. Bright yellows, orange. pink and red.

The polka dots in this bin have gotten a lot of use. I love polka dots! Did you notice the tape with the coffee cup and beans? I’m sure you’ll see that one again in a salute to T stands for Tuesday.

This last bin is random. Ones that didn’t physically fit or were just too colorful to categorize.

I guess it wasn’t quite as shameful as I thought. Mini-me likes to use washi in her smash book and also in her notes for school. I use it pretty much anywhere. If fact I’m putting together a new journal. More of a junk journal/smash book type idea. I plan to do more writing on a personal level. I’m not sure how much of it I will share here after I start using it to journal. 

I’m using random papers from my stash but keeping them in a Fall color scheme. I’m all about Fall right now. It is my favorite season.

I survived my first week of school. I had very tired feet a couple of days but have since toughened up. As expected I was able to accomplish way more while working than I ever thought I could.  Like starting the above journal. Learning at least 60 kids names and faces in 4 days. Paint and reupholster a vanity bench for Mini-me. Paint 2 shelves and candelabra….also Mini-me(I’ll have to share those projects later). Work 2.5 hours of concessions at a volleyball game after working all day.

Oh yeah and pull up my gardens.

after collecting my last harvest of the season.

Welp…now I’m tired…after recalling all those things.

What are you doing today?

Today’s second look is one of the very first tutorials I had ever written. I had Mini-me, who was 6 at the time, take photos of me during the creation process. She did a really nice job! She still has an eye for photography.

Take a look….

FYI….this was published on Blogger March 2009. My formatting was definitely different way back then.

As requested by a few members of ABC I’ve taken pictures along the process of making my latest ATC book. I’ll do my best to explain the steps. Please click on the pictures for a better view of any step.

These are the supplies you’ll need as well as some string or fiber and a large eye needle for the binding process as you’ll see later.

After being properly scolded by Elizabeth, here is the supply list:

  • book large enough to fit your ATC’s
  • x-acto knife or other cutting blade
  • gesso
  • pencil
  • ruler
  • cardstock
  • cutting system such as guillotine or fiskars rotary cutter
  • white glue or gel medium
  • paint
  • paint brush
  • tissue paper or dress pattern(optional)
  • rubber stamps(optional)
  • ink pads(optional)
  • Japanese screw punch or awl
  • thread or fibers for binding
  • large needle
  • decorative beads(optional)
  • something to protect your work surface
The first step is to remove the text block from the cover. To do this you carefully cut along the spine on each side of the text block being careful not to cut through the cover. I used a glued in binding book so I had to use a bit of muscle to separate the glued in block after cutting. I reinforced the spine with a strip of cereal box cardboard adhered with gel medium although I’m sure white glue would work as well.
Next I coated both sides of the cover with gesso and set aside to dry.

In the meantime I measured the text block to determine the size of the cardstock that I’d be cutting.

For my book, I cut 16 pieces to 3.75″ x 10″. This will eventually yield 4 signatures but now I’m getting ahead of myself.

My next step is purely personal preference. I randomly stamped both side of my pages for visual interest.

After folding in half, I used a bone folder (forgot that in the supply photo as well) to make a nice sharp fold.

Completed pages ready to be gathered into signatures.

I used 4 pages for each of the 4 signatures…boy, that was a lot of fours!

At this point the gesso on the cover had dried and I was ready to make them pretty. I love using dress patterns for texture. As an added bonus it acts as a reinforcement. I simple spread out white glue and pat the pattern tissue gently down then set aside to dry.

After it dried, I painted the inside.

Used the same technique on the outside with scraps of pattern tissue.

And again painted and set aside to dry.

While the cover was drying, I prepped the signatures for binding. I made a template from scrap cardstock as my guide for hole punching.

I used a Japanese screw punch for my holes. You could also use an awl. You just don’t want the holes too big. I’m using the smallest bit my screw punch came with. BTW-the hole gets plugged when cutting through multiple layers. I keep a needle near by to dig out the tiny little circles plugging the punch.
I used my guide to make the holes in the book binding as well.

And punched 4 sets of 3 holes in the binding.
I started with an 18 in fiber on a large needle in the center hole from the inside of the signature leaving yourself a 4 inch tail.

Go through the outside of the book cover, slip in a bead then go back through the top hole in the cover and signature.
Next go back through the center hole to the outside, slip on a bead and then go back through the remaining hole of the set.
It should then look like this. Take the needle and go under the complete flat loop then tie the loose ends tightly in a knot. You’ve just completed your first signature. Go back and do it 3 more times.

The way I do the pamphlet stitch binding isn’t exactly that way the tutorials out there would have you do it but it’s the way I do. I’d encourage you to do a search and check out the other techniques if mine seems unclear. There are video tutorials out there as well.

Completed book outside..in poor light.

Completed book inside.

A few end notes…

  • I made sure my book was large enough to accommodate ATC’s in portrait and landscape orientation.
  • Be sure to leave at least 1/8 space between the 2 sections of pages so they actually turn.
  • Keep in mind that you’ll the book will become twice it’s size or more once the ATC’s are loaded. I use photos corners to mount my ATC’s.

It’s been a weird week…or two weeks. I missed T stands for Tuesday last week. It just wasn’t in the cards to get something posted or even attempt to make the rounds to my fellow Tuesday bloggers…or anywhere else for that matter. So moving on…

The next weirdness was the crazy weekend blizzard the weather folks were hyping up.  Well there weren’t wrong!! We got 16.2 inches of snow here.

And guess what…school went on here as scheduled Monday. 

As I walked in the building this is what I saw to my right. 

Here’s the drift that reached the roof that was to my left as I walked into the building! Crazy! We have more snow in the forecast for Wednesday. UGH! But then 60°F by the weekend. So weird. Mother Nature has lost her mind!!

Ok…I know you are tired of hearing me complain so on with the creativity.

Last week I sat down with an idea in mind. Creating a scrappy, handmade, hand bound journal. After creating my signatures I needed to come up with a sturdy yet pretty way to bind this journal.

This was my idea. It’s very fine plastic canvas…like needle point size grid. I used a Japanese screw punch to make the holes to stitch my signatures through then glued it to the lace panel with E6000.

I don’t think I exactly follow the hand binding rules but…don’t care..it’s the way that works for me. I’ve been doing it this same way for over 11 years!

I decided to use this book cover, covering the inside with scrapbook paper before gluing the lace bound signatures down.

I’m pleased with this little book. I’m planning to use it for random thoughts and quotes along the way.

Last weekend…or I guess that would be the previous weekend when we could actually leave the house…Mini-me and I treated ourselves to coffee.

These Minnesota-isms just don”t seem to get old especially when we have feet of snow on the ground.

This week holds a solo/ensemble contest for Mini-me and getting ready for the end of the school year wrapping up. I was told that there are 38 school days left. YIKES! That kind of freaks me out. There is so much to do!!!!
What are you don’t today??

Wow…11 years!!

I am just 4 days late for my 11th bloggerversary!  I never thought I’d still be at this after all this time. You see, I tend to get really excited about new projects then when the next obsession crosses my path and I drop everything for that. Eventually I do circle back around to older things but it can take a while.

Growing up, writing ranked up there with pulling teeth. This is yet another reason I’m impressed that I’ve continued post after post, month after month, year after year.  What is very more crazy to me is that I’ve grown to enjoy writing. I find it very freeing. It unclutters my mind. I don’t worry about the little things like the squiggly red line under unclutters telling me that is not a proper word. I don’t care. It’s the word I’ve chosen to use.

I do find it very ironic that my first post was about a handmade book I had just created…and now 11 years later…it’s a handmade book that I created that had me sitting down at the keyboard today.

More on my new book in the next post…


PAGE TOP

© 2007-2024 Halle's Hobbies All Rights Reserved -- Copyright notice by Blog Copyright