Tag : mop up paper

2 posts

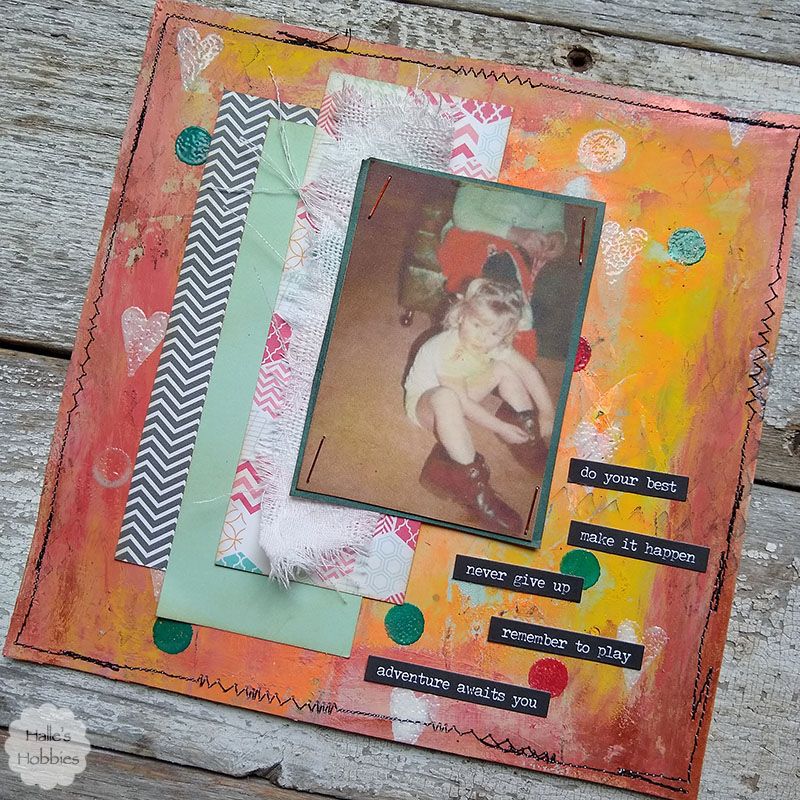
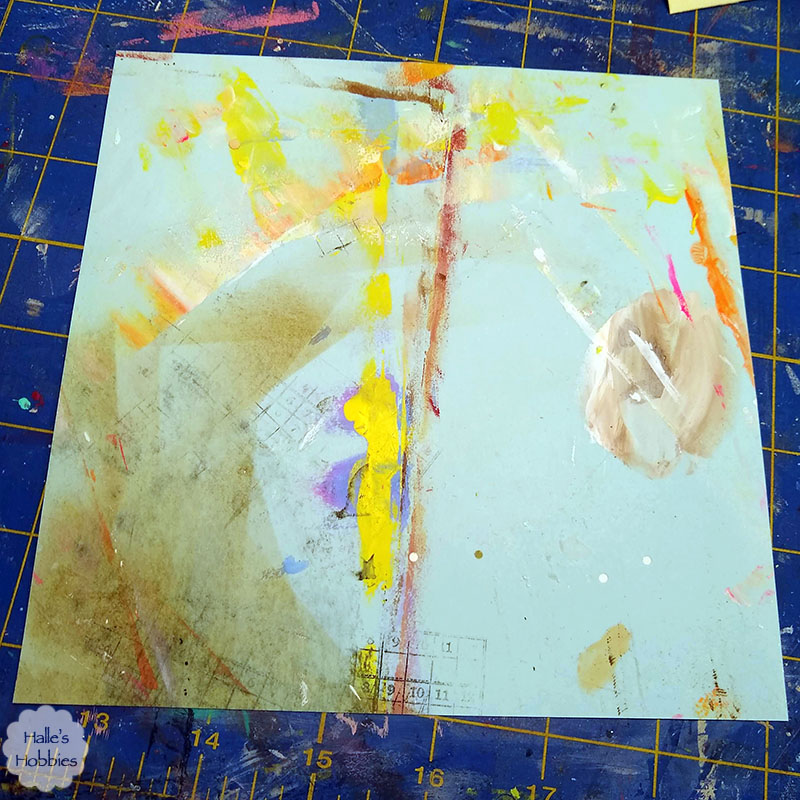
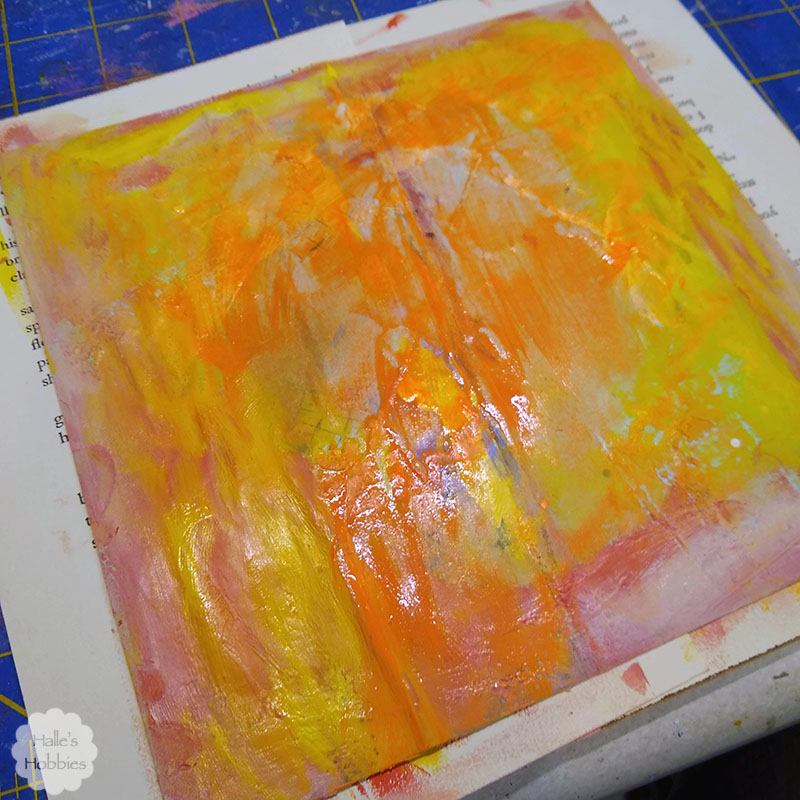
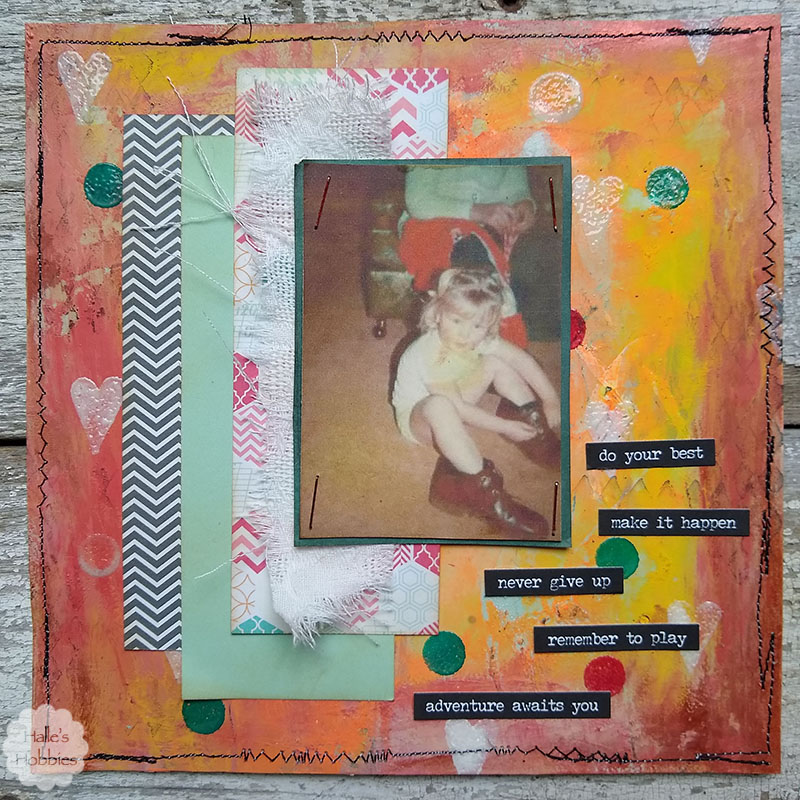
I was playing around in the craft room since I had actually cleaned up a bit…always happens that way. Can’t leave a clean space. I saw a strip of scrapbook paper that completely matched the yellow piece of mop-up paper next to it. I knew it was meant to be.

I folded the copy paper in half and used a glue stick to adhere the page together for a bit more substance. I’m in the beginning stages of creating a new journal and this size is perfect…more on that in a later post.

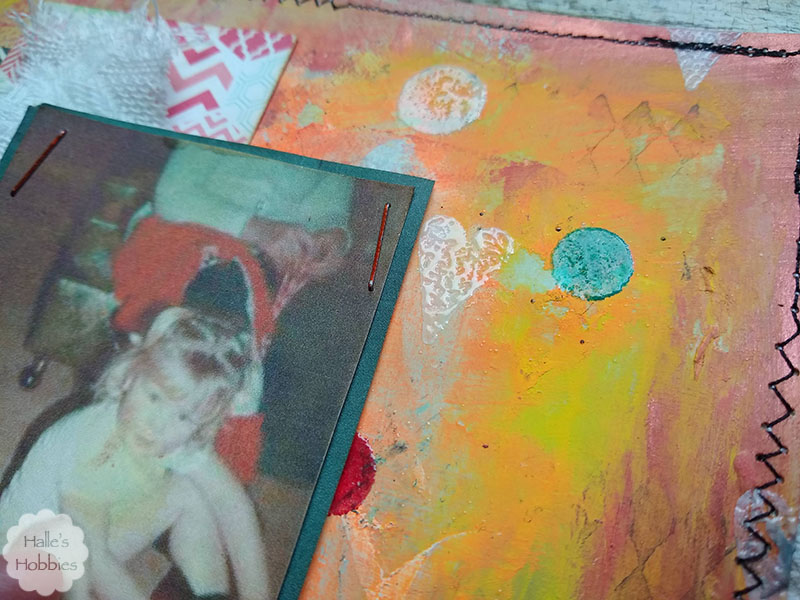
I layered the chocolate and mint scrapbook paper with book page then added a faded piece of last years garden bunting fabric…which incidentally was black background with red cherries with green stem and leaves.

Next I knew I had to use some of the lace trim I scored while out at garage sales yesterday morning. I got a ton of fun stuff…

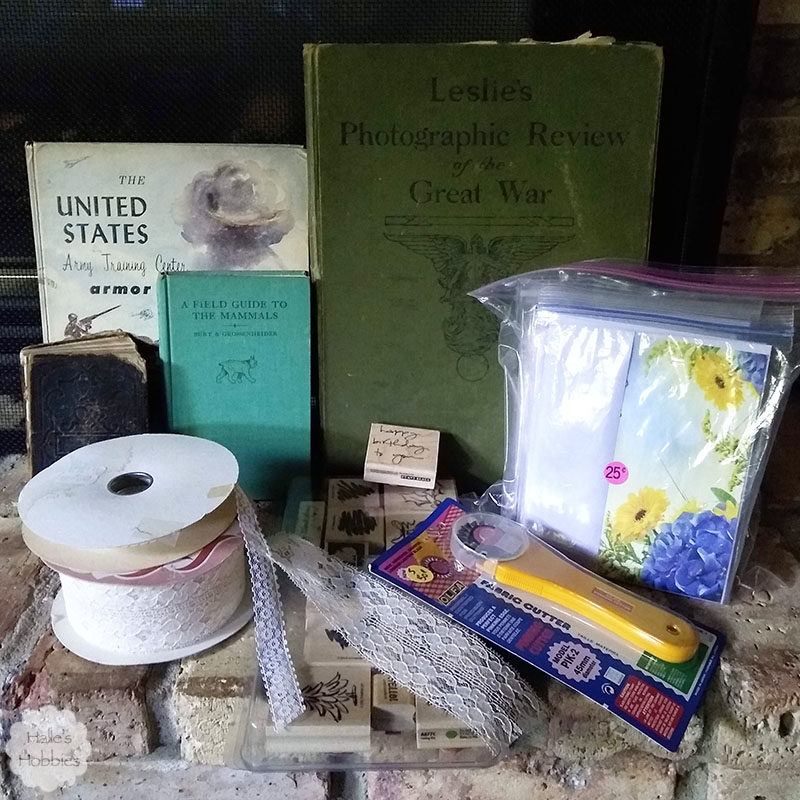
Like all of this for less than $2 at one sale! Tons more stuff but likely not of interest here on my blog so I won’t bore you. Anyway…the lace was $0.10 per roll. Do you have any idea how much is on those rolls?!?! I’ll never run out.

Back to the journal page…

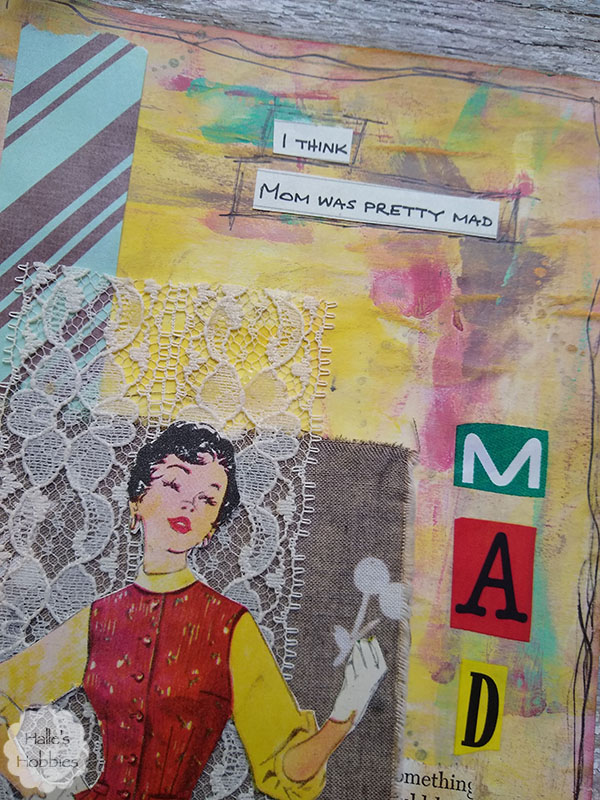
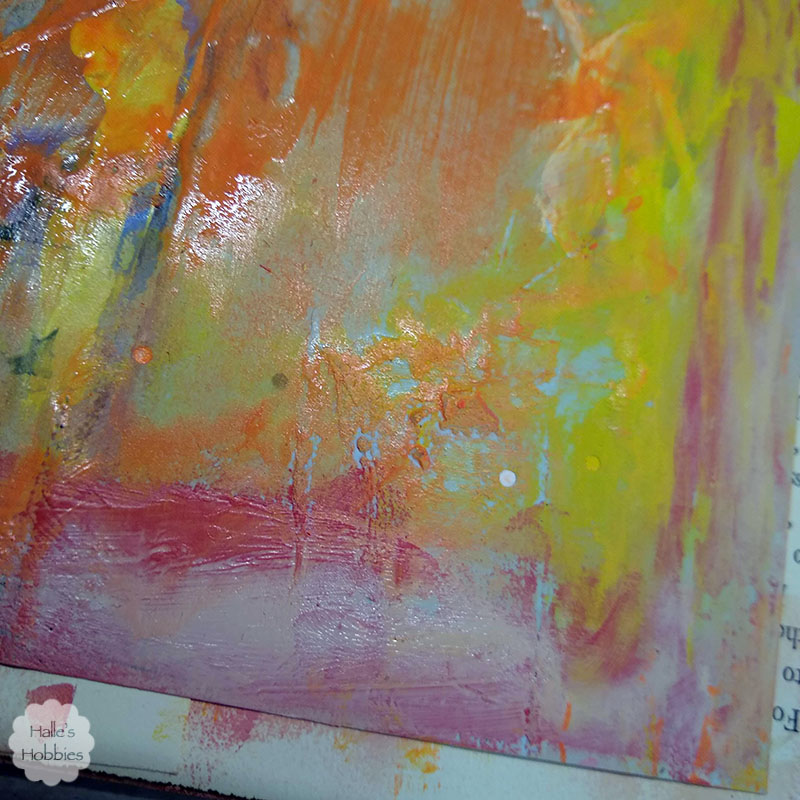
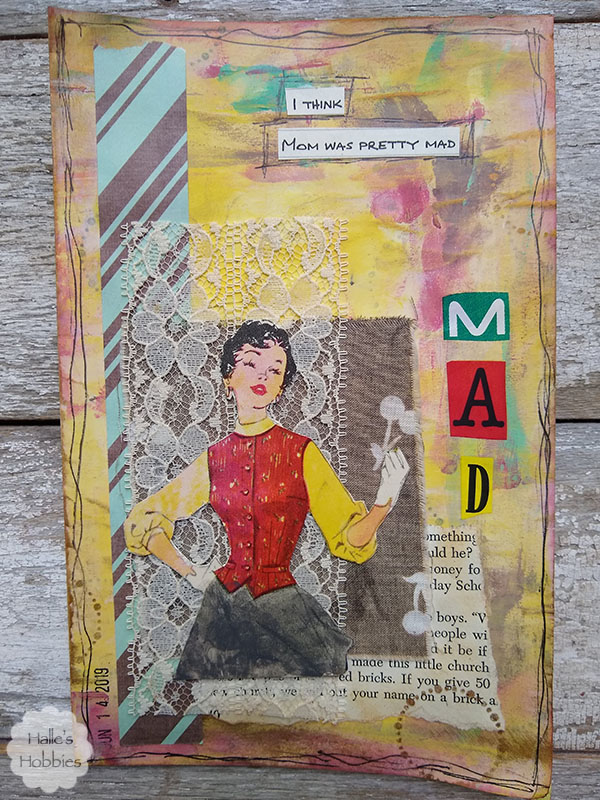
By this time my page had a very retro color scheme. A quick search through my scraps revealed a sewing pattern with the perfect colors. Don’t you just love her fist…like she’s shaking it at those darn kids. My words came from her expression. I happened to have some ransom letter rub-ons again with the perfect colors to highlight her emotions.

Last but not least I used black pen to draw around the words and border the page.  I think I killed two pens before finally getting one to work properly. Paint or gesso and pens are not a good combination. I really need to remember that.

This page is yet another for my theme of Words to live by over on Art Journal Journey.

Art Journal Journey

Last week I found this image I’d printed ages ago…I knew immediately that it would become a focal point in an upcoming journal page.

Since I’ve been using the term “mop up paper” quite often lately I thought I’d share a bit of a process post to give visuals to my words.

This is where my page started. A sheet of blue copy paper 8.5 x 11 inches. I used a glue stick to adhere it to some lightweight card stock.

After the glue was dry I cut it down to my desired size of 7 x 7 inches. Next I got out craft paints and used my favorite tool…my fingers…to spread several colors of paint over the page.

Some of the colors are more transparent than others allowing the original color and marks to show through.

Look at that yummy texture…  I decided to let this air dry overnight instead of drying it with the heat gun.

Of course this is where my process failed…I totally forgot about the fact that I was taking photos step by step.

I used rubber stamps to create some background texture. The black ink harlequin was super subtle…I felt I needed a bit more color and shape. Since most of my stamp pads are pigment ink I used clear embossed powder to set the ink.

I also took the completed background to my sewing machine to stitch a funky border in black to contain everything.

Next I created some layers with paper and fabric to give an anchor to my image.

Last but not least was the words of wisdom to a little girl learning to tie shoes with her daddy’s shoes. I love that they are on the wrong feet too.

Not only am I linking up with Words to live by on Art Journal Journey guest hosted by yours truly….

Art Journal Journey

but I am also linking up with Try it on Tuesday for Make a Mark.


PAGE TOP

© 2007-2024 Halle's Hobbies All Rights Reserved -- Copyright notice by Blog Copyright