• Blog - Crafts - Creativity

    Monogram burlap wreath

    I’ve been loving all the new and creative wreaths that are showing up in home decor, magazines and of course Pinterest. That being said…I have to admit I’m not a big fan of seasonal decorating. Not that I don’t love it when it’s done but it’s exhausting. The unpacking, placing, fussing, moving and dusting only to have to start the process over again in what perhaps a month. And don’t even get me started on storage of said items!!

    I decided that a decorative wreath could be just that…decorative…without being seasonal if done right.

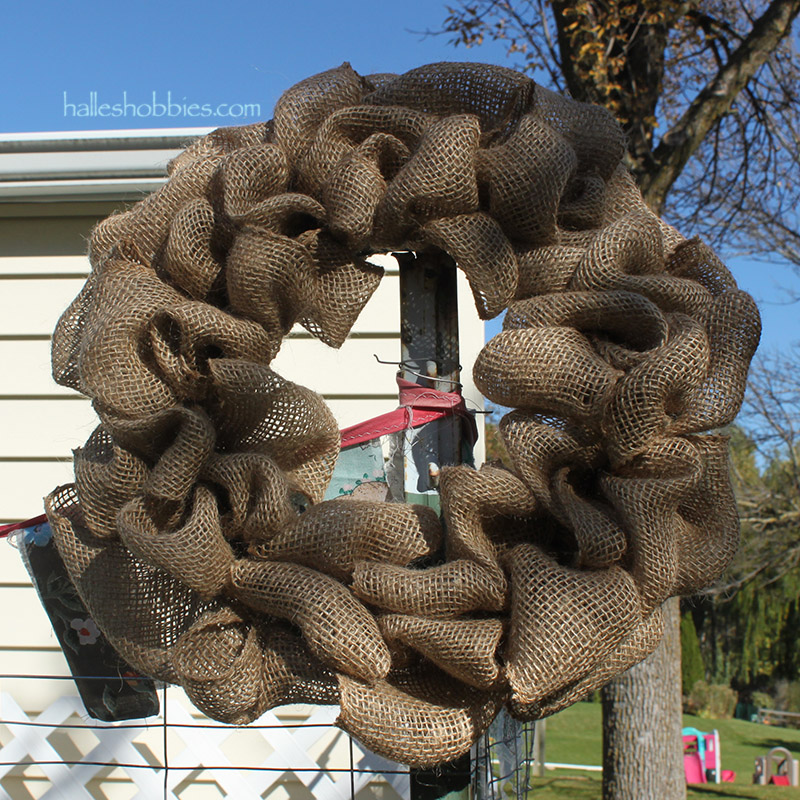
    I love the look of burlap… It’s neutral yet interesting with the texture. A great base. I did a search on YouTube to find out how to create my base.

    This was an excellent video.

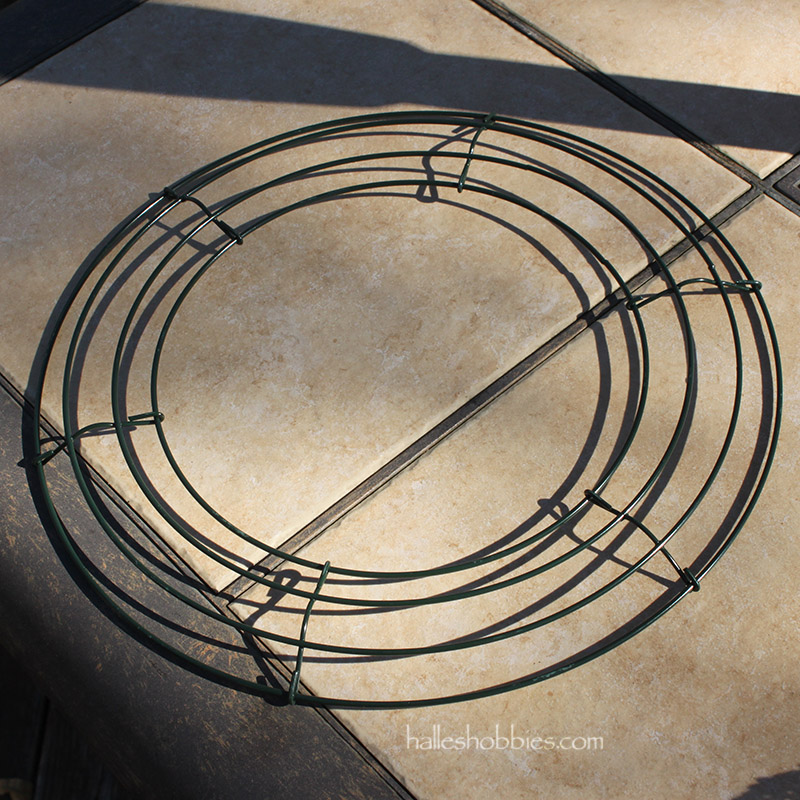
    So I purchased this wreath base…

    wreath base

    and this roll of burlap and set to work.

    The video was perfect and helped me create the basic burlap wreath.

    burlap wreath

    Now came the fun part. Figuring out all the elements I wanted to include. Off to Michael’s!

    monogram burlap wreath | Halle's Hobbies
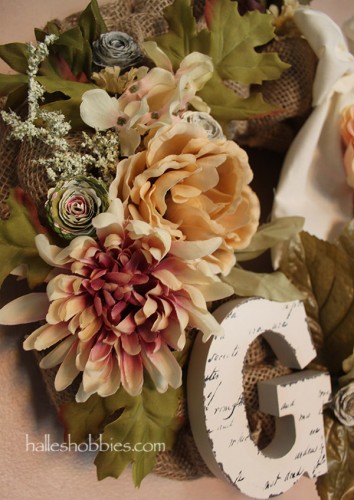
The monogram was from the dollar section and sort of set the tone. Knowing it would end up somewhere in our livingroom, I wanted to find colors that would blend nicely.

    monogram burlap wreath | Halle's Hobbies

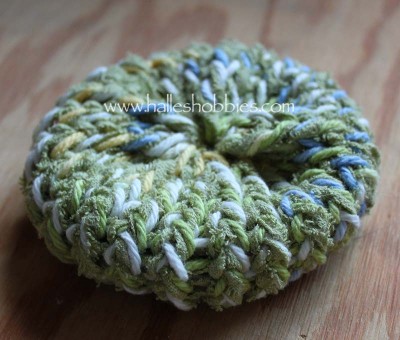
    After adding the items I purchased, I decided to include several of my paper flowers. I loved how they made sense with script the monogram and tied the elements together quite nicely.

    monogram burlap wreath | Halle's Hobbies

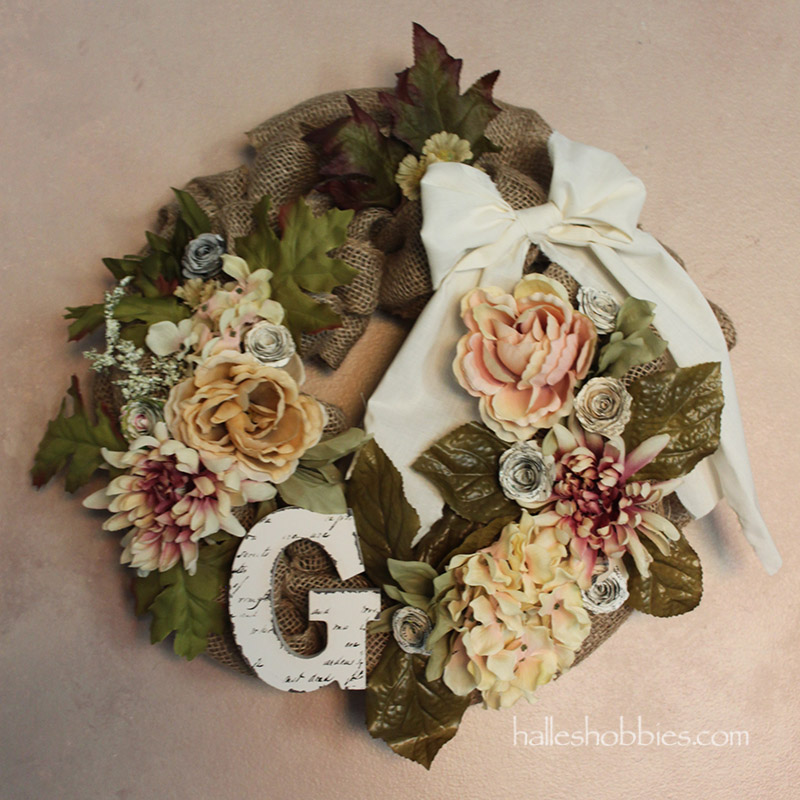
    I simply love how it turned out! It’s a little more feminine than I had intended but it has the vintage feel that flows throughout our livingroom.

    I love having access to a creative communities both in real life and online. Elements and ideas from the multitude of wreaths inspired my own unique creation.

    How do you use online creative communities such as blogs, forums and Pinterest?

    • Step by step direction to create the exact item you fell in love with?
    • Inspiration?
    • Something to get you started?
    • A resource?
    • ??


  • Art - Blog - Crafts

    Inspired by Pinterest

    As I’ve said many many times…I spend a lot of time on Pinterest. I’m often inspired by the images I see. I’m not one to completely copycat but tweak the design a little for my own use. Sometimes it’s color combos that make me run downstairs to create. Other times it’s the curve of a line, interesting texture or a simple splat of ink that has my mind whirling.

    Before a stomach bug took me out of commission for a couple of days, I was inspired by this image and my new found interest obsession in weaving, to create this card.

    woven text with heart

    Actually I made a couple cards since I had strips cut.

    The cards in turn inspired me to create this journal page.

    letyourheartguideyou4

    The Yogi tea tag was a serendipitous find in my stash.

    Would you like to be inspired too? You could always

    Follow Me on Pinterest

  • Blog - Crafts - Creativity

    Loom knitting experimentation

    I have a love/hate relationship with Pinterest. So often I see something that I fall in love with and want to create for myself and the link either goes now where or just to the photo of the thing I was enamored with in the first place even if it clearly stated that it was a tutorial. This is where the experimentation takes over. I see my goal…now I need to figure out how to get there.

    I’m continuing to experiment with  different stitches and patterns on my knifty knitter loom. I saw a really cool dish scrubbie on Pinterest but the link did no good. After studying the photo a bit I came up with my version.20141206_7331

    I honestly don’t know the terminology for all the stitches…I am a visual learner.

    If you are here actually looking for the pattern I will sum up what I did in “Halle speak” and hopefully it will make sense. 🙂

    Using 2 skeins, cast on all 24 pegs continuing the circle as if making a hat. Knit 20 rows. Bind off. Close both ends of tube and flatten. I sent the strings from one side through to the other and tied them off so it would stay flattened.

    So maybe after all my complaining…I’m guilt as well.  I have no step by step directions. Good luck!