Tag : DIY

3 posts

Welcome to another edition of T stands for Tuesday.  Since it has been two weeks since my last T Tuesday post, I thought I’d give a few updates on what I’ve been up to.

Let’s dive right in…

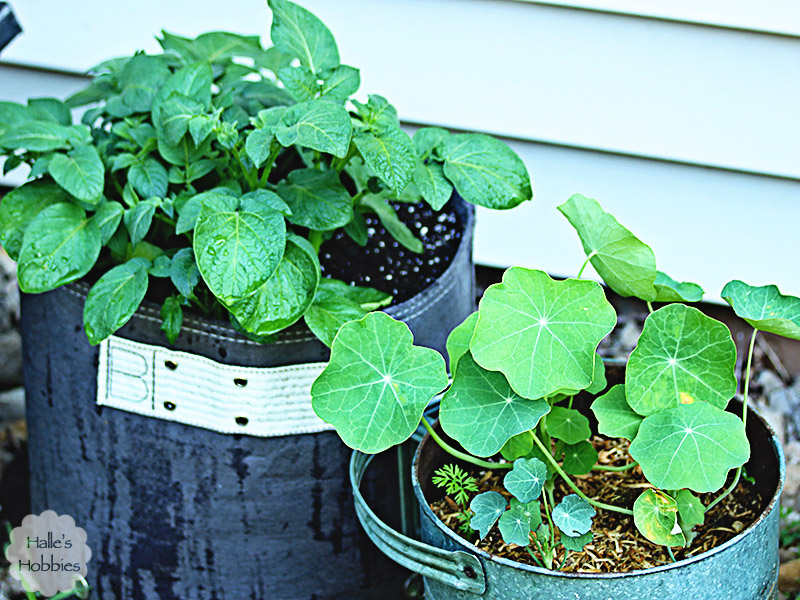
I figured I’d start with a garden update since this photo was just so pretty. Whoever thought a potato plant would be pretty. The galvanized planter holds nasturtiums and a volunteer of some sort.

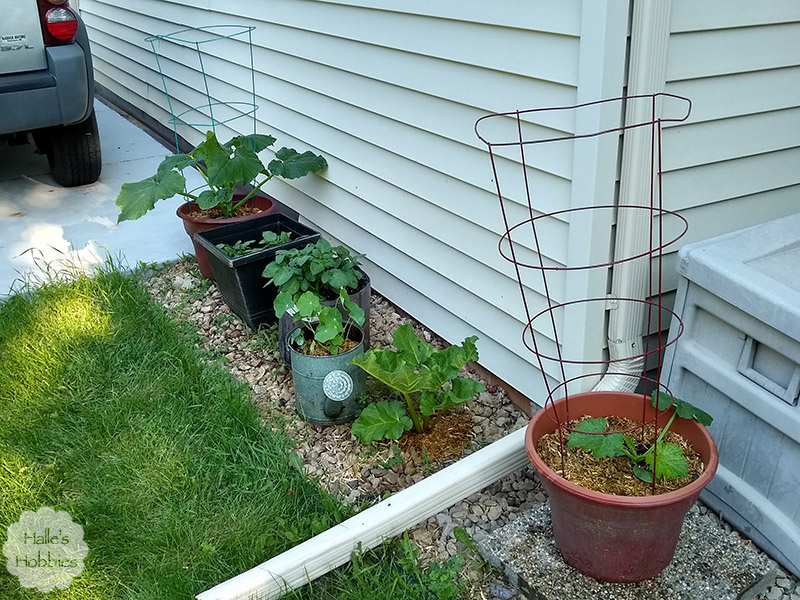
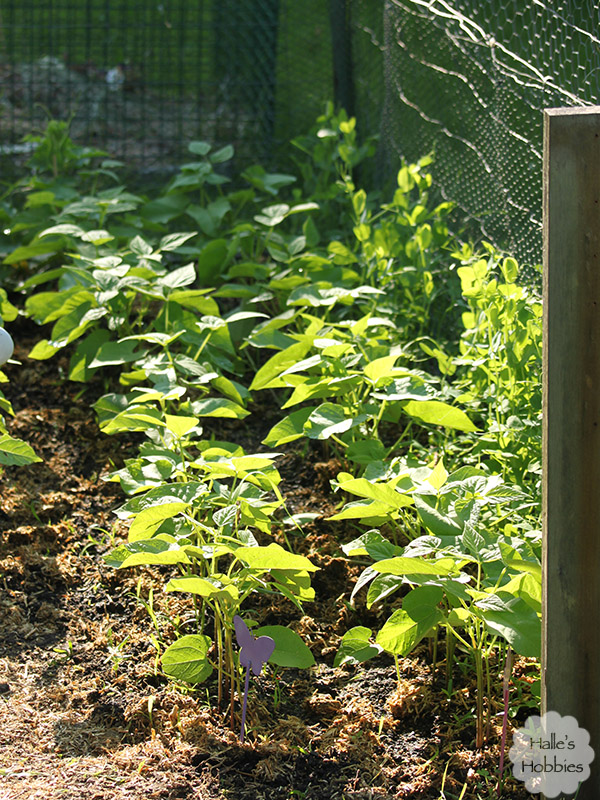
Everything is growing…looking good. It is starting to make me nervous. Every time I have a beautiful garden, some sort of damage happens in the blink of an eye. Hail and pesky deer are the most likely cluprits.

At least this garden should be safe from the deer.

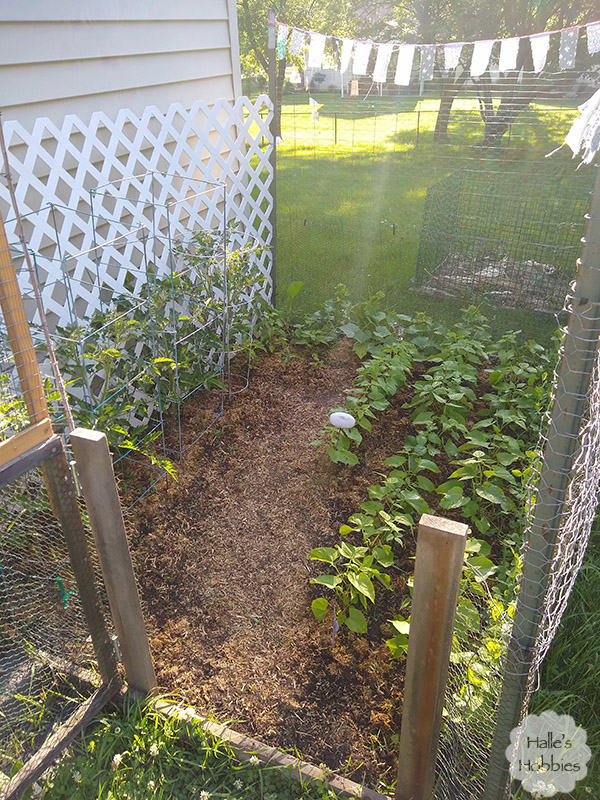
With the addition of the full height gate.

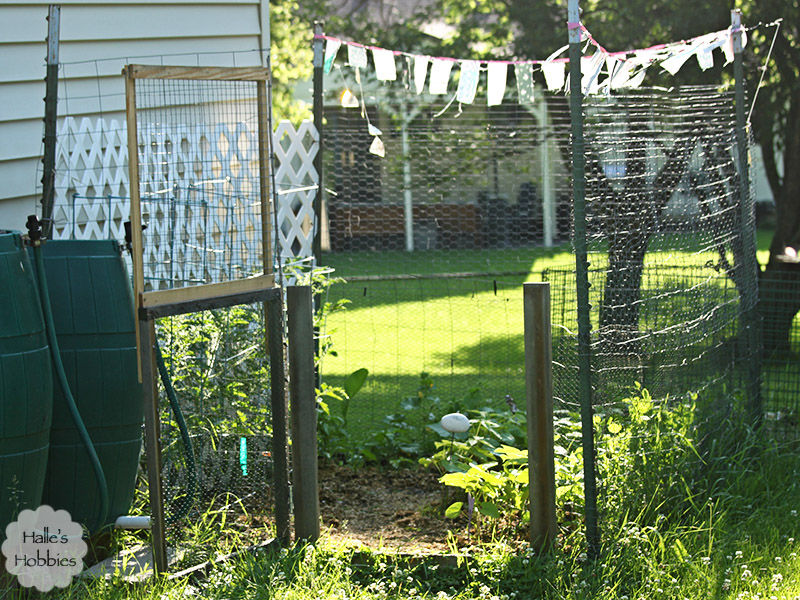
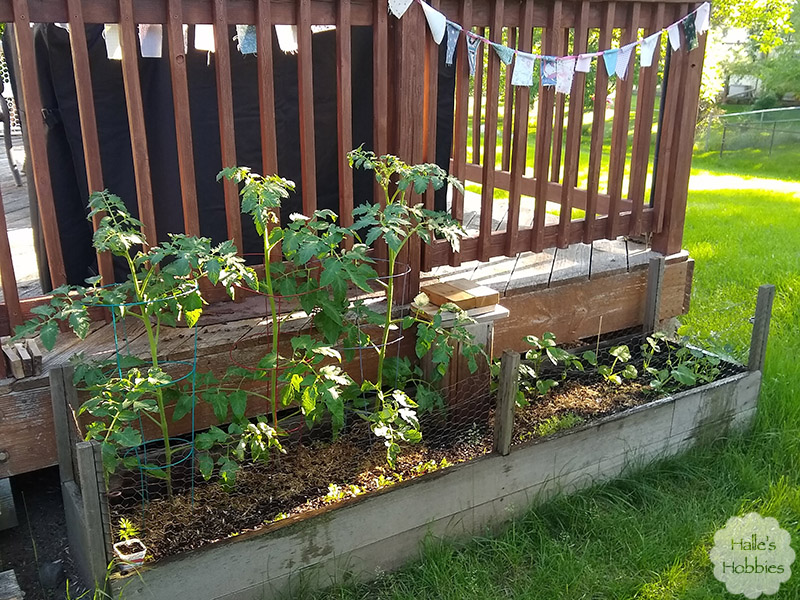
I can’t get over how big the tomatoes have gotten. They all have blossomed with the promise of fruit.

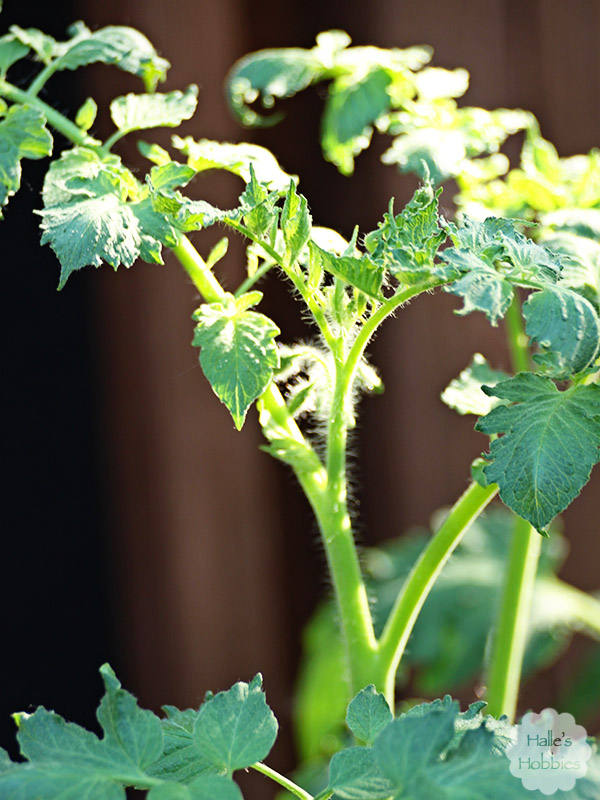
I got outside to water early since the heat and humidity are sky-high for today and tomorrow.

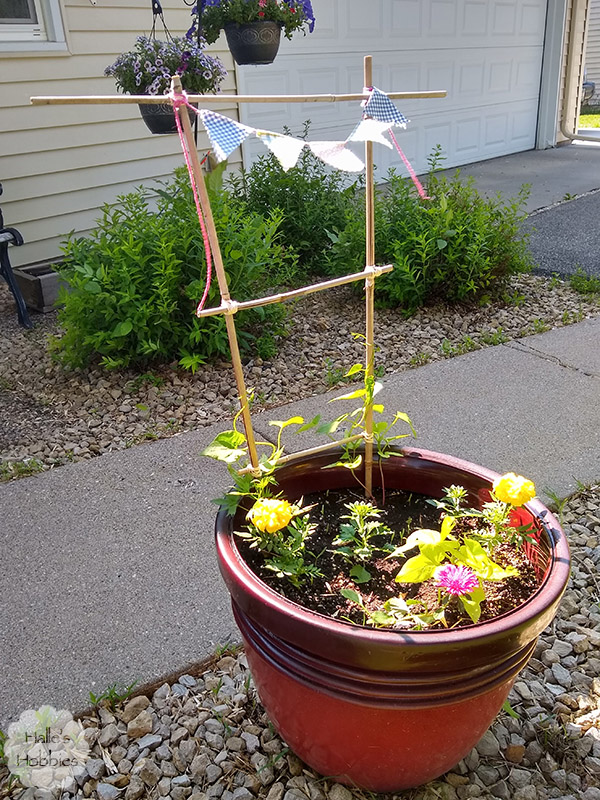
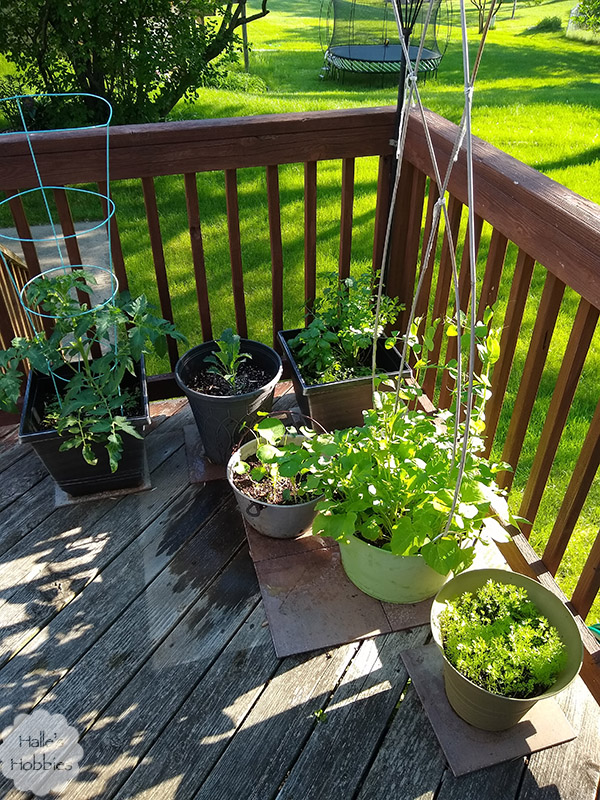
I made a bamboo trellis with little a bunting for each of the large flower pots out front. I decided to plant morning glories and cardinal climbers in the pots this year for something different. I like the height it gives the pots.

I am finally done with school. Distance learning is not fun for anyone…  Since the decision to move to distance learning was made unexpectedly over a weekend, lockers were left untouched. A group of us, over two days, emptied 1600 lockers.

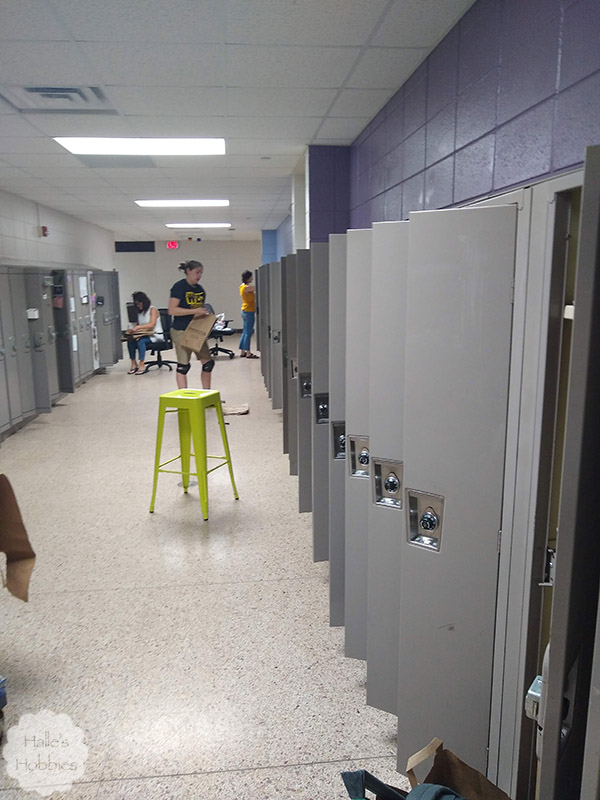
It was a big task but it was awesome to be back in the building. With familiar faces. Talking to people in person.

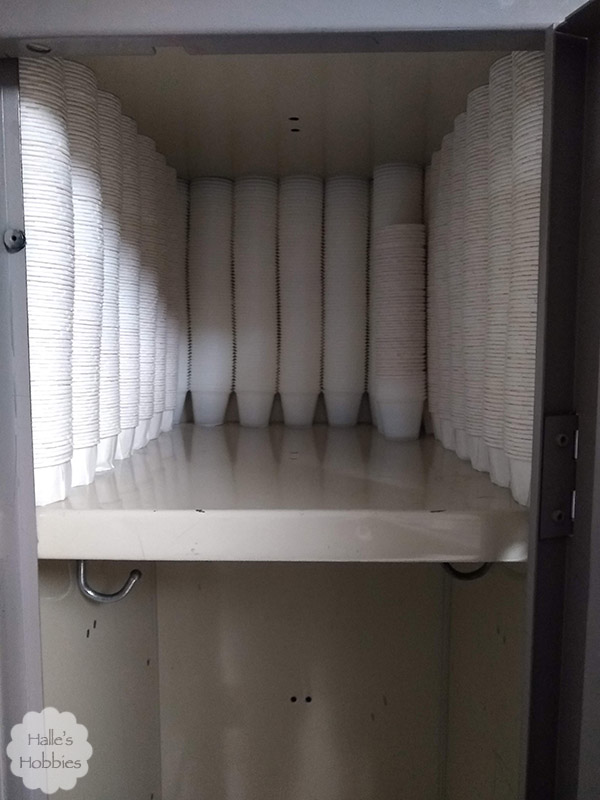
This locker was empty save the stacks of unused condiment cups. Middle schoolers are weird.

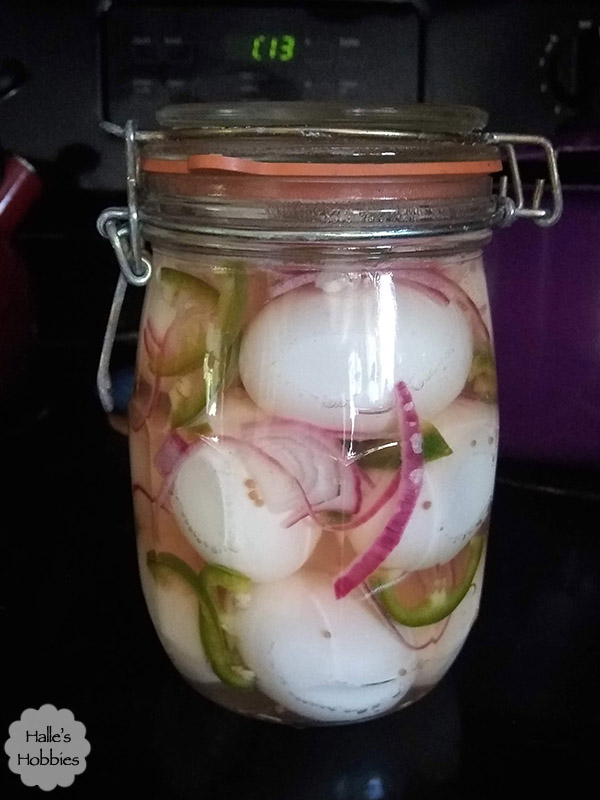
Back at home, I decided to try my hand at pickling eggs. I’m not even sure we’ll like them but time will tell. They need to sit for at 2-4 weeks in the fridge to absorb the flavors.

On Friday, Mini-me had her wisdom teeth removed. She was supposed to get them out 2.5 months ago but…COVID-19 happened, lockdown happened…

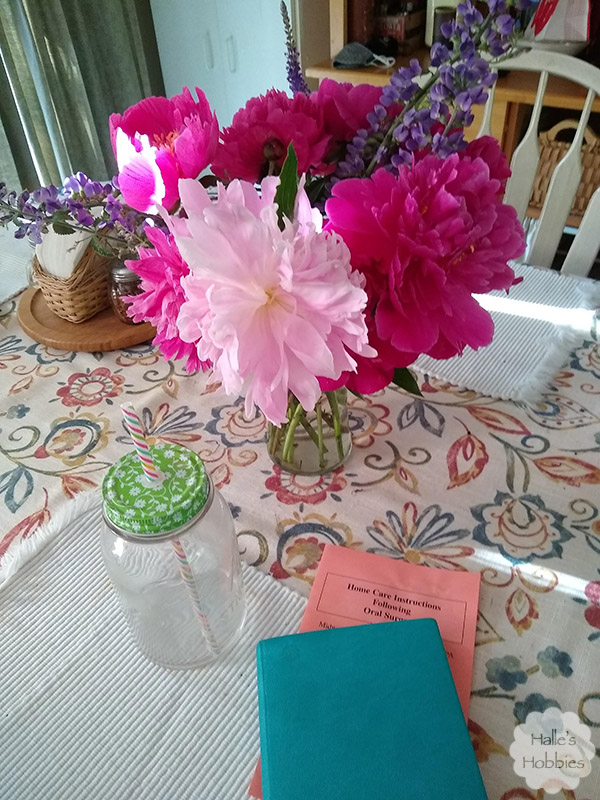
She was having a hard time on Saturday so I picked up this beautiful bouquet at the local farmers market to brighten her day. It brightened her spirits but didn’t lessen the swelling. Poor baby…her face was a square. It is still fairly swollen but the pain is lessening.

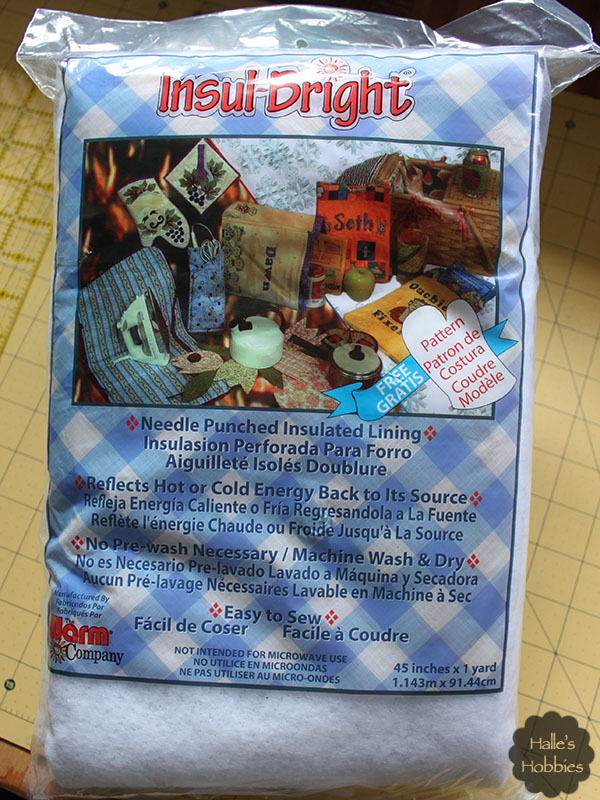
I’ve been working on some more art journal pages for Art Journal Journey. Did you know I am guest hosting this month? The theme I have chosen is A Stitch in Time.

I’m going to be spending as much time as possible indoors over the next 48 hrs to avoid the heat and humidity. There certainly is plenty to keep me busy.

What are you doing today?

We are ready to safely view the eclipse here.

Have my homemade viewing box.

Now if the cloud cover would just roll out of here we might actually get to see some of it. Where we live about 83% will be covered. I hope we at least get a glimpse of it.

Lately I’ve been feeling the urge to make another quilt. A fun, random scrappy quilt. A real scrap buster quilt.  I have several totes full of fabric. I’d say about 1/3 of it dates pre 1980’s. Of course not old enough to be really cool retro fabric…just that awkward 70’s fabric that really doesn’t mesh well with today’s patterns. However I do believe it will work well in a scrappy quilt because it will be small pieces and hey, its scrappy.

One of my main issues with quilting in my current space is that I don’t have room for both a cutting station and small ironing board. It’s one or the other so usually I set up my tabletop ironing board on the game table and am constantly walking back and forth.

sewing space

Marvin is also an issue. He is not good about obeying the rule of no cats on the table. It’s a constant battle with him. I’m afraid he’s going to either burn himself or knock the iron down and have it burn the carpet. Either way it’s bad.

While browsing around at Goodwill I saw this wooden TV tray for $3.99 and was inspired to create my own ironing board that is perfect height for ironing while remaining seated and folds away when not needed.

DIY workstation ironing board

I knew I needed special batting for this project. I researched a bit then found the product I needed on Amazon.

DIY workstation ironing board

At this point I turned my TV tray upside down onto the batting and traced around. I then cut another piece of batting about 2 inches bigger so it would wrap around the outer edge of the tray. I then cut a piece of vintage tablecloth about 3 inches bigger than the previous batting piece. I just eyeballed all the pieces….you know me, I hate measuring.

DIY workstation ironing board

I used a staple gun to attach it to the underside of the TV tray in the same way you’d upholster a chair seat. You basically alternate stapling from side to side pulling the fabric tight as you go leaving the corners for last. The corners are mitered by folding then stapling. There are lots of tutorials and how-to videos out there for this if you’ve never done it before.

DIY workstation ironing board

After getting the fabric stapled down good and tight I used my scissors to trim away any extra. The underside isn’t really ever going to be seen so I don’t care if it’s perfect.

DIY workstation ironing board

Ta-da! Now I have my new work station ironing board and no excuse not to get to that scrap busting quilt.

DIY workstation ironing board

Or have I just made an upholstered cat stand? What a turkey!!

PAGE TOP

© 2007-2024 Halle's Hobbies All Rights Reserved -- Copyright notice by Blog Copyright