Recently I was at a garage sale and found a book that needed rescuing. So of course it came home with me.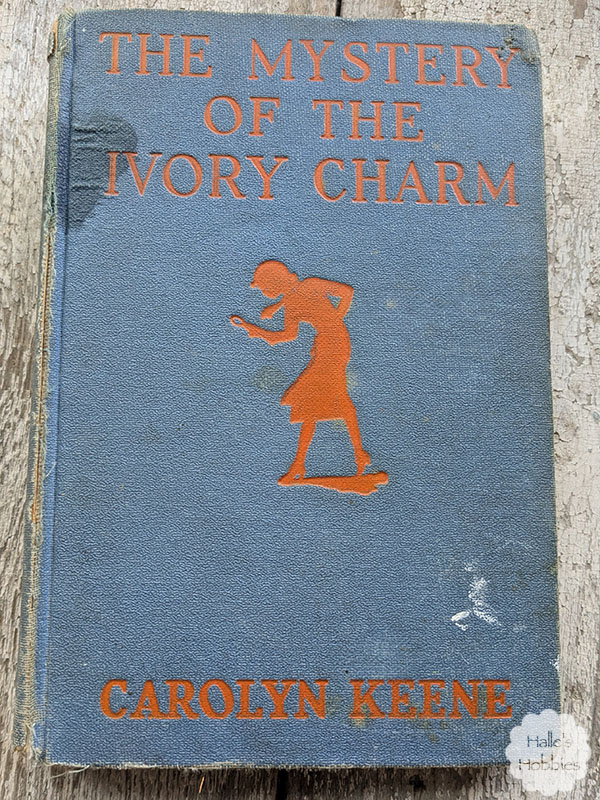
She’s been through it and definitely needs a makeover. The bones are good though…a sewn in binding and heavy pages.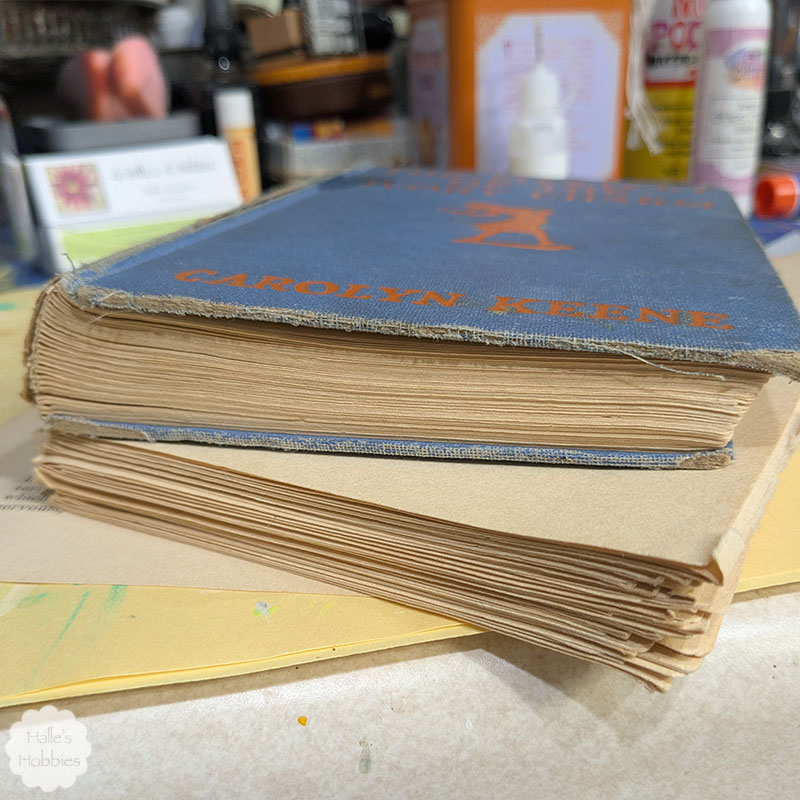
I removed the middle page from each signature to start. This is the absolute minimum in my opinion with how I tend to journal. I can’t seem to help myself and build lots of layers on each page. I’ll likely remove a few more pages along the way as it gets too bulky.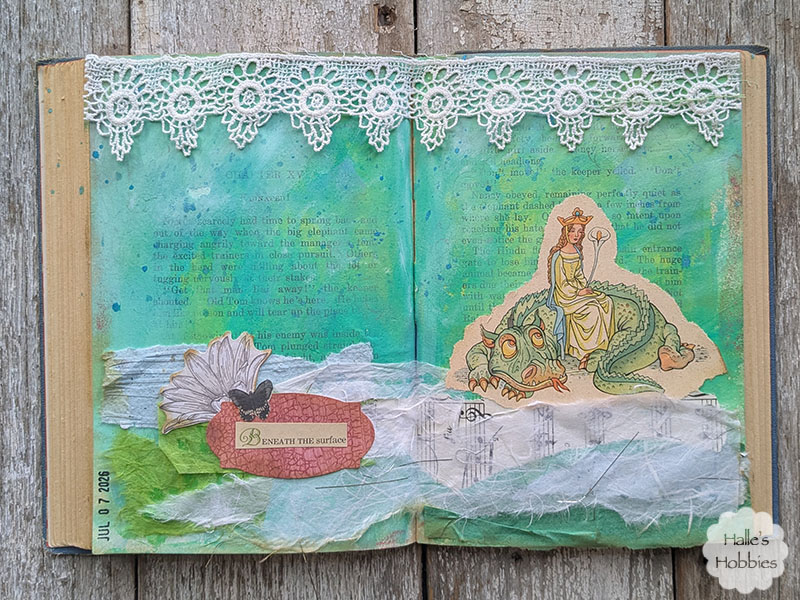
As you can see I immediately starting the process of making my journal bulky…like I said…I can’t help myself.
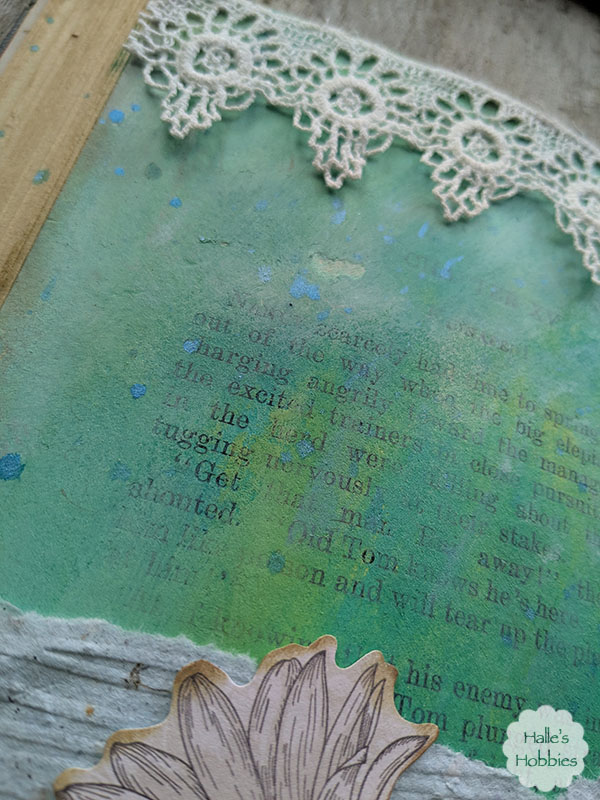
I started by using acrylic paints and my fingers to lay down some background color. In addition I used some ancient tattered angels glimmer mist in blue to create some splatters.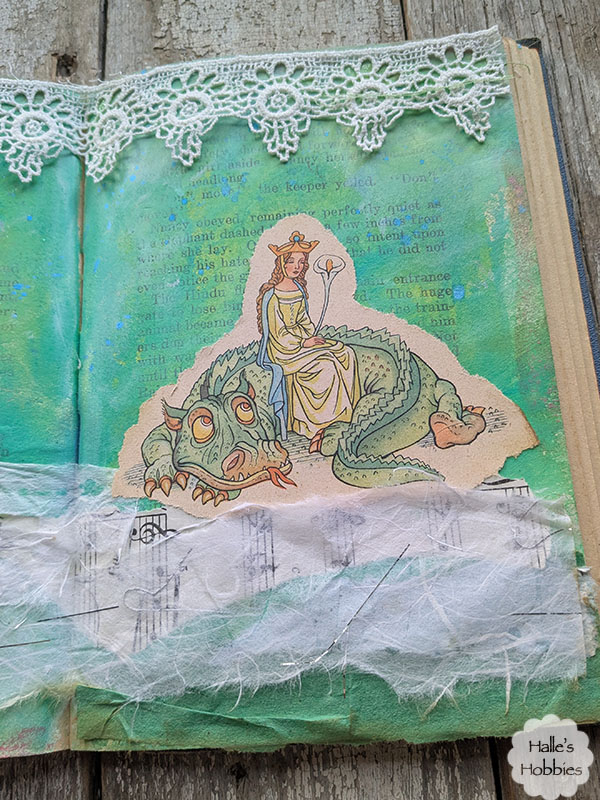
I had picked the illustration before picking my background colors. I layered papers across the bottom of the two pages then tucked the illustration slightly behind the mulberry paper.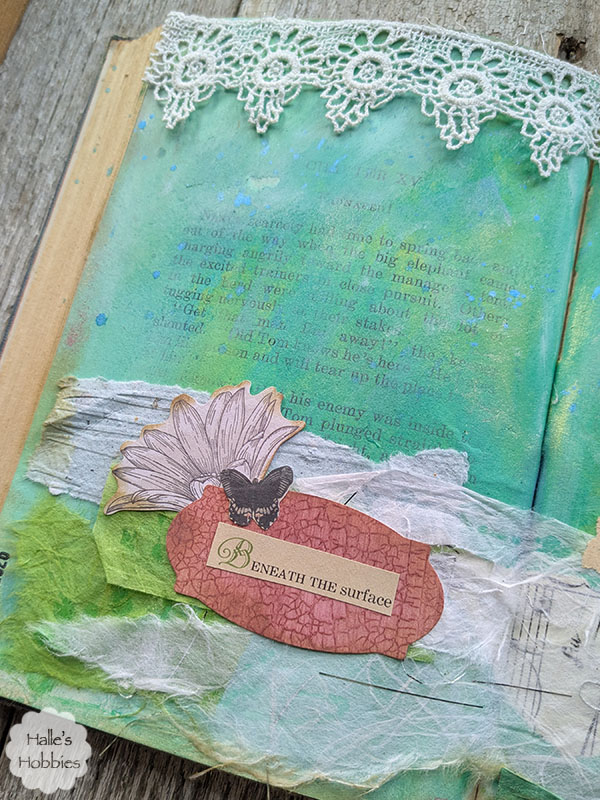
The opposite side was begging for a bit more color to make it more cohesive. I found the bit of die cut scrapbook paper in my basket along with a flower. 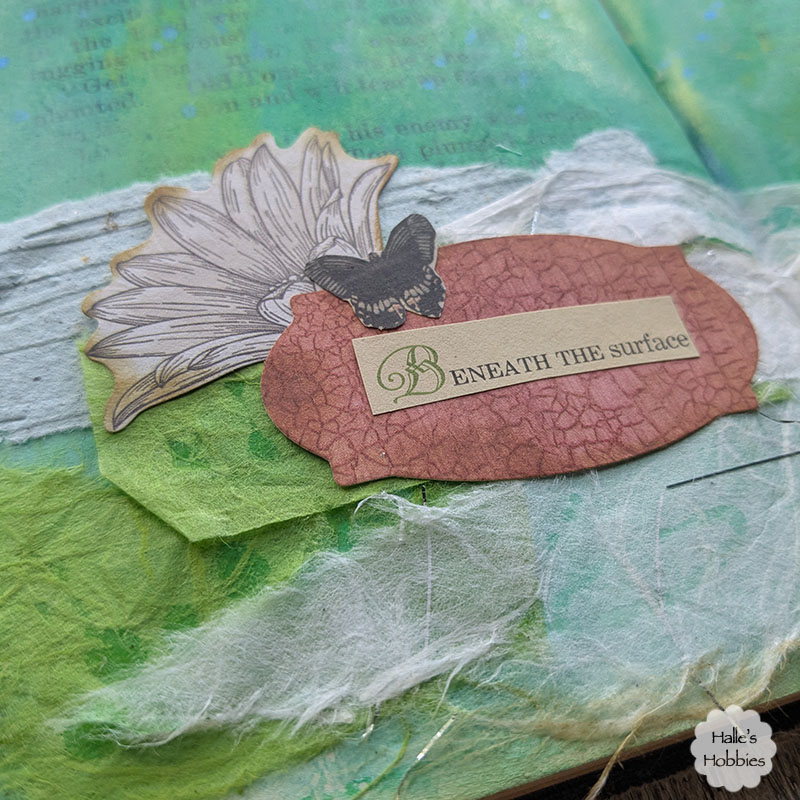 Next I looked through my mini drawer of found text and these words seemed to fit what I was going for. I wanted a tiny butterfly but couldn’t find one precut in my stash. I fussy cut this tiny butterfly from an ephemera tag. I’m impressed that my glasses worked well enough to see.
 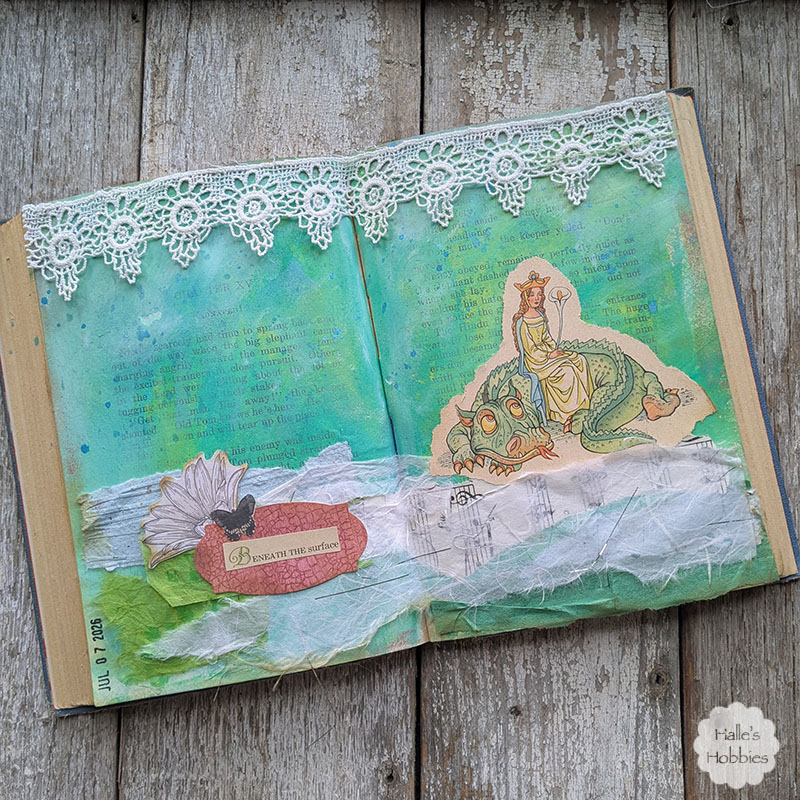 At this point I thought I was done…put my date stamp in the corner and brought it upstairs to photograph. Only then did I realize that it was missing something…and that something was lace trim across the top. I liked it before but now I love my first page in my mystery journal.
I’m linking up with Try it on Tuesday: Animals-Real/Imaginary
Edit: Also linking up with Art Journal Journey for my theme of Fabric, lace and trims…oh my! I wasn’t going to link it because I’m doing a whole journal just with my pages for the month but figured why limit myself!