• Art - Blog - Creativity

    Acrylic pouring

    Ever heard of acrylic pours? I hadn’t until a couple months ago. I watched endless streams of YouTube videos on the process. It looked like something I could totally get into given time, space and willingness to get messy. Two out of three aren’t bad.

    I did manage to eek out some space to at the very least make due so I could try this out.

    My very first attempt I used red, orange, yellow and white with Golden polymer gloss medium. Some videos use silcone or WD-40 in the mix as well but I am not a fan of using any sort of aerosol in the house especially in my minimally ventilated basement. acrylic pour
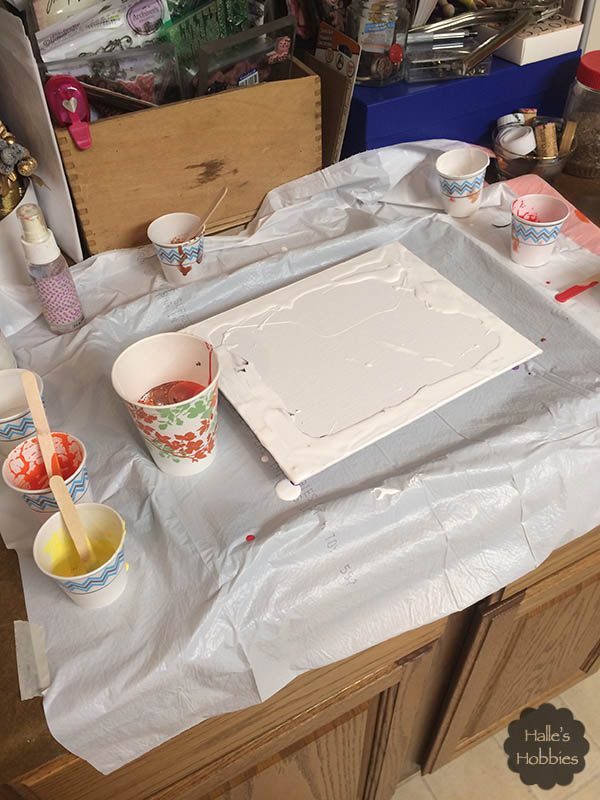
    I’m pouring onto a previously used canvas board that I coated with gesso. I put a bit of white paint around the edges to hopefully assist with the paint moving all the way out to the edges.
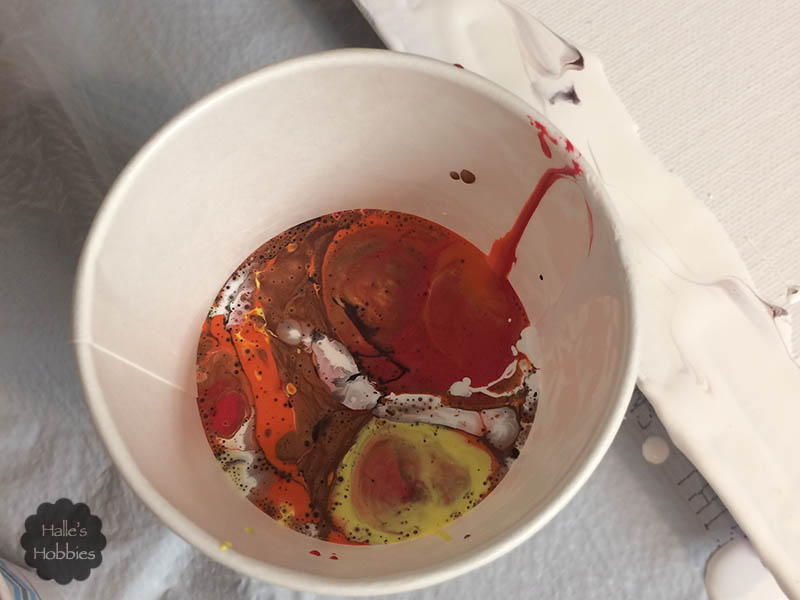
    acrylic pour

    I did what is called a dirty pour. You dump each of the premixed paints into the pour cup in alternating fashion. I really had no idea what I was doing so I just poured them as I felt like at the moment. I then turned the canvas board upside down over the cup and flipped the whole works over. Flip cup technique OR dirty flip cup technique as some have coined.

    acrylic pour

    I was amazed at what happened. The colors mixed and migrated. Color bubbled up from underneath.
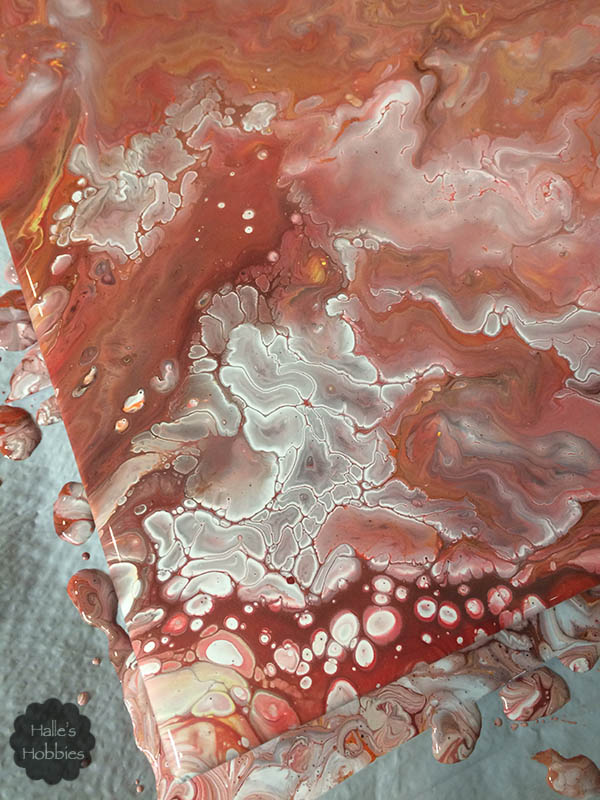
    acrylic pour

    It was mesmerizing. Even the paint that flowed off the edge was beautiful.
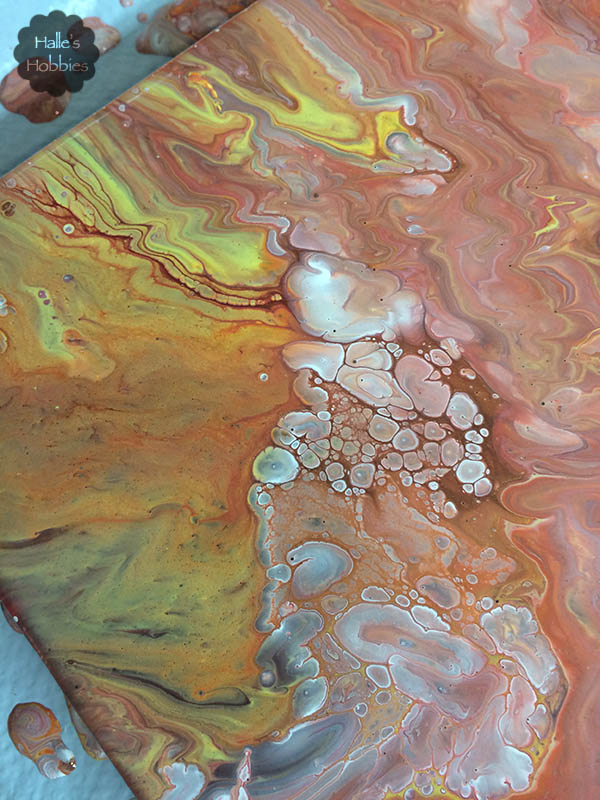
    acrylic pour

    These colors made me think of agates…especially Lake Superior agates.
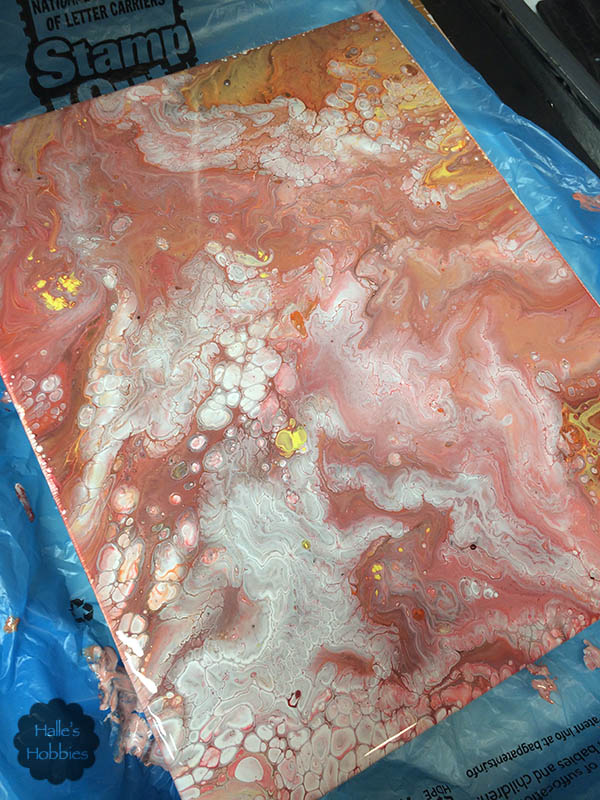
    acrylic pour

    When I moved the canvas to allow it to dry I ended up losing some of the magic. I fear the secondary location wasn’t completely level so more paint rolled over the edge than I had wanted.
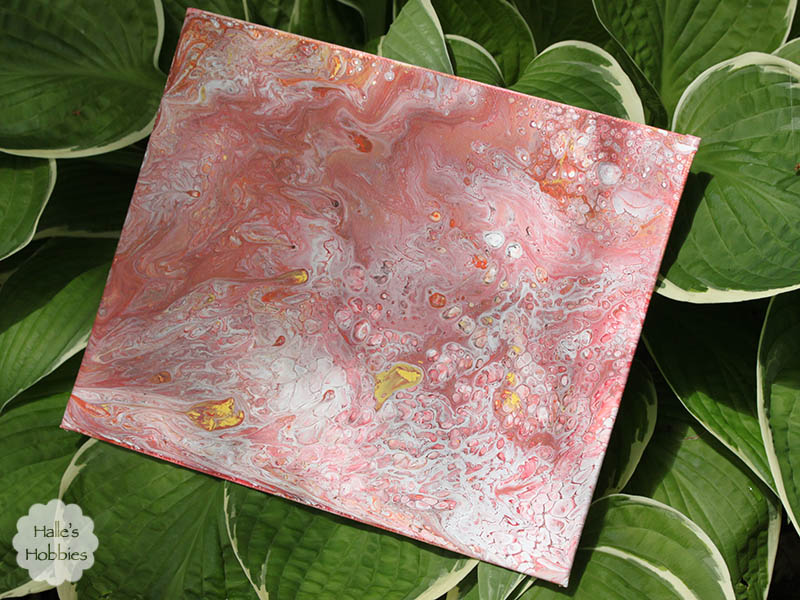
    acrylic pour

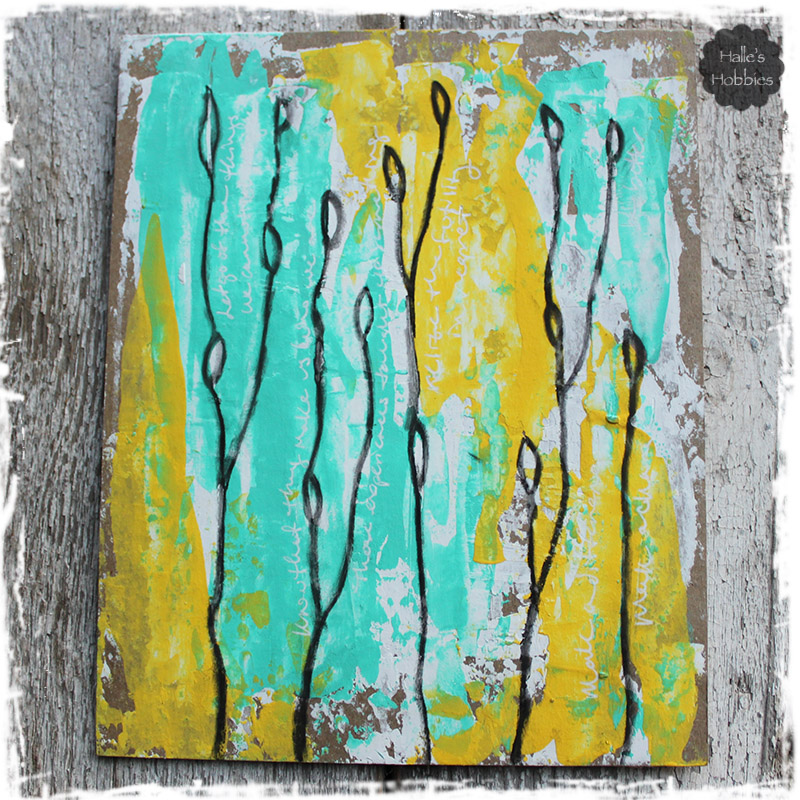
    Here is the end result. A little more pink than I’d hoped but interesting none the less.

    I’ve created several more and even took a video of part of the process on one attempt. I’m pretty sure its my favorite end result. It’s so darn fun. I’m experimenting with cheaper pouring medium. I’ve only had one big failure and guess what!?  I just did another pour straight over the top of it.

    More to come…I promise.
  • Art - Blog - Creativity

    Roses are red….

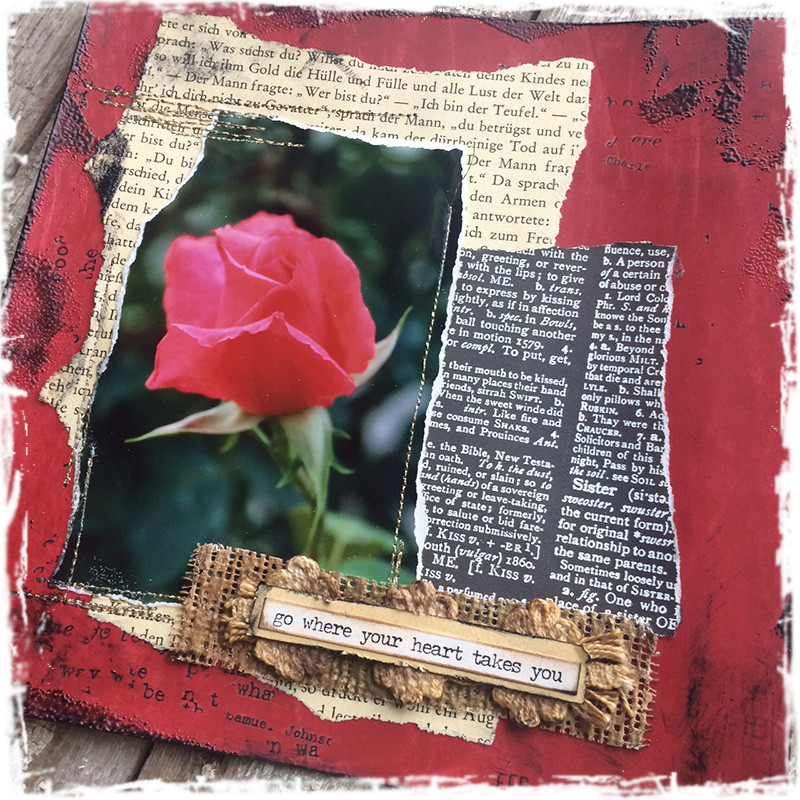
    So far this month I wasn’t feeling the love for the color red. Maybe because from Thanksgiving to Valentine’s day we are swimming in it. Finally, yesterday after doing some cleaning and organizing in my art space, I was inspired to create with a whole bunch red.

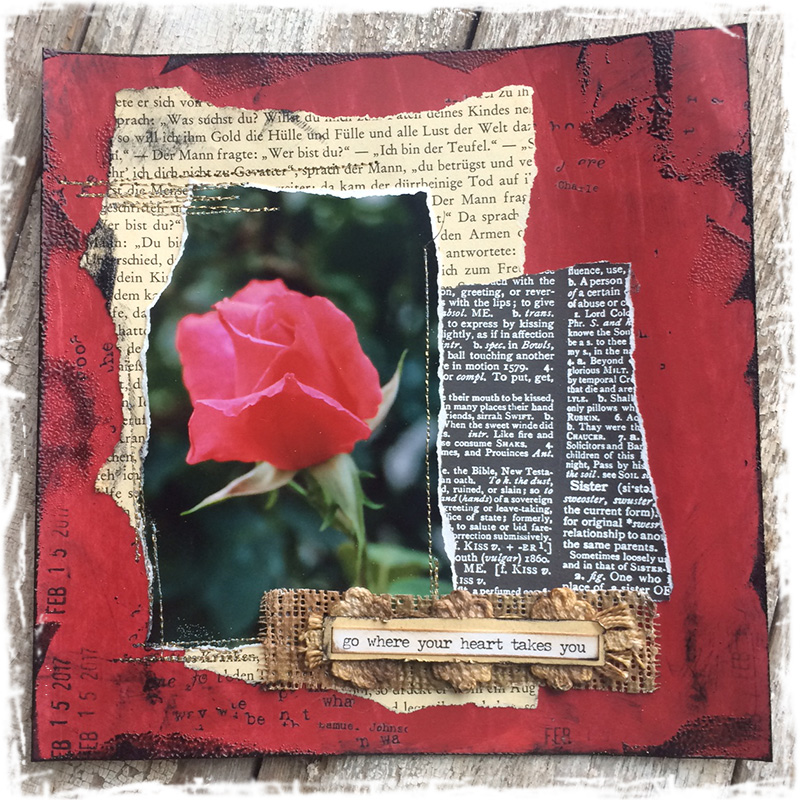
    This is yet another loose leaf page that will go in my scrapbook journal.  I created on the back side of an ugly piece of scrapbook paper using two shades of red and a credit card to scrape it around.  Next I layered some German text from a Brothers Grimm fairy tale book. I find this ironic now as I’m totally obsessed with the TV show Grimm.

    I also used a new art supply…it’s plaster casting cloth. I sprayed it with color mists before lightly distressing the edges. I like the texture it adds although it is messy. The plaster likes to flake off if you manhandle it a little too much.

    I tried something new with rub-ons as well. I have a couple sheets of quotes that really don’t speak to me so I decided that using them as part of the background in a wildly random pattern would work quite nicely. I do love the effect and I’m not just throwing them out.

    The photograph is mine…taken at the Minnesota Landscape Arboretum several years ago. They have a beautiful rose garden…it looks and smells heavenly.

    Linking up with Art Journal Journey for the tongue in cheek theme of Fifty Shades of Red.

    Art Journal Journey
  • Art - Blog - Creativity

    A new happy ending

    Some quiet reflection brought me to this page.

    new happy ending

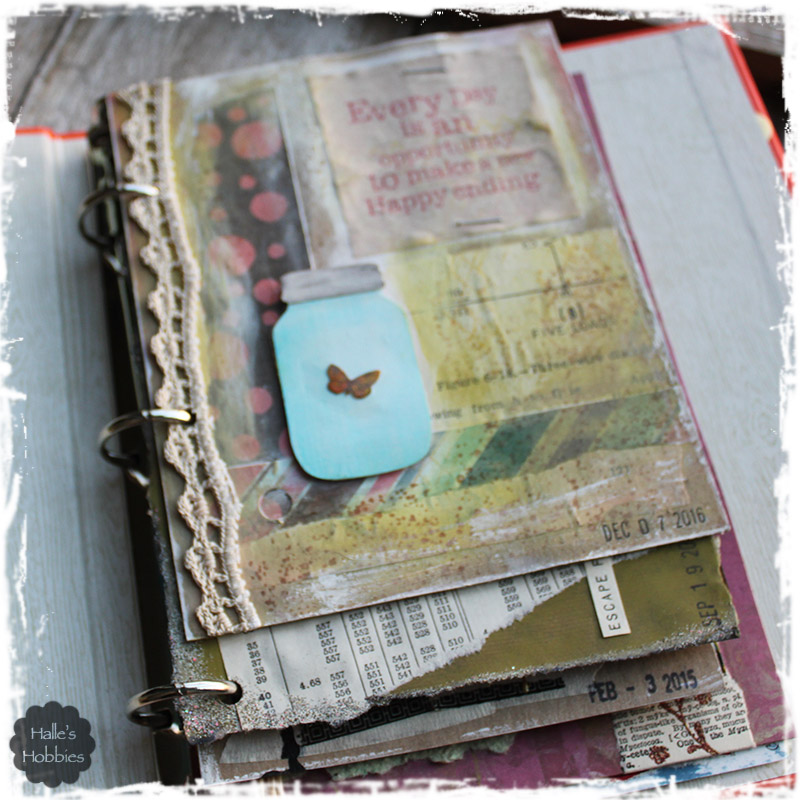
    I used light cardboard for my substrate adding layers of paper and paint.

    glass-look mason jar using punched plastic

    Gelatos were used on this paper pieced mason jar. I punched a jar from a plastic sleeve and adhered over the butterfly giving the illusion of glass.

    charcoal doodles with white pen journaling

    Before punching holes in the page for my polka dot journal I did a bit of paint scrapping, doodling with charcoal pencil and personal thoughts in white pen.

    nearly full polka dot journal

    My polka dot journal is basically full. I may do two more pages that I can adhere to each of the inside covers before called this one complete. I originally thought I’d do something on the front cover as well but unless it’s non-dimensional…which has not been my MO lately….it’s likely better that I leave it just plain.

    I hope you forgave me for being so insensitive…so long old friend.