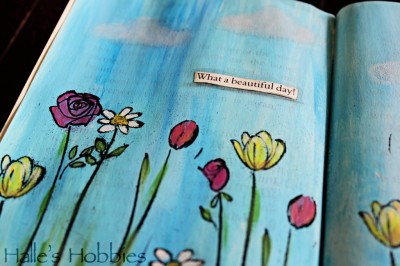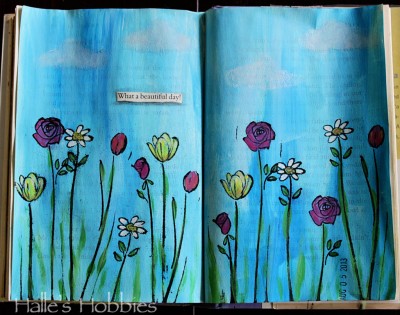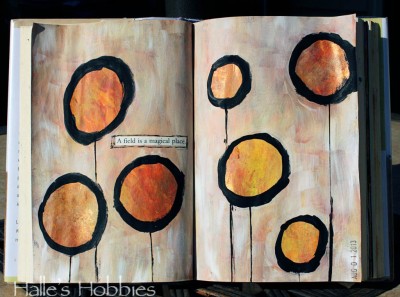
Another page in my cursed journal. Photographing this page proved to be a challenge. This was the best shot I could get and it still doesn’t have the look that it does in real life. I’m bummed because I think this is one of my very favorite pages EVER.
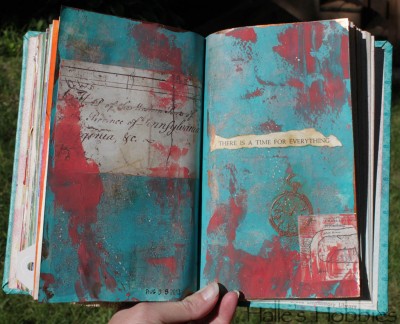
After I stamped and embossed the pocket watch image, it looked just too perfect. I took some sandpaper to it to mess it up a bit. This made me much happier. 🙂
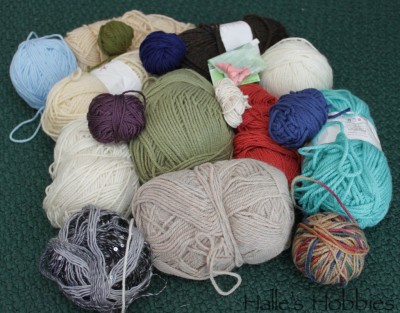
I also had to show off my yarn haul from the thrift store. Woo-hoo…lots of knitting and crochet material for the less than the price of 2 average skeins.