 If you joined me for T stands for Tuesday, you know that I had a list long enough to choke a horse. I usually do but I always try to allow for a little “playtime” each day as well. I can’t say that it happens all the time but I am ever grateful when it does.
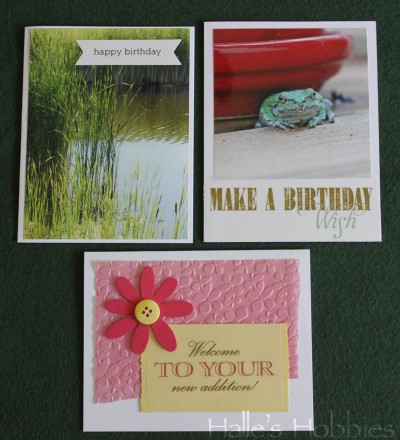
We have some occasions this month that are in need of greeting cards so I’ve been hard at work creating them for the events.
 In addition, I’ve been making a bit of miniature terrain as well. While Mr. G was purging the office, I spied a few pieces that looked like they would work really well as gaming terrain.
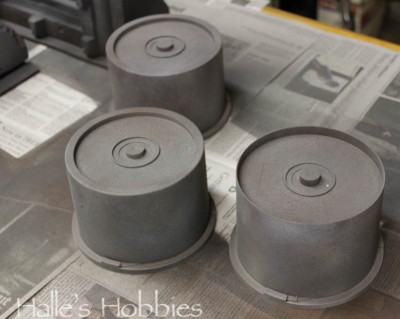
These first three were….CD spindles. Did you guess right?
I thought they’d make good bunker or storage pieces.
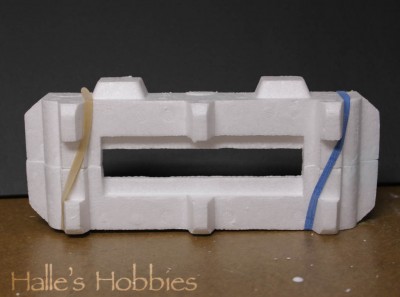 Next came some molded Styrofoam packing pieces from a very ancient…in the computer world…CDROM drive. I looked at it an saw another bunker, nearly the same design as one you’d pay upwards of $50 for. Crazy, right? So I cut it in half and glued it together….now I have two!
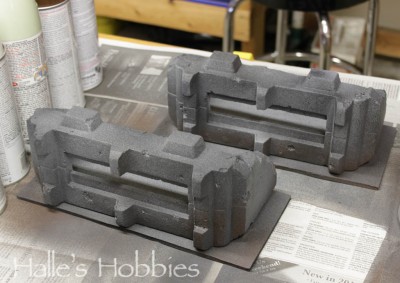 After adding some additional foam pieces and painting the whole works with a mix of gesso and black craft paint, I spray painted everything with my splatter technique.
I layer the colors of spray paint without letting it dry between coats.
I use a light hand with the color. It gives a rich depth of color…almost an airbrush effect.
I used 5 colors of spray paint on these pieces.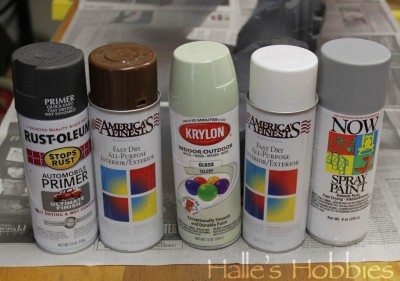 They were obtained from the recycle center and my folks place.
I know this is not my usual type of art but sometimes I get a very different crafty bent. This happens to be one of those weeks.
Hope I didn’t scare you off. 🙂