Welcome to the first edition of Second on the 2nd of 2019. It’s fun to look back and re-share posts from the past. Since my focus lately has been journals I thought I’d re-post a tutorial I wrote about one of the ways I prep a vintage book for altering. The altering after this point is completely up to you.

![]()
2/8/2015
Since I was starting a new journal I thought I’d share with you my process for prepping the book. First find yourself an old book that appeals to you. For me it was the size of this book. Not too small or too big… Just call me Goldilocks.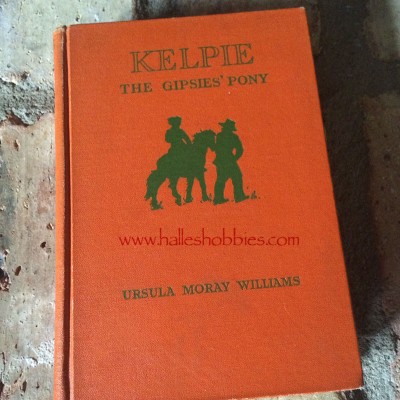
Look inside to see what kind of binding you have.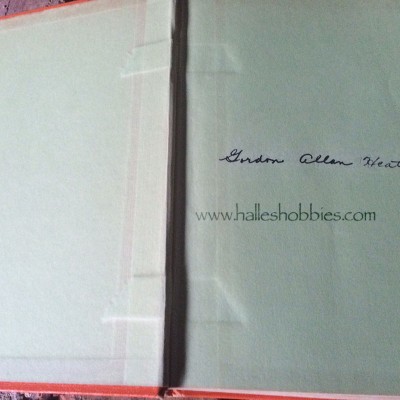
This inside cover gave me a really good indication that I had a sewn binding but I had to make sure.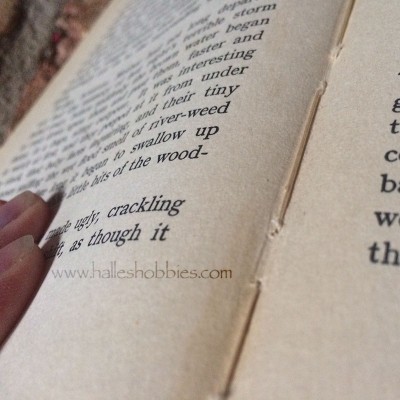
Yep…sewn binding. Perfect! Now we’re ready for the thinning of pages without leaving chunks of torn pages along the inner spine. Removing pages reduces bulk since the altering of a book whether journal style or a themed altered book adds lots of bulk!
I find the center of each signature (as seen in the above photo) and remove the page from each side.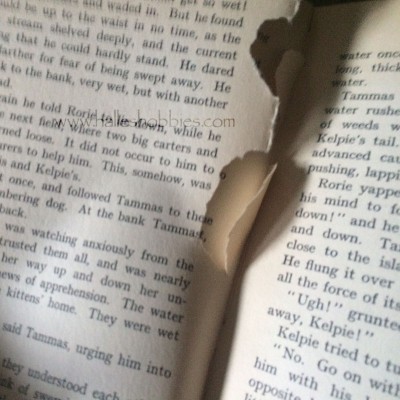 Like this. I go back and carefully pick out all of the torn fragments. It will appear as if nothing has changed until you look at the page numbers. You’ll have a definite gap which would make reading the story a real challenge at this point.
I remove at least one page from each signature, sometimes more. You can always go back and remove more. 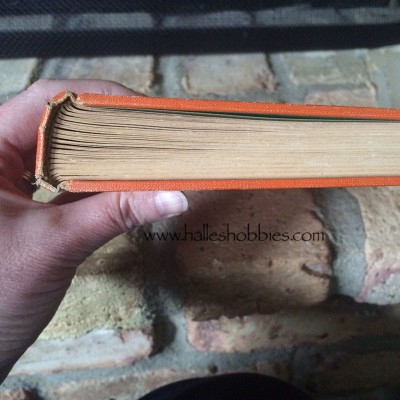
Here you can see the gaps along the spine and how the book is more narrow going toward the outer edge. This is exactly what you want. 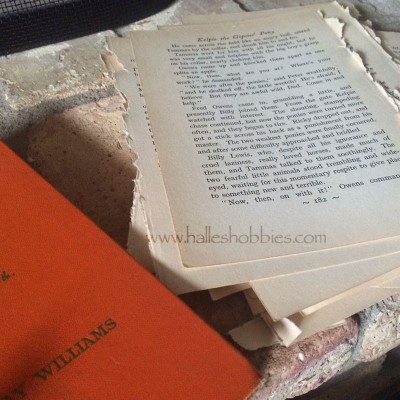
You have a nice stack of pages for your altering pleasure when you are done.
~~~~~~~~~~~~~~~~~~~
So here’s an after photo of the completed Gypsy journal.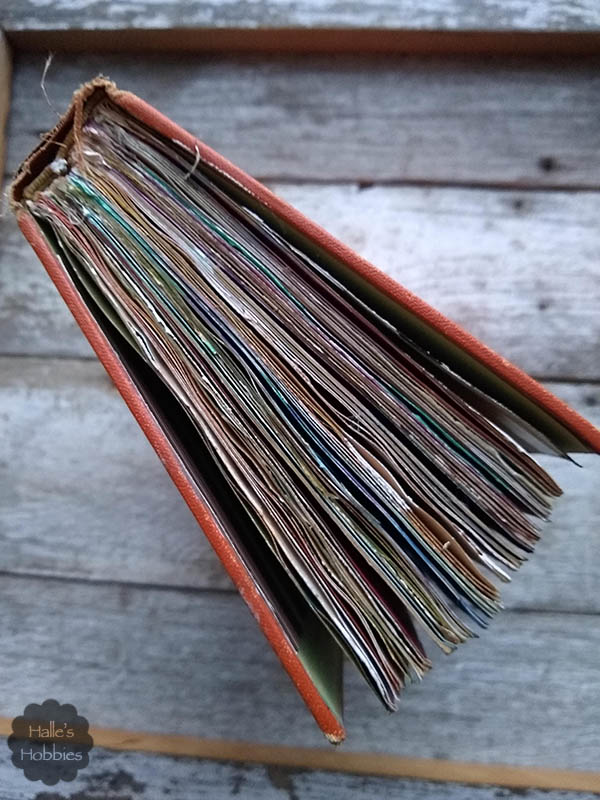
Thanks for stopping by for Second on the 2nd.
These are clear instructions, thx! I think I’ll start looking for a suitable book to have around. This would make an interesting project as I learn more about these artistic endeavors 🙂
thank you so much for this tutorial-it really helped me out as I didn’t know to check for a sewn in binding. I did one altered book and it was for sure too thick-but I loved making it and one to do another sometime
Happy second on the 2nd hugs Kathy
I remember this post and love your photos. So much better than mine when I was teaching the class. It’s amazing how much you added to that book and I would give anything to flip through it sometime. Thanks so much for sharing it with us as your second look on the 2nd.
sorry I’m late visting. It was so cold here today, I just stayed under the covers with my two motorboats.
Great tutorial, Halle. So glad you re-osted it. I never thought of doing that. It makes perfect sense. Gosh, the things I’ve learned from the T-ladies & 2nd on the 2nd participants could easily fill a book like that! Hugs, Eileen
I loved seeing this as it confirmed I had remembered something when I did this to a book a few days ago!
Hugs,Chrisx
Good idea with perfect illustrative photos. Taking out the signature at the sewing page makes perfect sense. I know someone who cut the pages at the fold but this is so much better. I’d love to see inside the finished book too, it looks intriguing.