I’m happy to be hosting over on Art Journal Journey once again.  I believe this is the 5th time I have joined in this capacity. It’s very kind of our hosts to save a summer month for me, as I am currently off work for the season—one of the perks of working in K-12 education. Enough about me… I want to introduce our theme this month:
Fabric, lace and trims…oh my!
I have a passion for sewing as well as paper arts, and I couldn’t help but pick a theme that would join the two. I hope you have as much fun playing along as I have making my first page.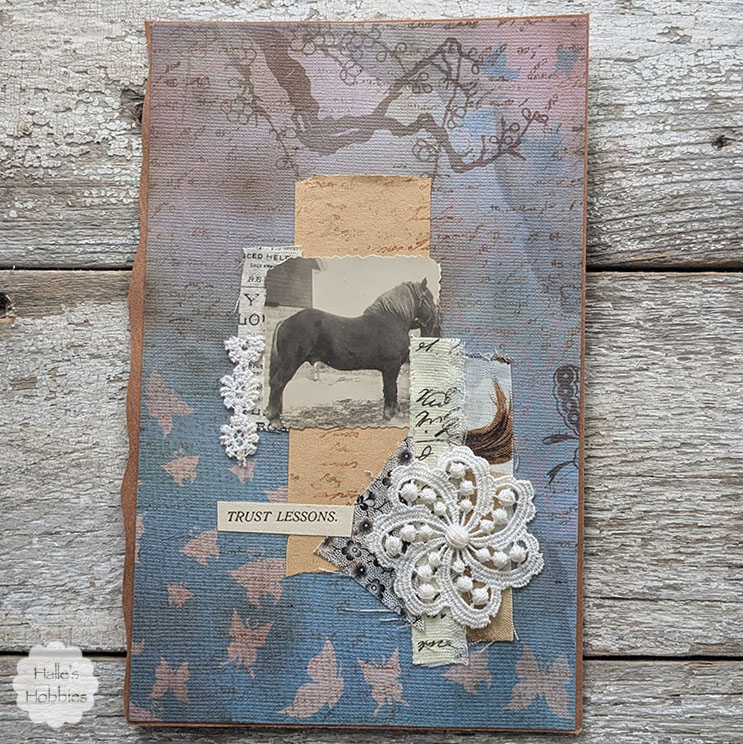
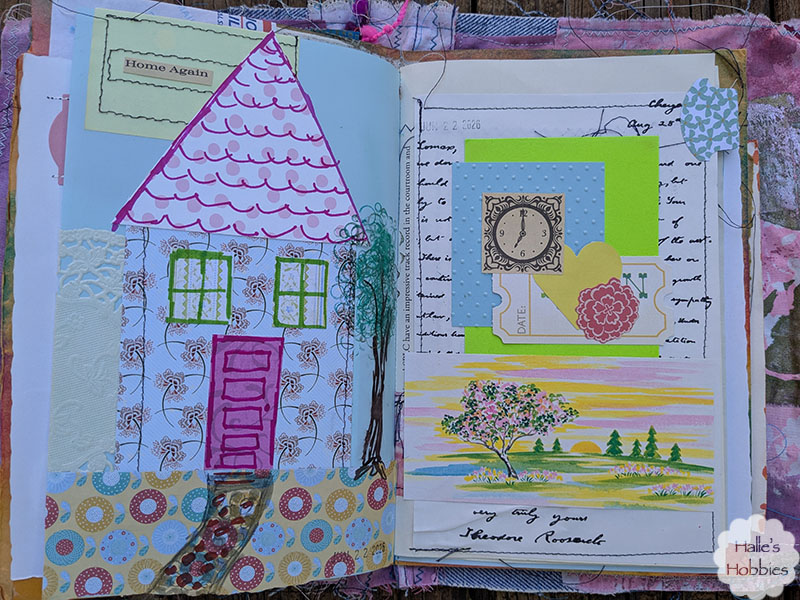
Before I get into the details, I wanted to mention that I’m making all of my pages this month in a very custom size to fit in a ledger with a 4 ring binding.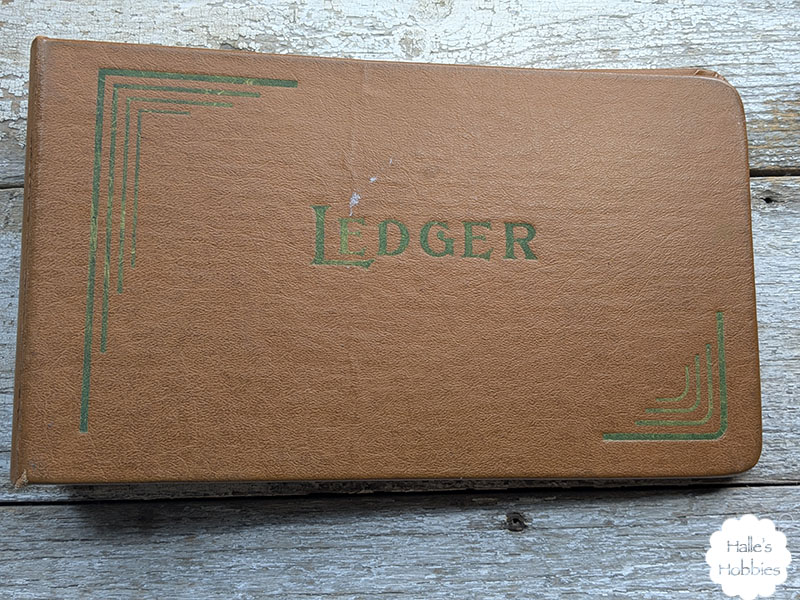
It’s been in my stash for far too long not to be used. 
I really love working with loose leaf type pages, so this seemed absolutely a perfect pairing for my project.
My pages measure 5in x 8in. Not your typical sizing but when you are working with a vintage item, you just have to roll with it.
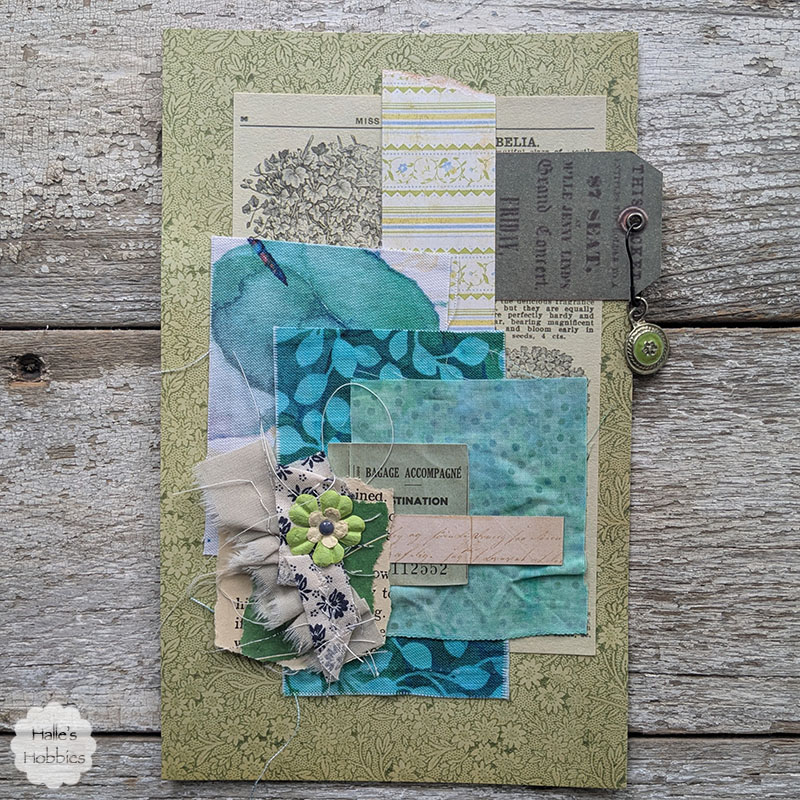
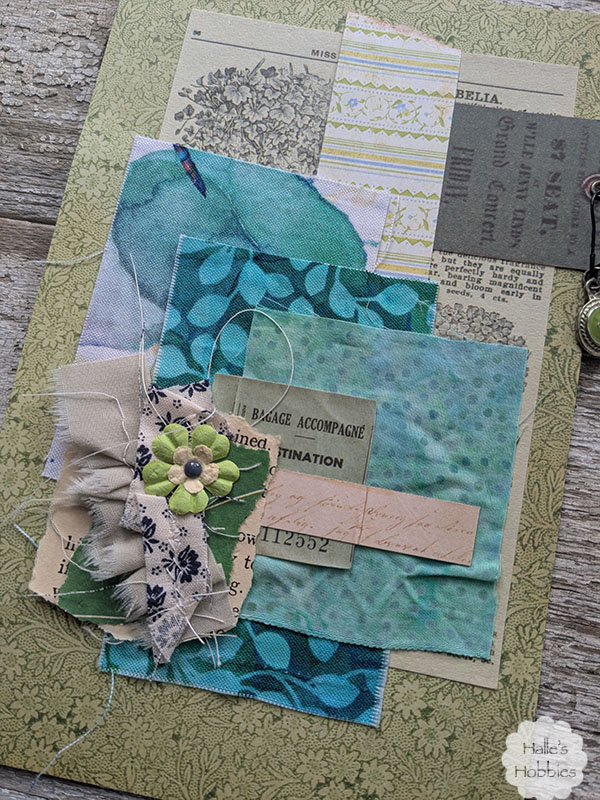
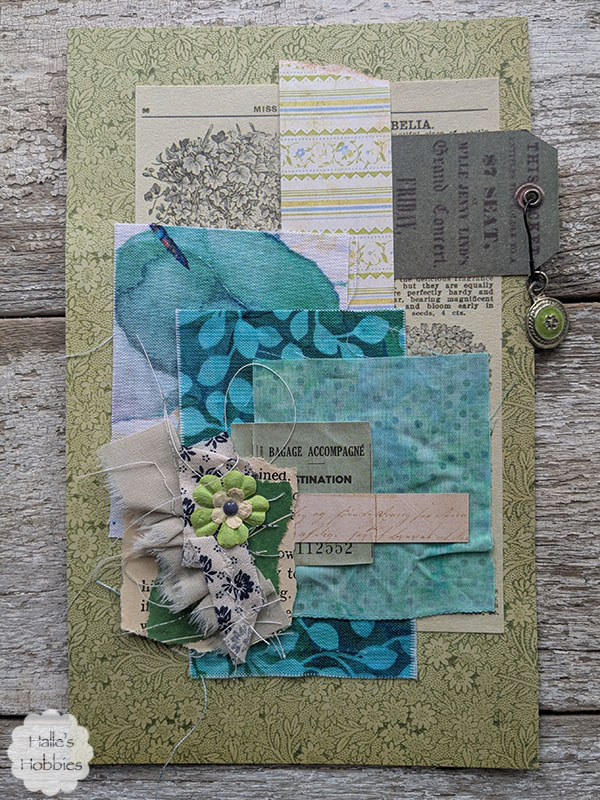
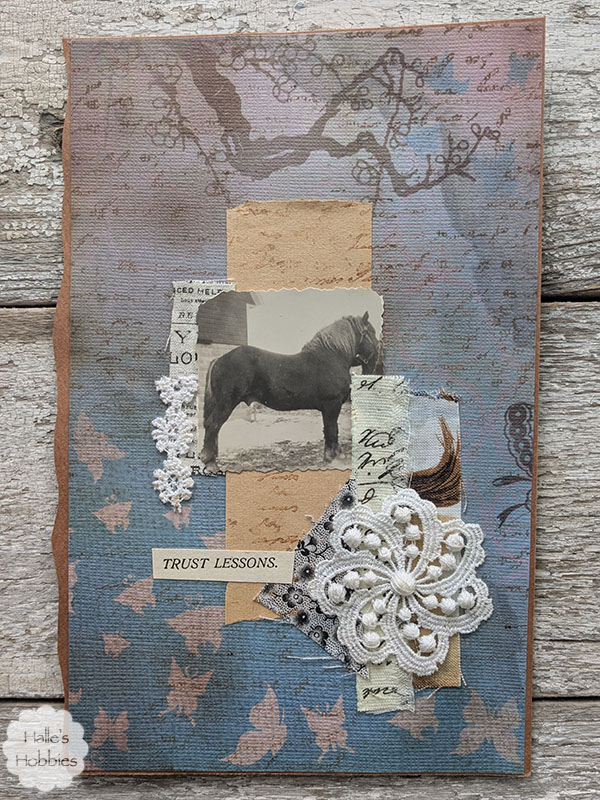
I started with an 8×8 sheet of scrapbook paper that I trimmed to 5×8. The paper itself had a lot of character but I didn’t let that stop me from putting down lots of layers. 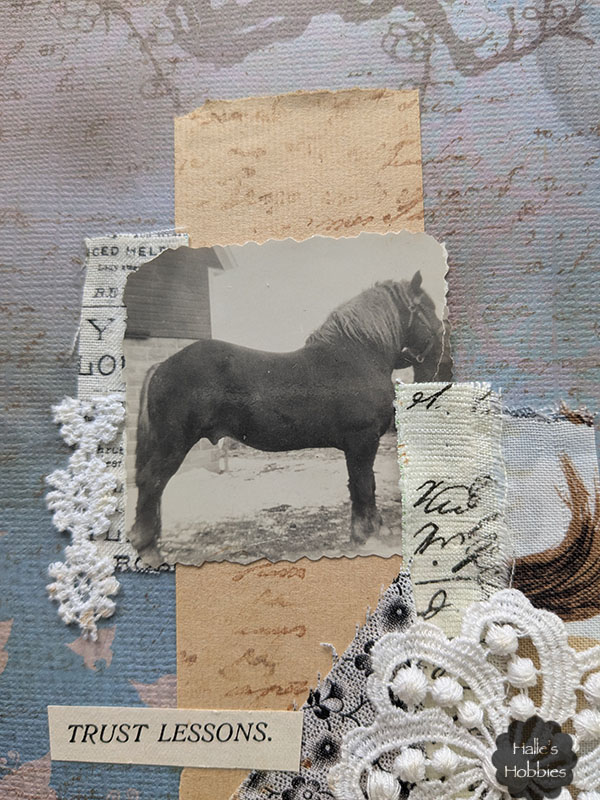
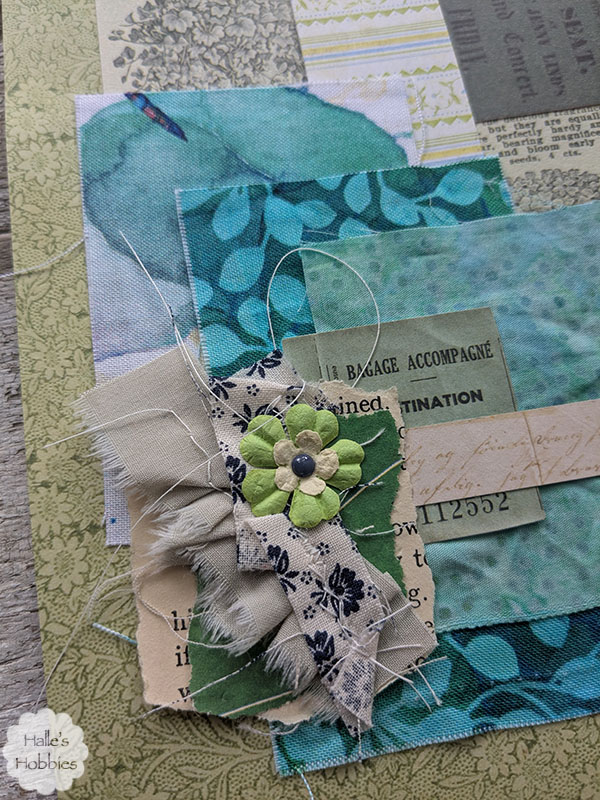
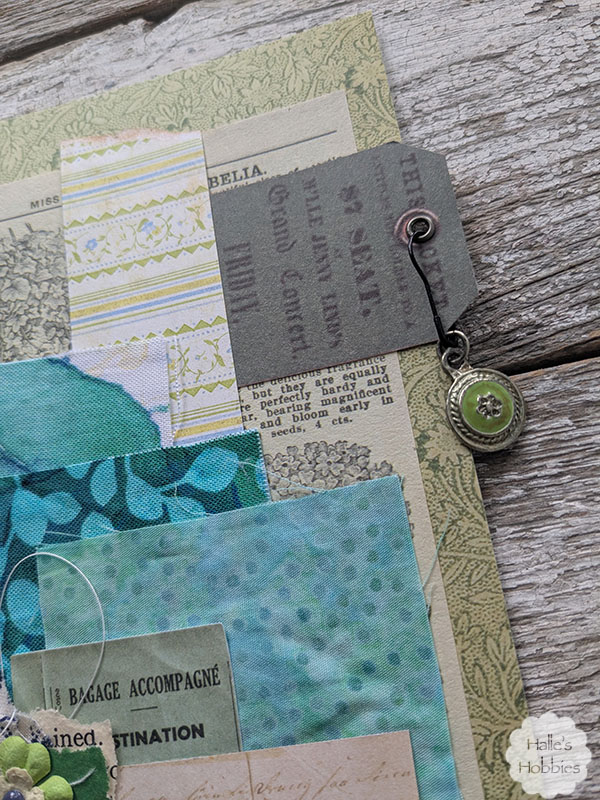
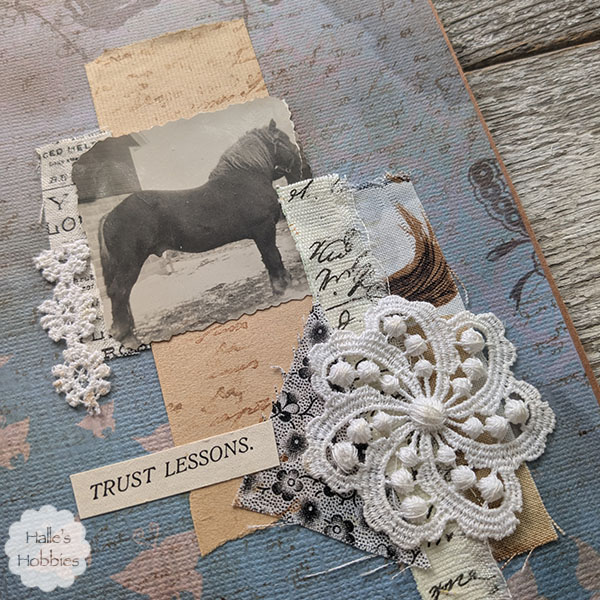
I used a script stamp and distress ink for some background interest. Then began layering a scrap of vintage wallpaper…using the back side because it had that gorgeous aged color. The horse photo has been in my stash as long as I’ve had a stash. I’m pretty sure it was one of the farm horses from my mom’s youth. The photo happened to be torn…tearing the man that was holding the horse in half. Not to worry…I covered him up with a bit of fabric. You’d never have know if I didn’t tell you.
I was actually inspired to use the photo after all this time because of one of the fabric scraps. It was an off-cut with a horse theme…you can see the tail above the lace medallion.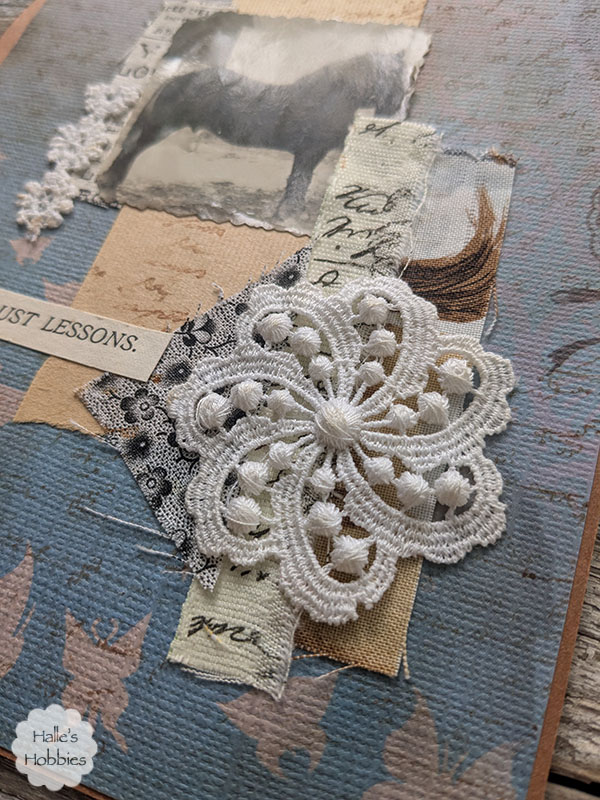
Making collages like this, layering up paper and textiles is one of my favorite things to do. Whether is on a journal page, an embellishment for a card or just a quick scrap busting project without an immediate use.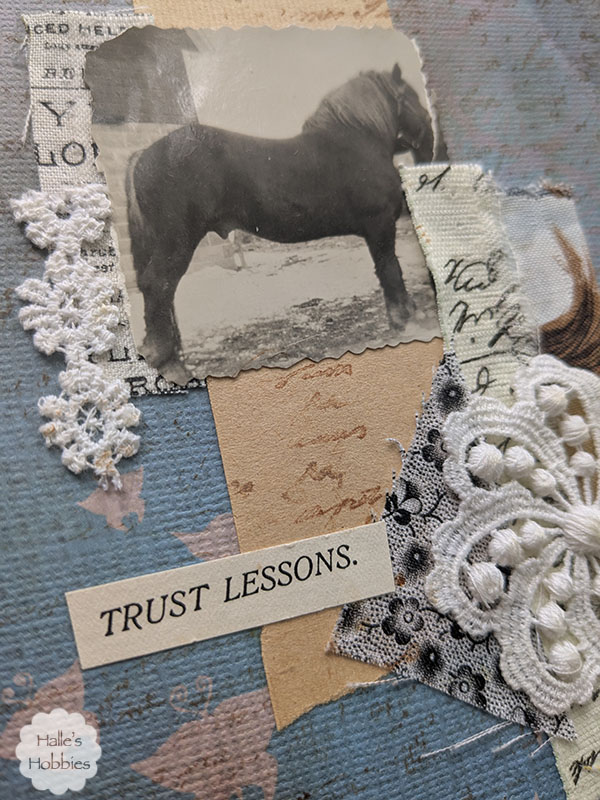
The words for my page came from my tiny drawer of found text. I never know if I’m going to find something that speaks to me but this phrase certainly did. I love horses but have had a couple bad experiences while riding. I have learned that the trust with a horse goes both ways…they need to trust you as well.
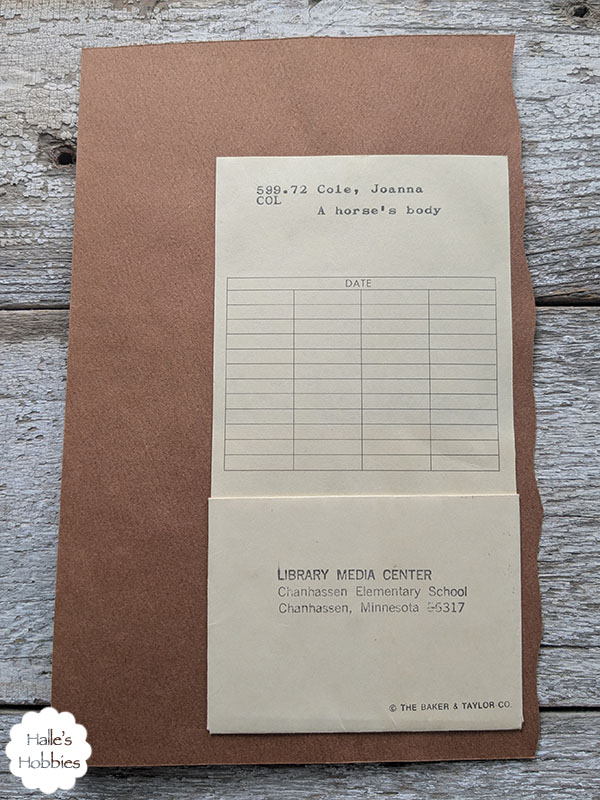
Typically I wouldn’t add a back to my loose leaf pages but this flyleaf with library pocket was just too perfect. I might add a tag or something into the pocket at some point but for now its just empty.
I hope you’ll play along this month for my theme of Fabric, lace and trims…oh my! over at Art Journal Journey.