At my school the last day is grade level field trips. I went with 7th grade to Nickelodeon Universe at Mall of America. Nothing like setting 6 bus loads of kids free at the mall (and that was just from our school).
We walked in under this beautiful and interactive art installation.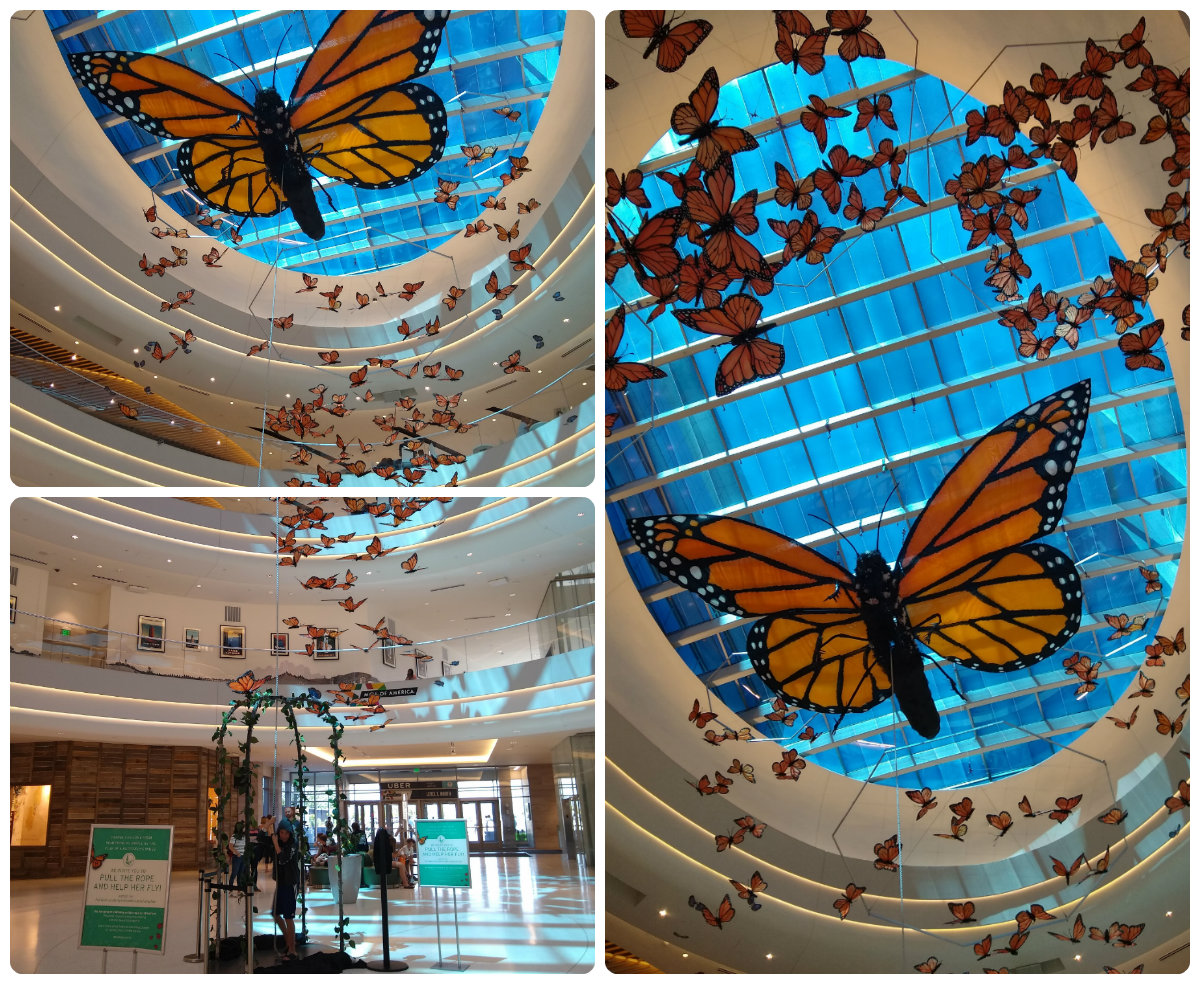
There was a rope attached with a sign that read “Pull rope to help her fly“. The kids had fun helping her flap her wings. Here’s a little news clip about it if you’d like to see more including a video of it in motion.
I went on 3 rides during our time at the mall. The first was the worst…hard on the body…very jerky, spinny and not for the feint of heart. The second was also pretty scary but not so hard on the body.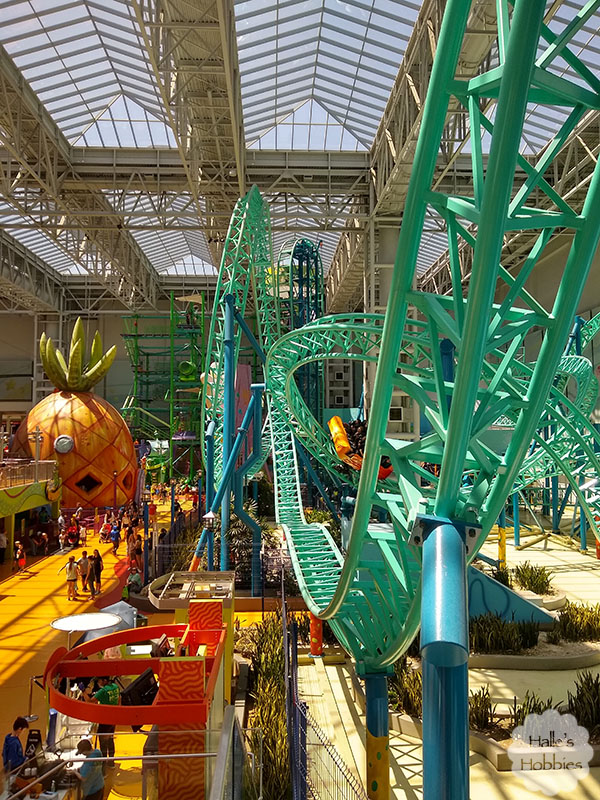
All those teal twists and turns made me scream a few times much the the glee of the students.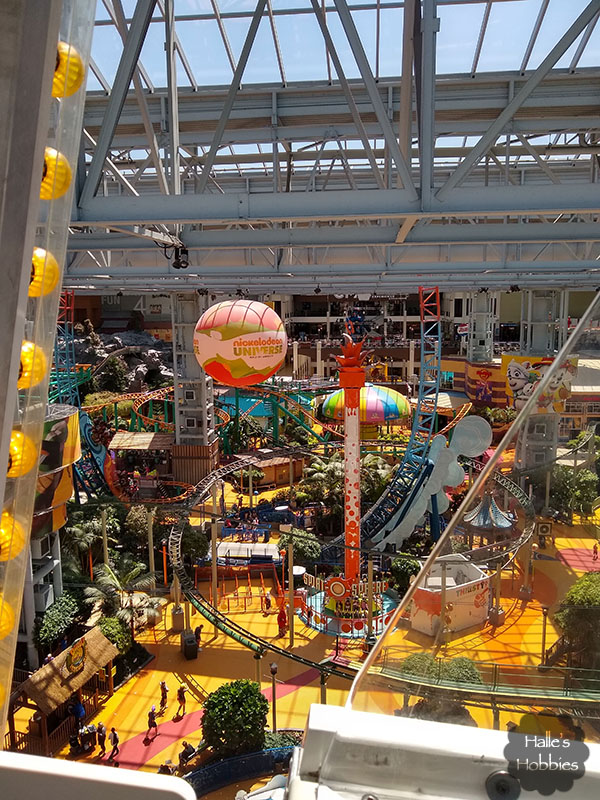
This was the view from the Ferris wheel…nice and slow with a great view of the park.
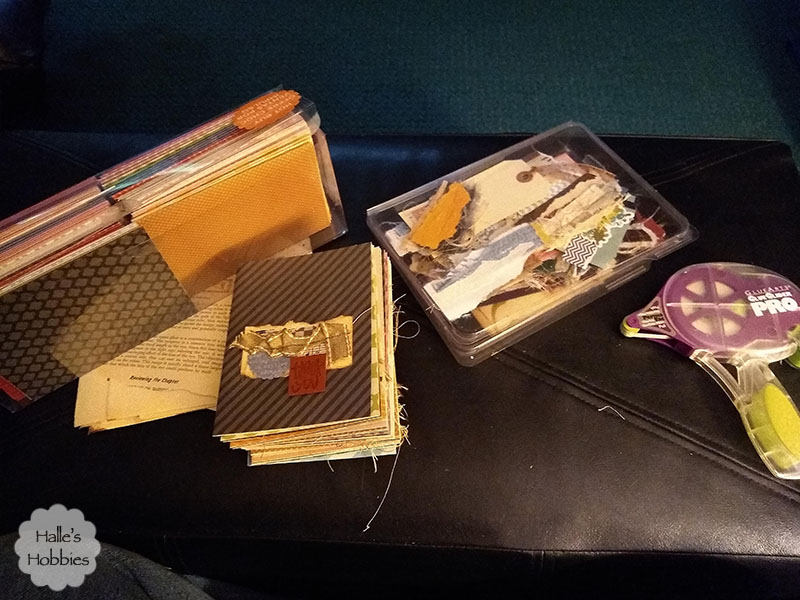
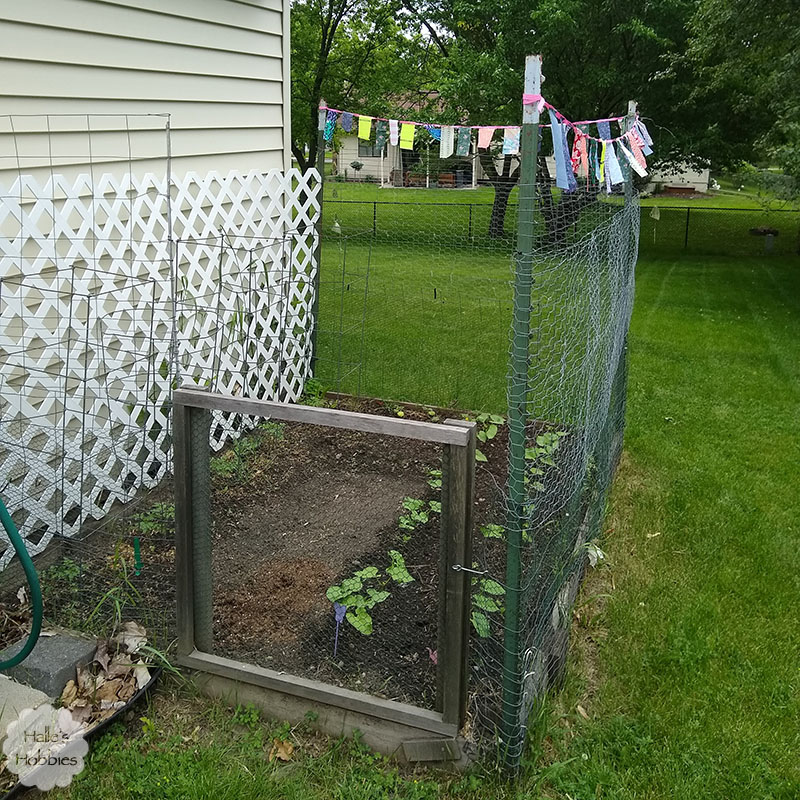
Over the weekend I did some outdoor sprucing up. I stitched up some new buntings for my gardens…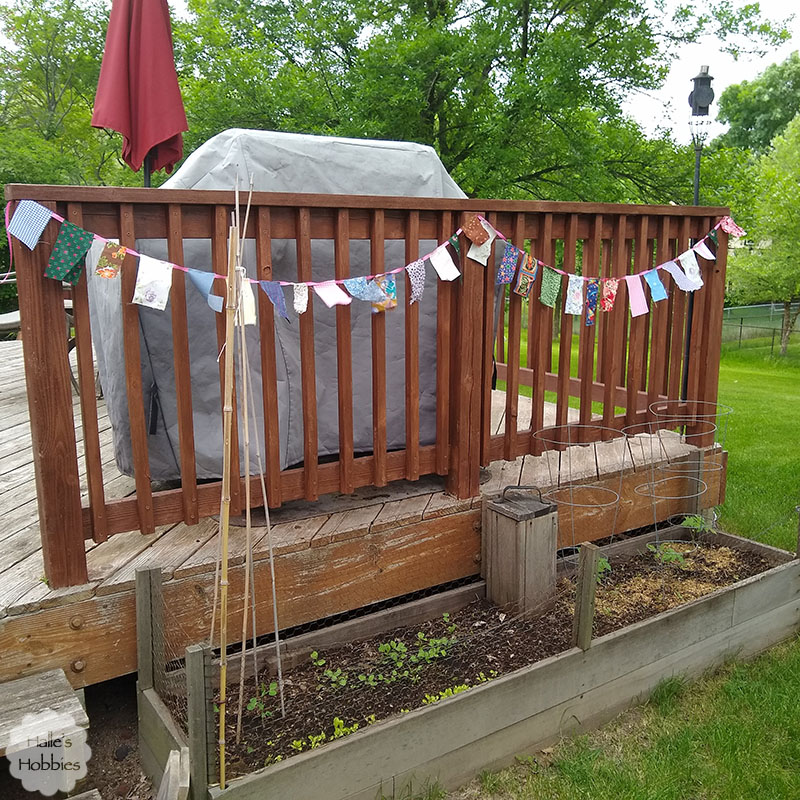
FYI…My glass of water is just out of frame on the step in adherence with T stands for Tuesday.
And refreshed some metal garden art…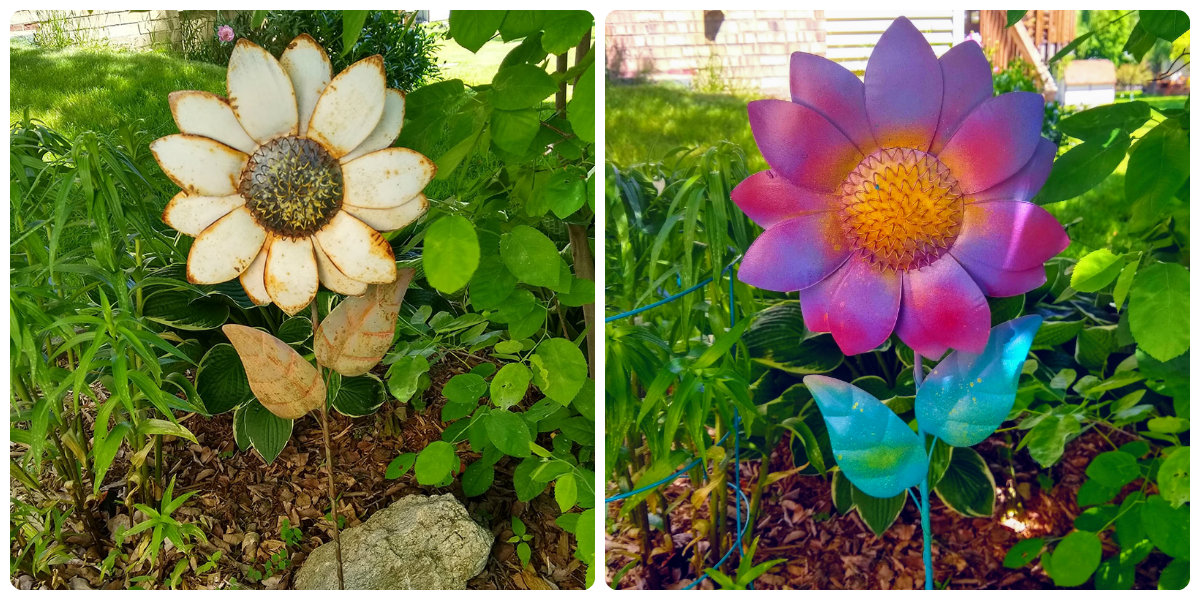
I used several cans of spray paint to brighten up the flower. I’m not sure I love it but it’s so much better than before!
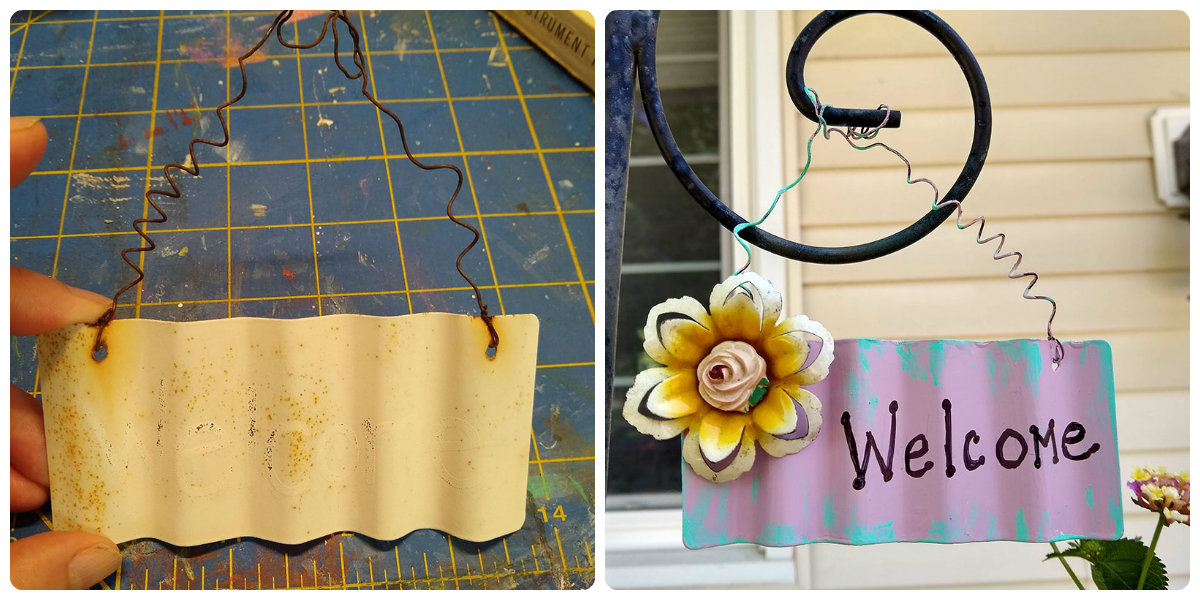
This little sign really needed help and a 3D element. I had two of these metal flowers. They have a metal pin out from the back. I used a tie tack back and a washer to hold it on the sign. IT hangs from a shepherds hook along the front walk.
Today I took Mini-me to take her drivers test…and she passed!! Then I sent her to Target on an errand.
Woot! She did great. She is so happy…so am I! Now she can drive herself to work and school and volleyball and well you get the picture…
Tuesday morning we are getting a new roof put on the house. I know…super exciting. I’ve got all kinds of busy work to do in the house while the nail guns are hammering.