Lately I’ve been feeling the urge to make another quilt. A fun, random scrappy quilt. A real scrap buster quilt. I have several totes full of fabric. I’d say about 1/3 of it dates pre 1980’s. Of course not old enough to be really cool retro fabric…just that awkward 70’s fabric that really doesn’t mesh well with today’s patterns. However I do believe it will work well in a scrappy quilt because it will be small pieces and hey, its scrappy.
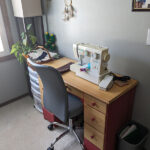
One of my main issues with quilting in my current space is that I don’t have room for both a cutting station and small ironing board. It’s one or the other so usually I set up my tabletop ironing board on the game table and am constantly walking back and forth.
Marvin is also an issue. He is not good about obeying the rule of no cats on the table. It’s a constant battle with him. I’m afraid he’s going to either burn himself or knock the iron down and have it burn the carpet. Either way it’s bad.
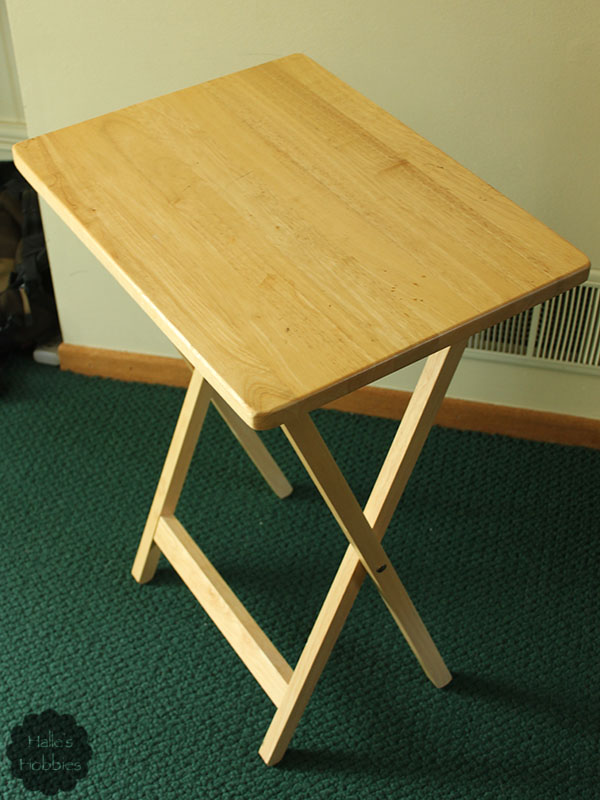
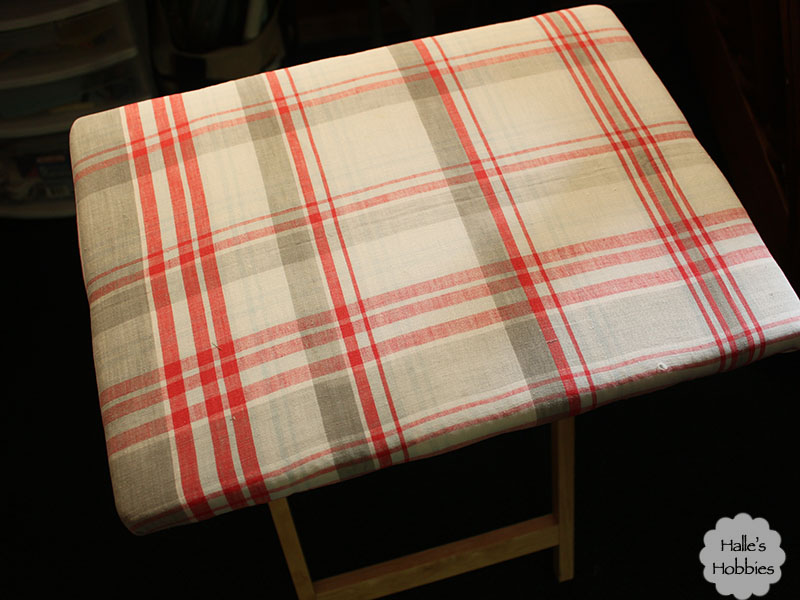
While browsing around at Goodwill I saw this wooden TV tray for $3.99 and was inspired to create my own ironing board that is perfect height for ironing while remaining seated and folds away when not needed.
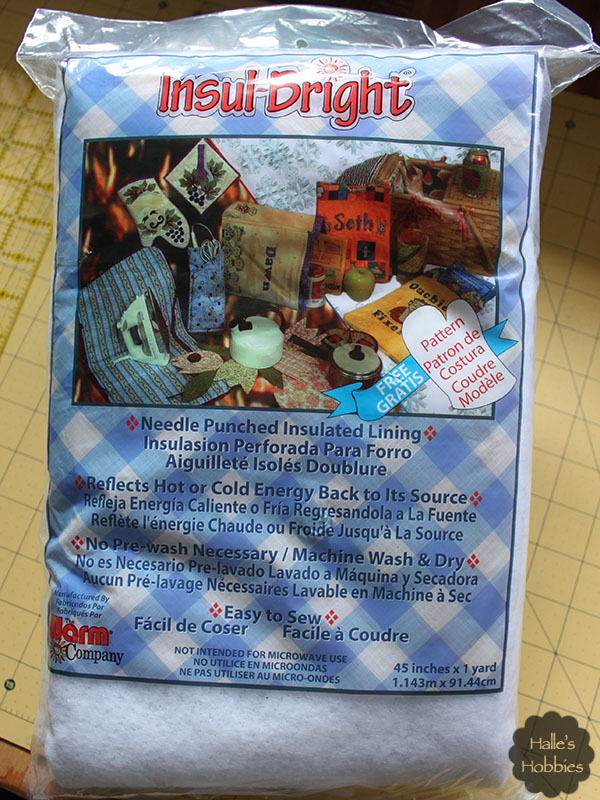
I knew I needed special batting for this project. I researched a bit then found the product I needed on Amazon.
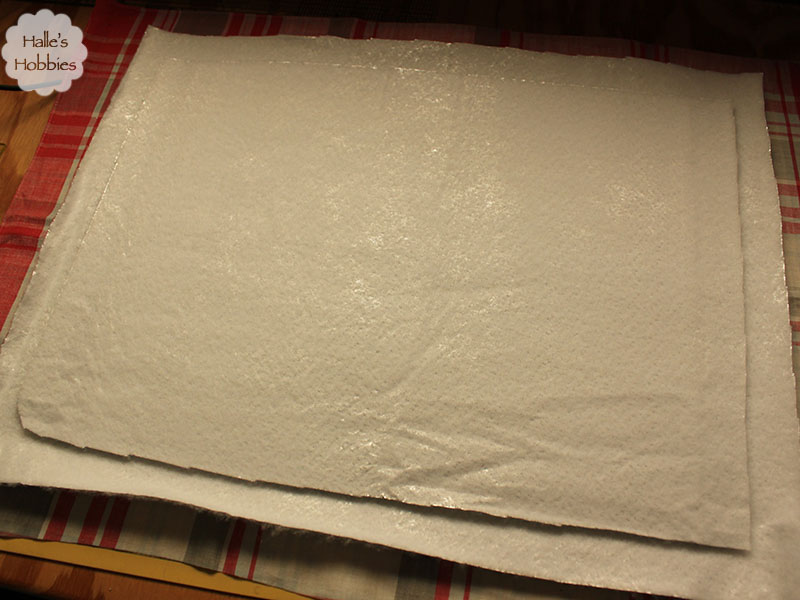
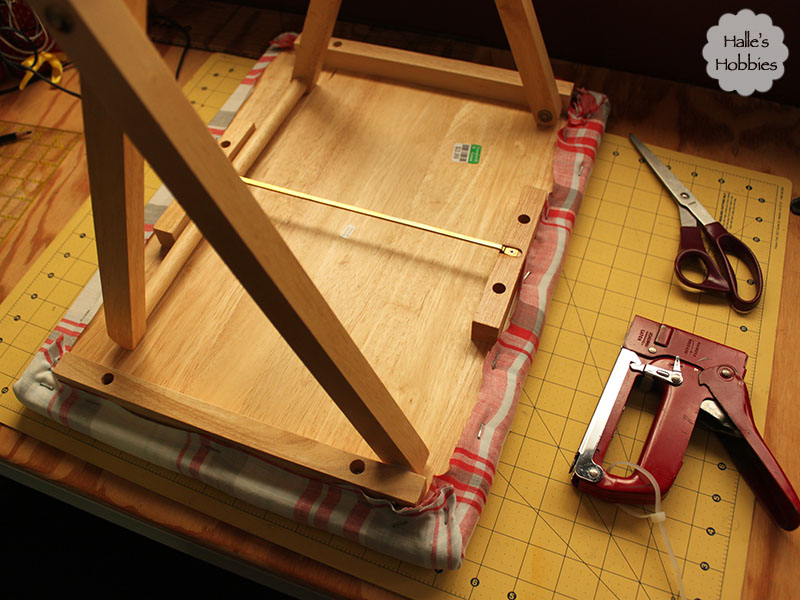
At this point I turned my TV tray upside down onto the batting and traced around. I then cut another piece of batting about 2 inches bigger so it would wrap around the outer edge of the tray. I then cut a piece of vintage tablecloth about 3 inches bigger than the previous batting piece. I just eyeballed all the pieces….you know me, I hate measuring.
I used a staple gun to attach it to the underside of the TV tray in the same way you’d upholster a chair seat. You basically alternate stapling from side to side pulling the fabric tight as you go leaving the corners for last. The corners are mitered by folding then stapling. There are lots of tutorials and how-to videos out there for this if you’ve never done it before.
After getting the fabric stapled down good and tight I used my scissors to trim away any extra. The underside isn’t really ever going to be seen so I don’t care if it’s perfect.
Ta-da! Now I have my new work station ironing board and no excuse not to get to that scrap busting quilt.
Or have I just made an upholstered cat stand? What a turkey!!

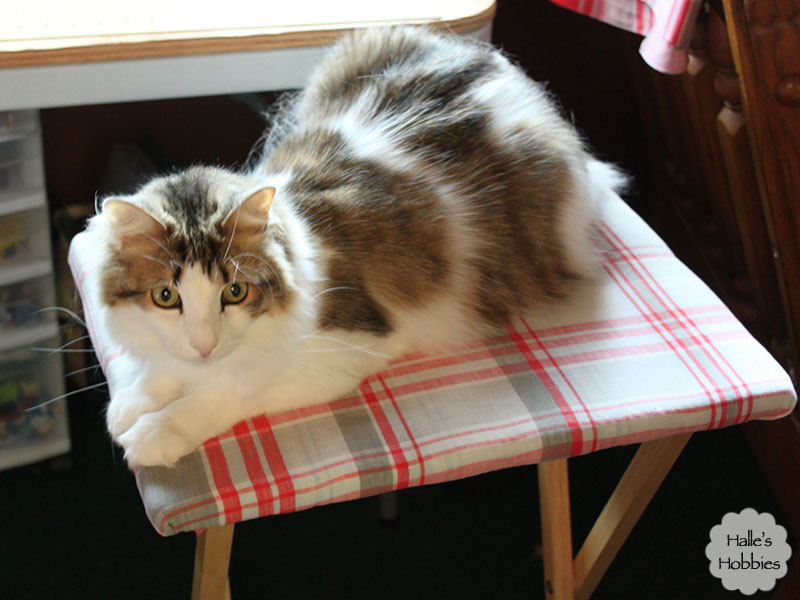
Hah Marvin gets the last word!
Love it either way you decide to use it.
oxo
Smart move. I’ve never ironed anything when I sew it. Of course, I’ve never made anything that actually required I iron. I know your quilt will be fabulous now. Of course that is if Marvin stays off it.