Last week was awesome! Busy but awesome. I’ve been continuing to do pour painting when ever I have the chance. I did get my step by step process written and posted. You can check that out in the previous post. 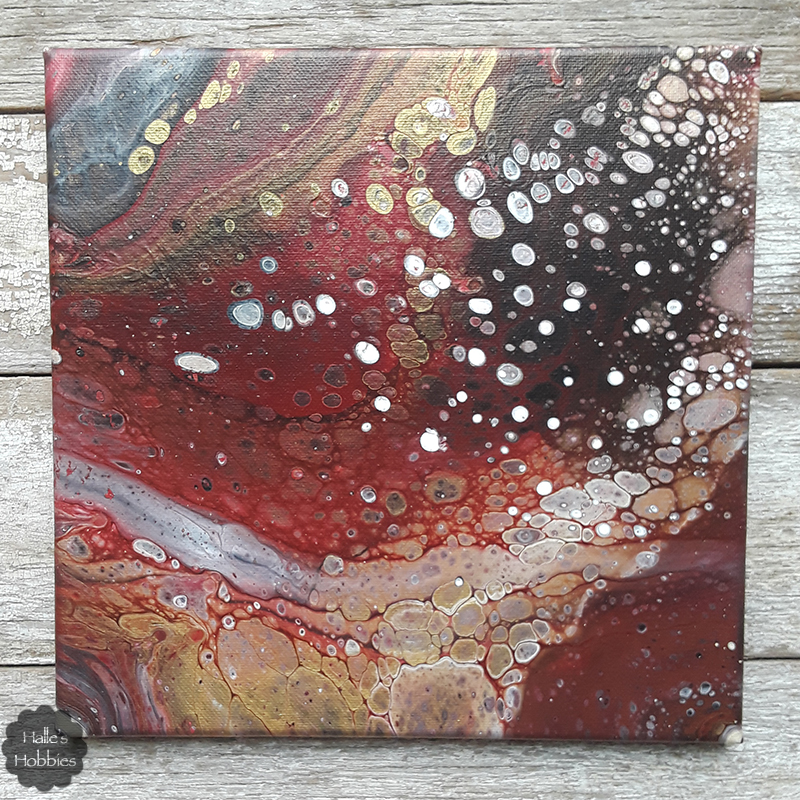
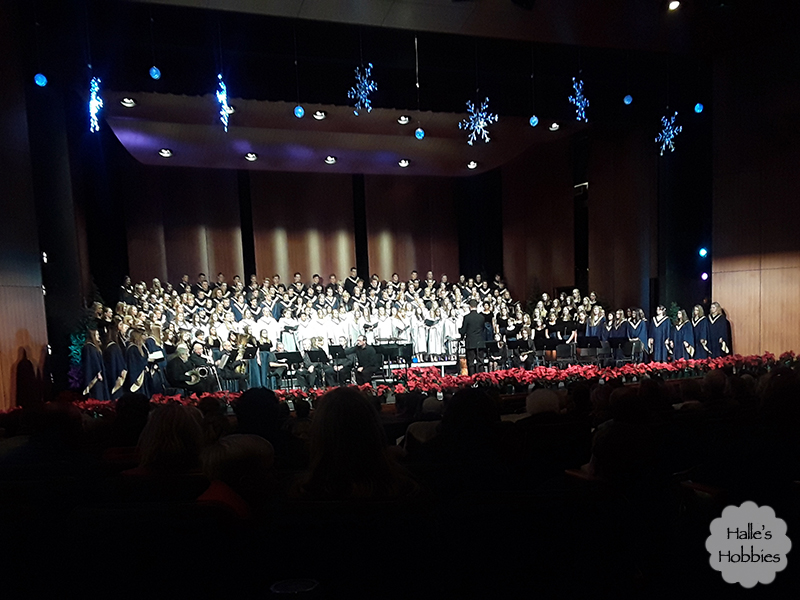
The kids had their Spring concert Thursday. 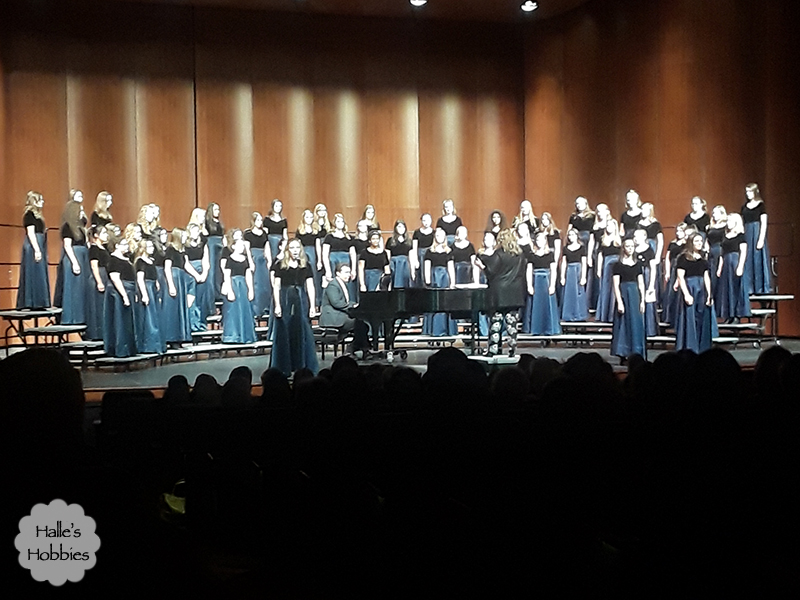
 It’s the second to the last for J. The next one will be sad for me. He’s been in choir since the 4th grade. He plans to sing in college but I won’t be necessarily seeing those performances. His choir sang such a cool song with movement. I wish I had know so I could have recorded it.
This is the video that they learned the movements to the song from.
‘
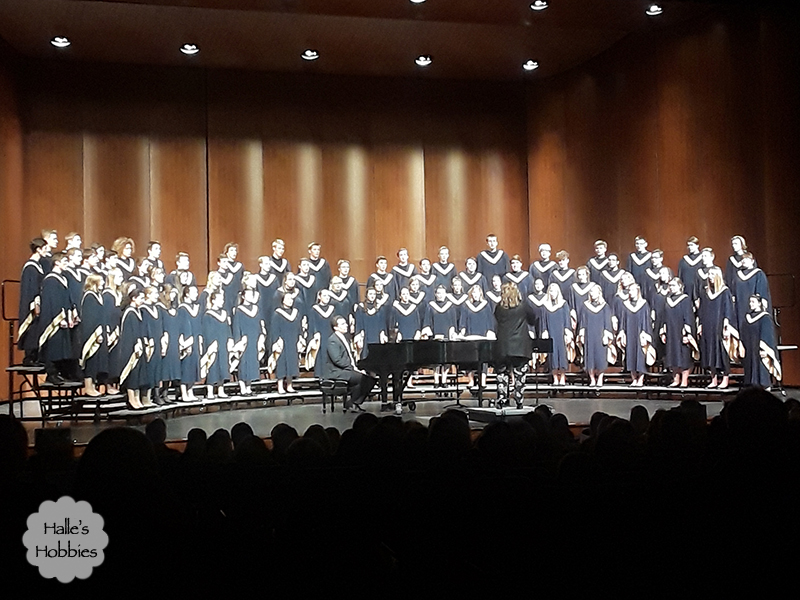
I must say that our choir with the kids in the robes looked much cooler when their arms were swinging to the music.
The weather has been amazing…so beautiful on Saturday that the neighbor had the first bonfire of the year on St. Patrick’s Day. Some adult beverages were consumed. One neighbor even put green food coloring in his beer to be super festive. 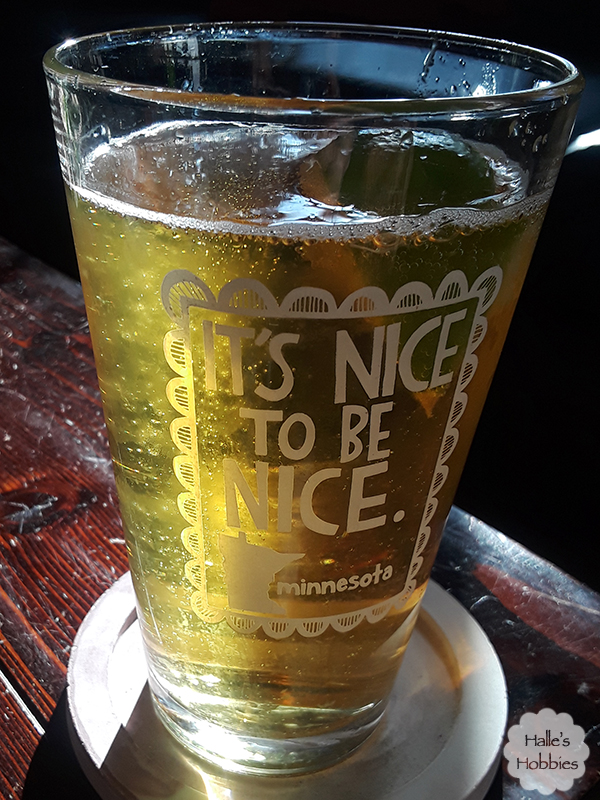
As the sun began to shade the driveway and get chilly even with the fire the decision was made to move the party across the street to a sunny spot. Yep…portable fire. Us Minnesotans are dedicated to being outdoors!!
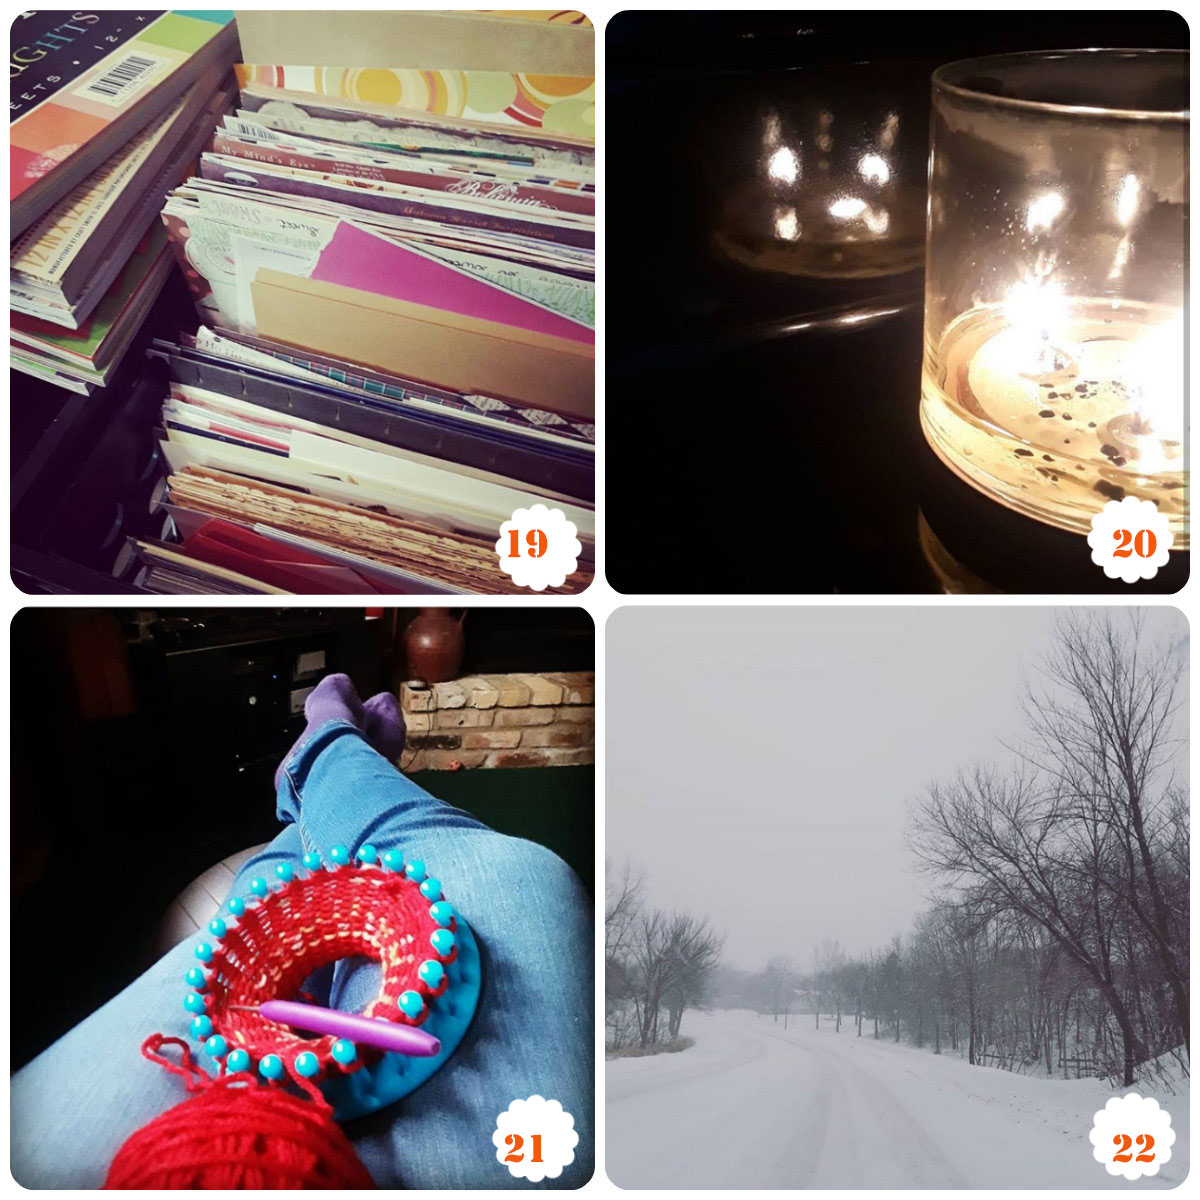
The week wouldn’t wouldn’t be complete with my photo challenge update.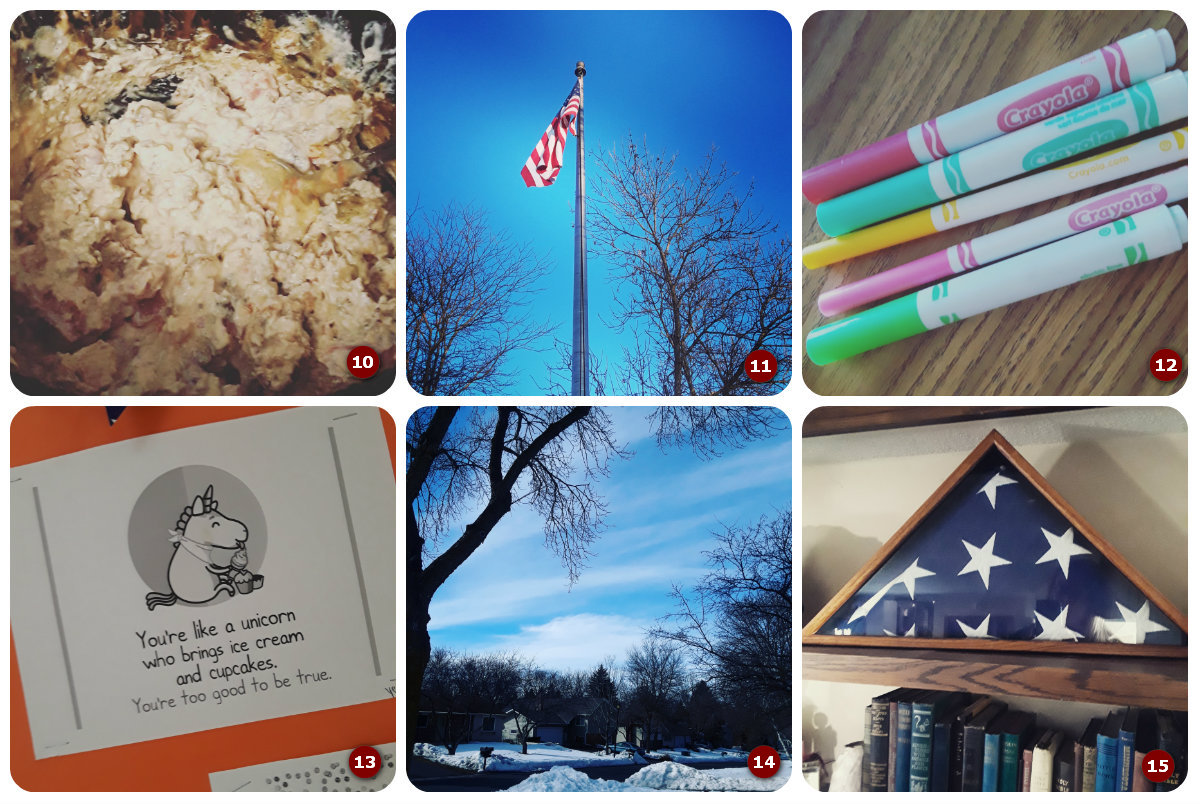
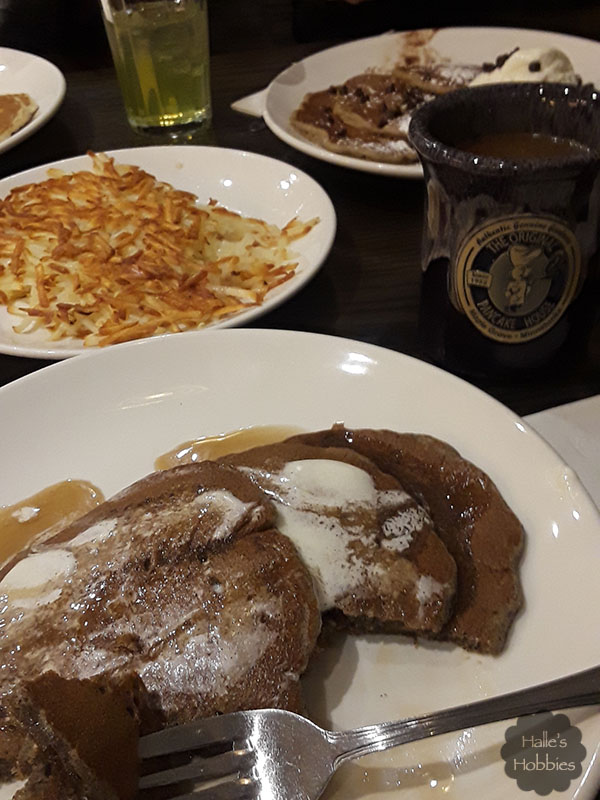
10. Savory…. sausage dip tastes so much better than it looks.
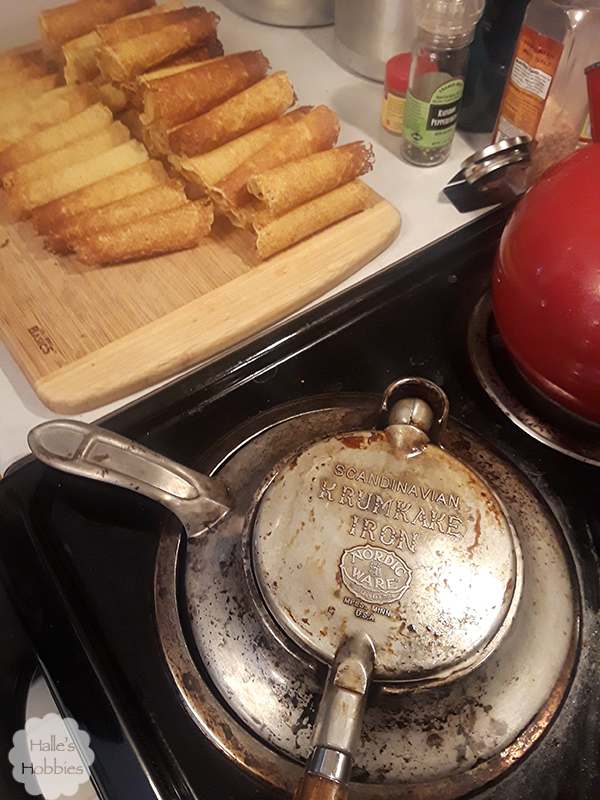
11. Iconic
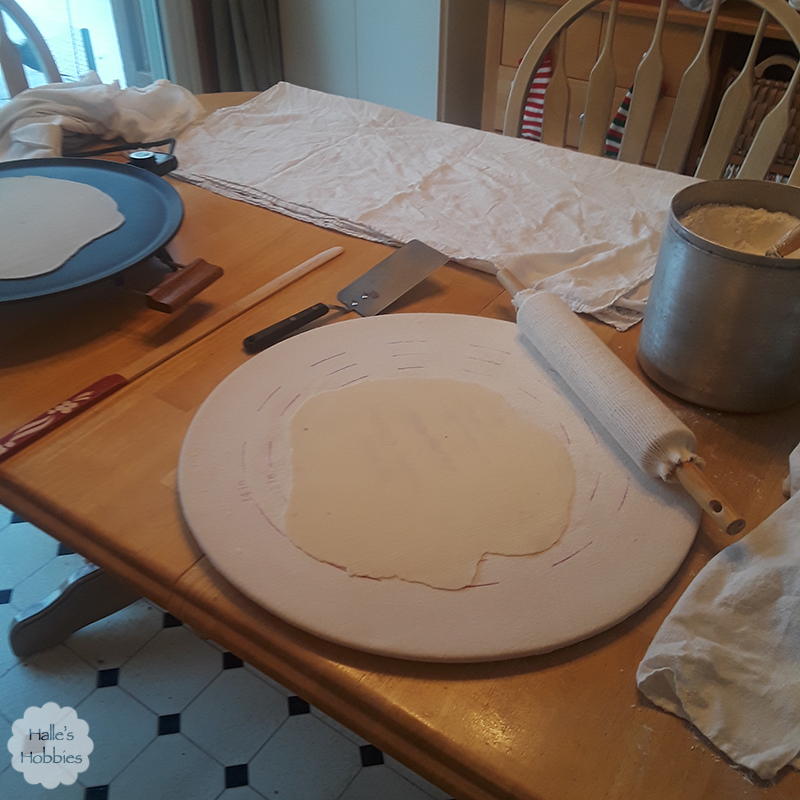
12. Pastel
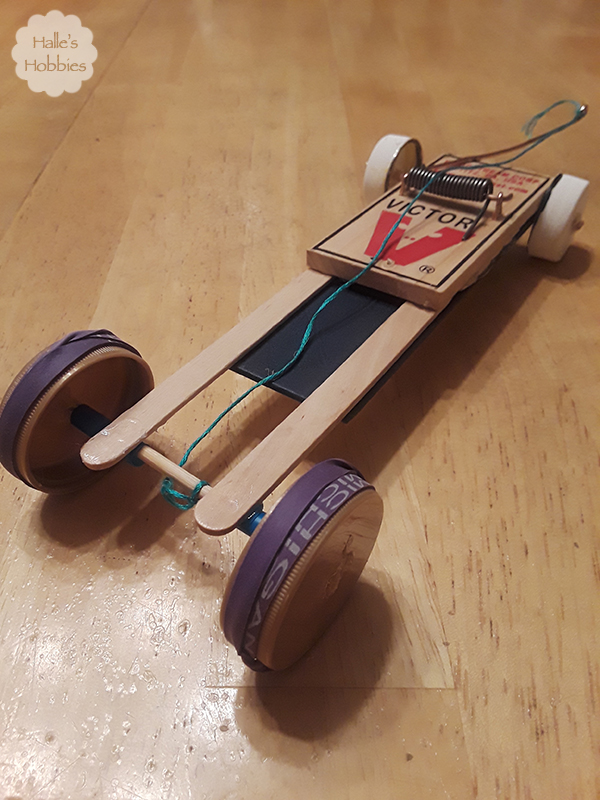
13. Ha!
14. Clouds
15. Blue & White
It’s off to work for me. Three days left before Spring Break!!!!