Today’s page for my Botanical theme over on Art Journal Journey was inspired by a paper shopping bag.
A few years ago a teacher I worked with knew my love of collage. One day she brought me a stack of colorful and unique shopping bags she didn’t have the heart to throw out. She was a bit sheepish about giving them to me but I was thrilled!
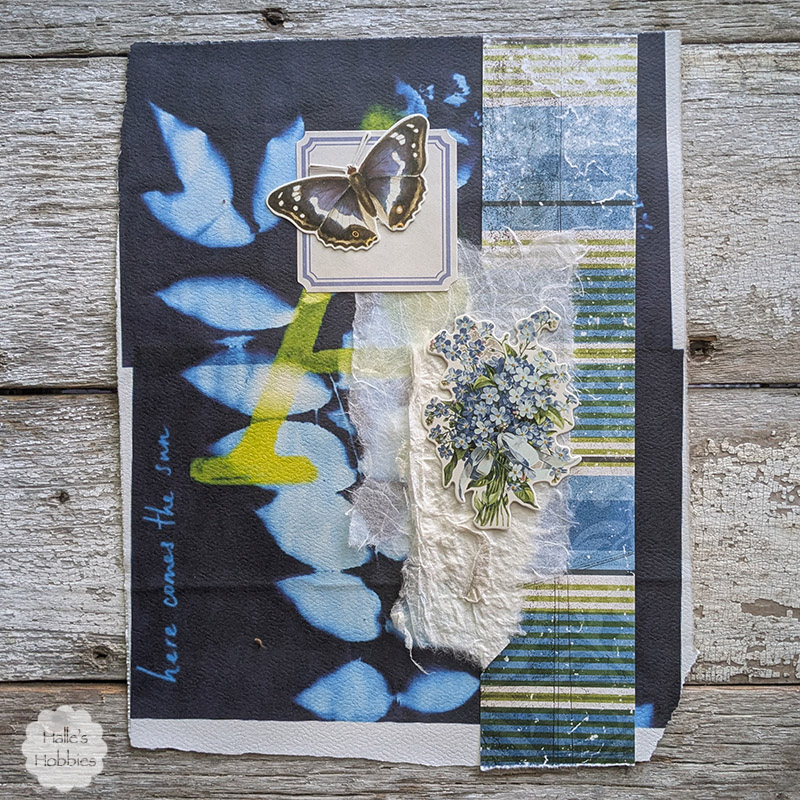
The background is one of those bags…slightly wonky and torn. I loved the cyanotype leaves and chartreuse “A” over the top. The words up the side made me think of a sunny morning when the dew glitters in the sunlight. The birds are singing and butterflies fluttering about.
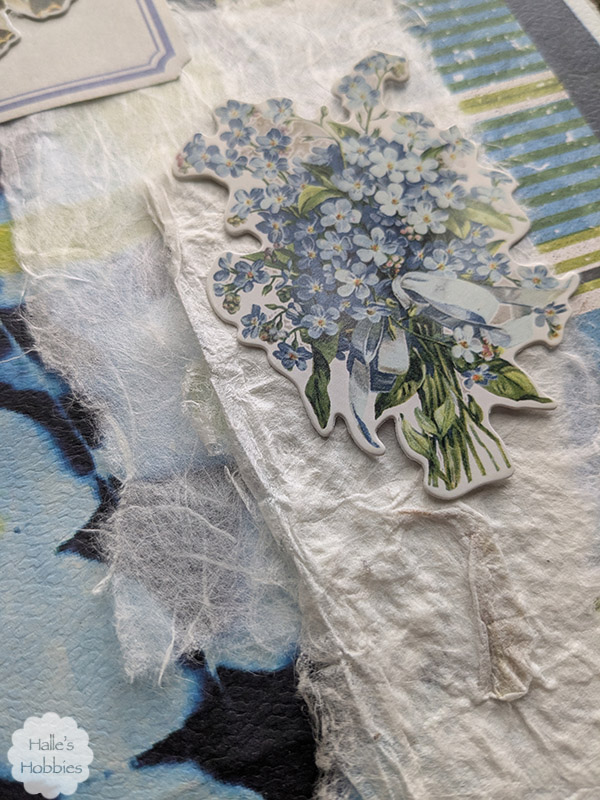
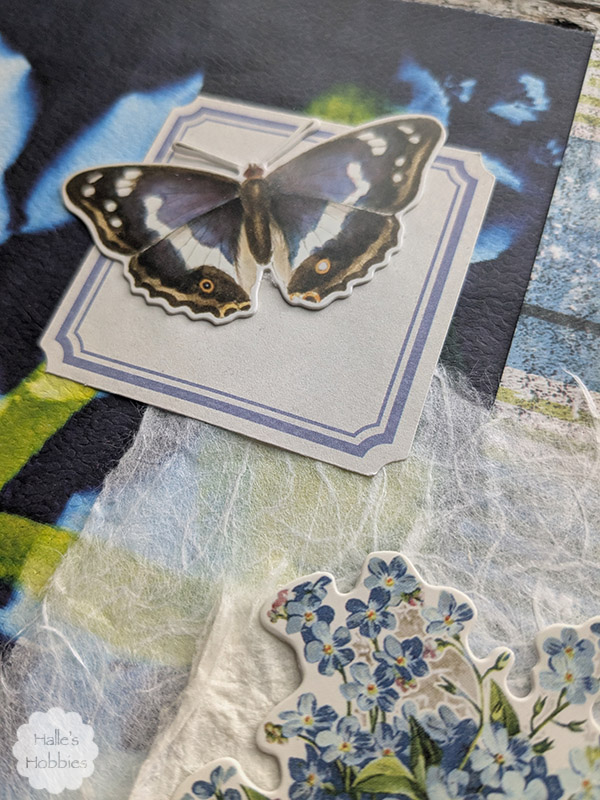
After selecting a strip of scrapbook paper that fit my color scheme, I once again I used some pieces from my Tim Holtz ephemera pack…can you tell I’m trying to use up some things from my stash? I layered these on top of a bit of mulberry paper as well as a scrap of handmade paper and a label.
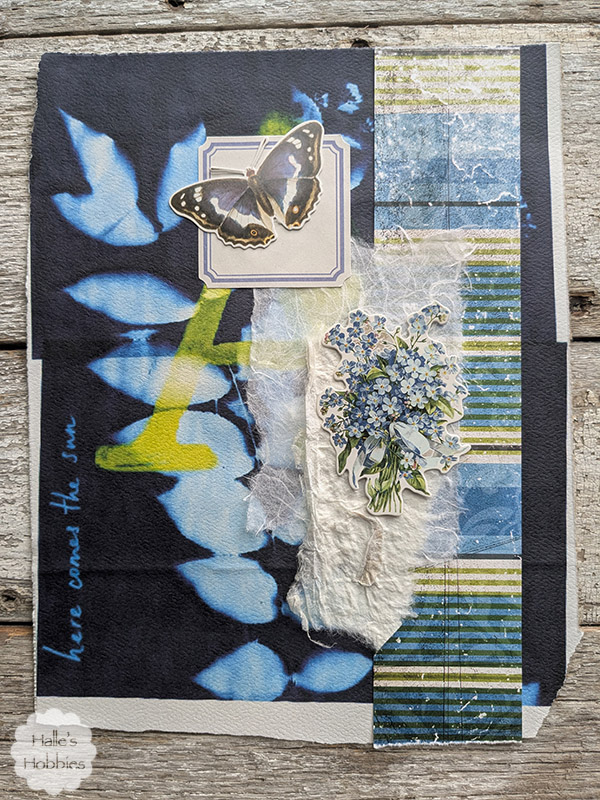
Simple collage that fits my Botanical theme.
![]()