I can’t stop sewing!!! Likely because I know I’ll be completely worthless for the next week or so until I acclimate to my new school schedule.
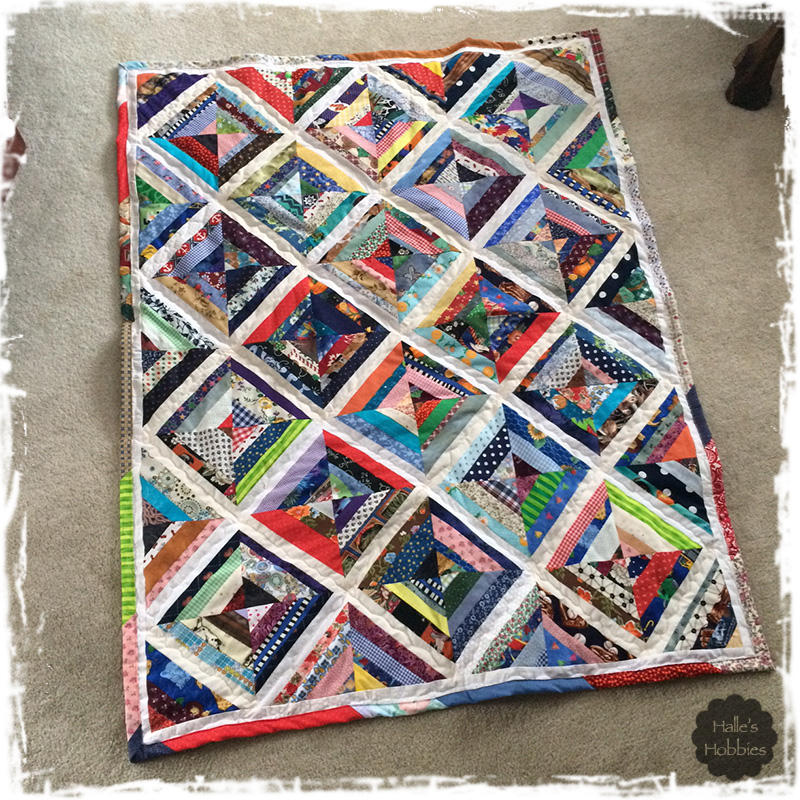
Since I’m currently completely obsessed with paper foundation scrap quilting once again, I thought I’d share the quilt that came before this one.
Take a look…

1/15/2017
Don’t you just love that feeling of satisfaction when you’ve completed a big project!?! I know I do. Not only do I have the finished product in front of me but I get to put a checkmark in the box on my perpetual list. Yes, it’s an actual paper list. It’s never-ending which really is a good thing. What would I do with myself if I didn’t have a project?
Do want to know a secret? If I complete a task, chore or project that failed to make it on the list…I write down, draw a little box and proceed to “X” through it. So satisfying!!!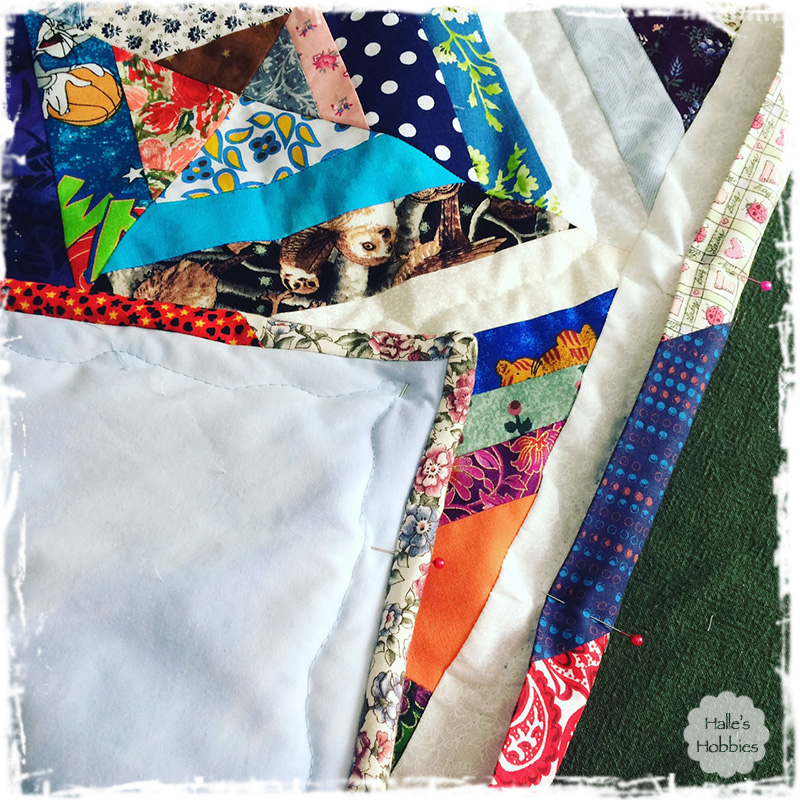
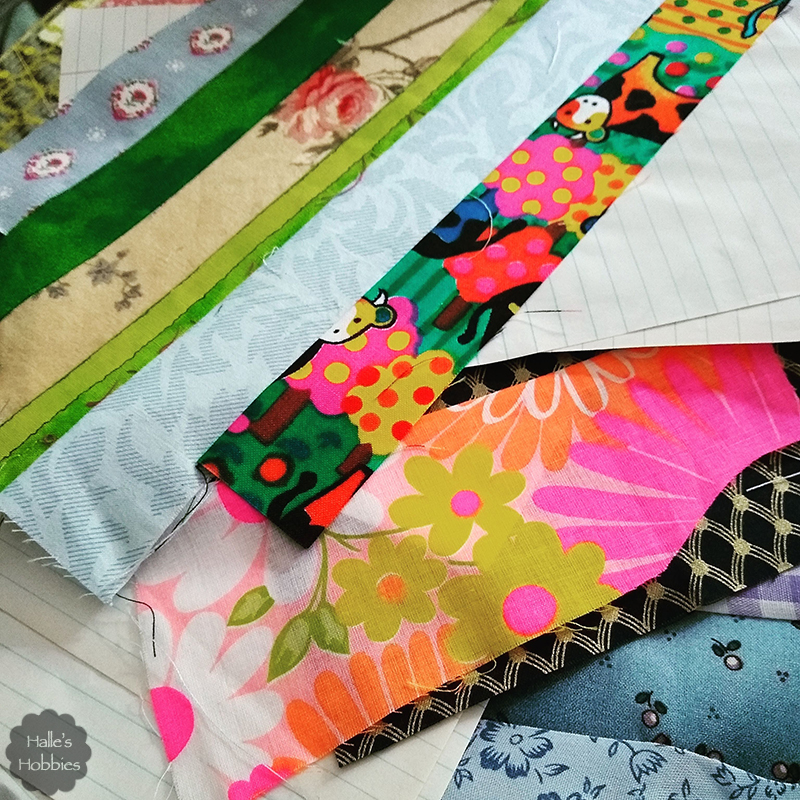
This quilt started as a stash busting project. Just a loose idea of what I wanted or hoped it would look like in the end. Over the course of sewing, my idea evolved a bit which I personally think is a good thing. We need to be able to be flexible and learn from our mistakes. Or even just adapt when the moment presents itself instead of being so set on one path that we can’t change. This is true in life as well. Adapt or be flexible when needed as long as your end goal remains it’s ok to change little things along the way.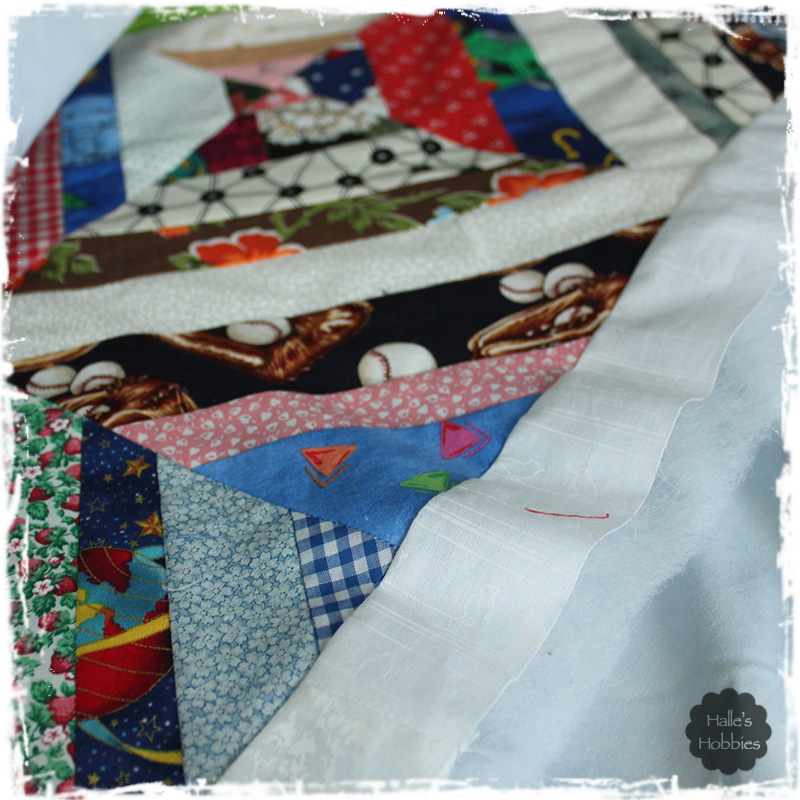
One of the changes I made as I neared completion was the type of binding I wanted to use. I was originally going to do a sort of “cheater” binding where you wrap the backing around to the front and stitch down. I’ve used this method before with Mini-me’s quilt. I decided I wanted to do a scrappy binding as well continuing to use up my stash. The quilt really needed a quiet place in between the busy central pattern and a scrappy binding so I added a white sashing all the way around.
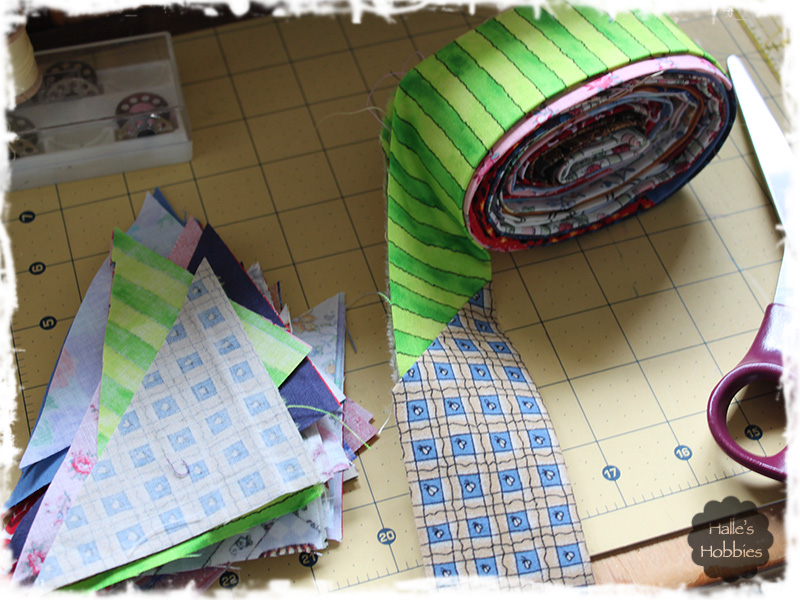
The scrappy binding went together quicker than I thought it would. Of course, I didn’t follow the “rules” and cut everything on the bias. I’m not much a rule follower. 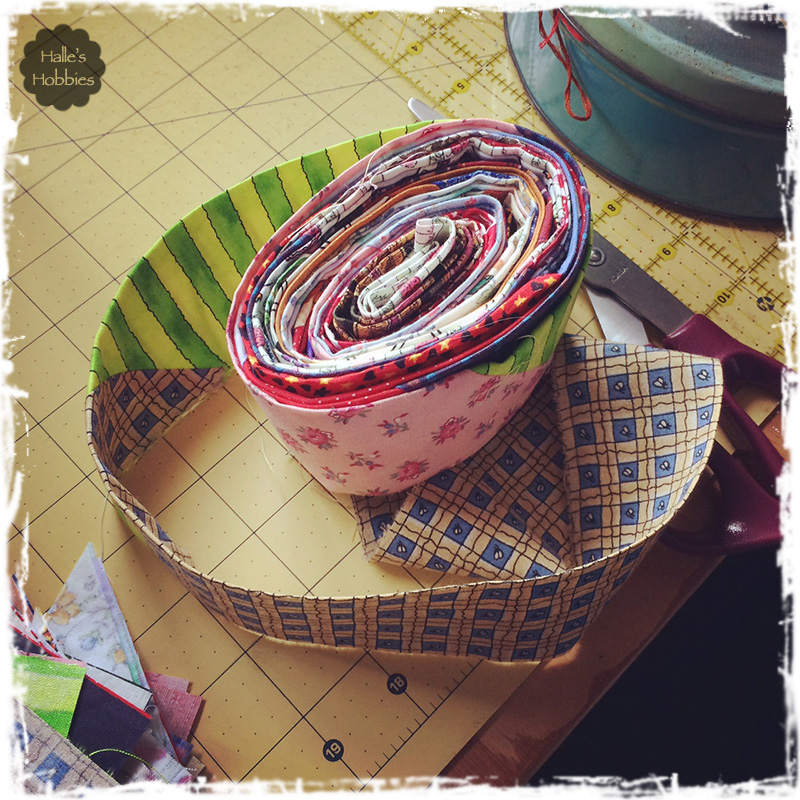
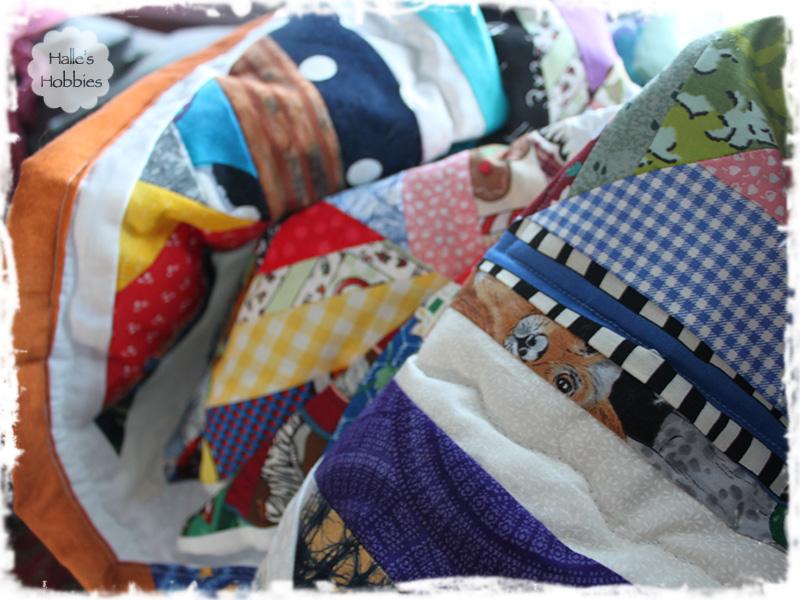
Isn’t it pretty a rolled up like that? Like a colorful flower.
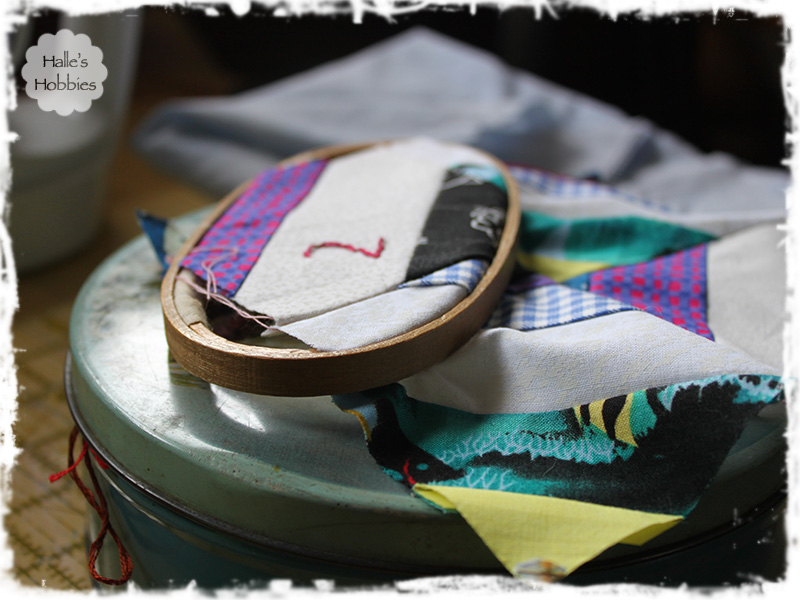
After much agonizing about how to label my quilt (for the very first time), I decided I’d use wing it and hand embroider the info. Let me first say that I suck at embroidery. I think embroidery was the first craft I ever learned…and I never liked it. I’m always sticking myself with the needle, its tedious and boring. I know there are plenty of people who enjoy it and find it relaxing…have at it. It’s a means to an end for me. I do have a decent size stash of embroidery thread though in the same tin my mom used half a century ago or more ago.
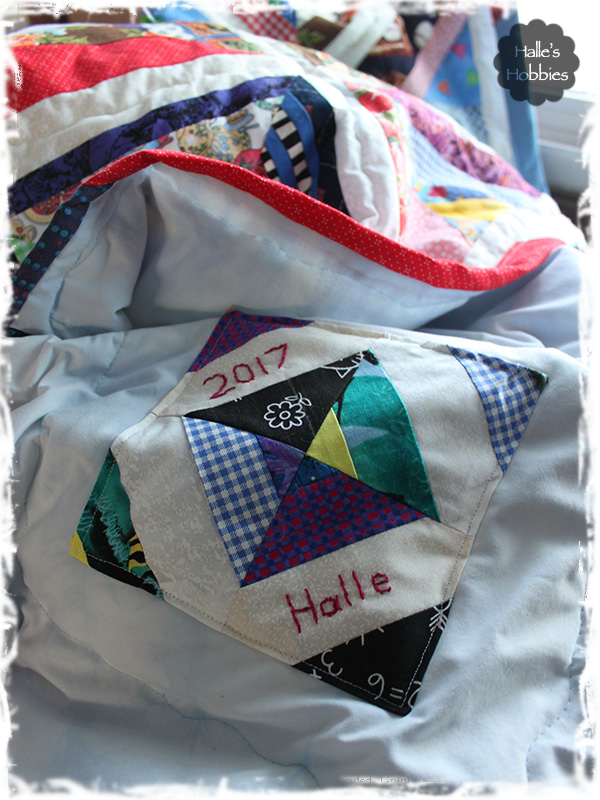
After a few pinpricks I finished the job and was able to stitch it onto the quilt back. I am glad I took the time now that it’s finished. I can never remember when I made most of the other quilts except for the two I made while J was napping as an infant. Those I do remember.
This turned out to be more than a stash busting quilt. It became a labor of love with a bit of frustration mixed in. But what love doesn’t have some frustrating times.
I had originally planned to heavily quilt in a funky random pattern but as I began I realized it would end up a bit stiff. I went back and pulled out every stitch…hence the frustration. I ultimately ended up stitching random wavy lines only along the white sashing. My thought is that I can always go back and do some more quilting if I feel it needs it.
I’ve been snuggling under it every free moment I have. It definitely helps with the extreme cold we’ve been having. I did hear we have a warm-up in store….hooray! I’ve about had it with below zero temps.
~~~~~~~~~~~~~~~~~~~~~~~~~~~~~~~
Thanks for stopping by for Second on the 2nd!
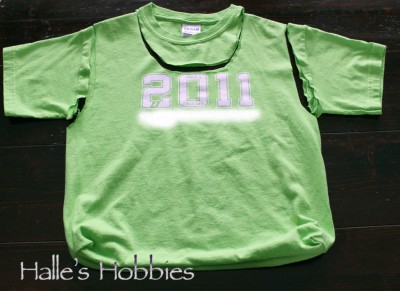
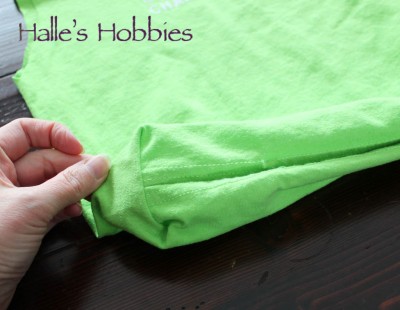
 But after going through the kids clothes and coming up with 2+ garbage bags full to pass along to a friend, it inspired me to keep a couple school shirts for this project.