Tag : vintage

12 posts

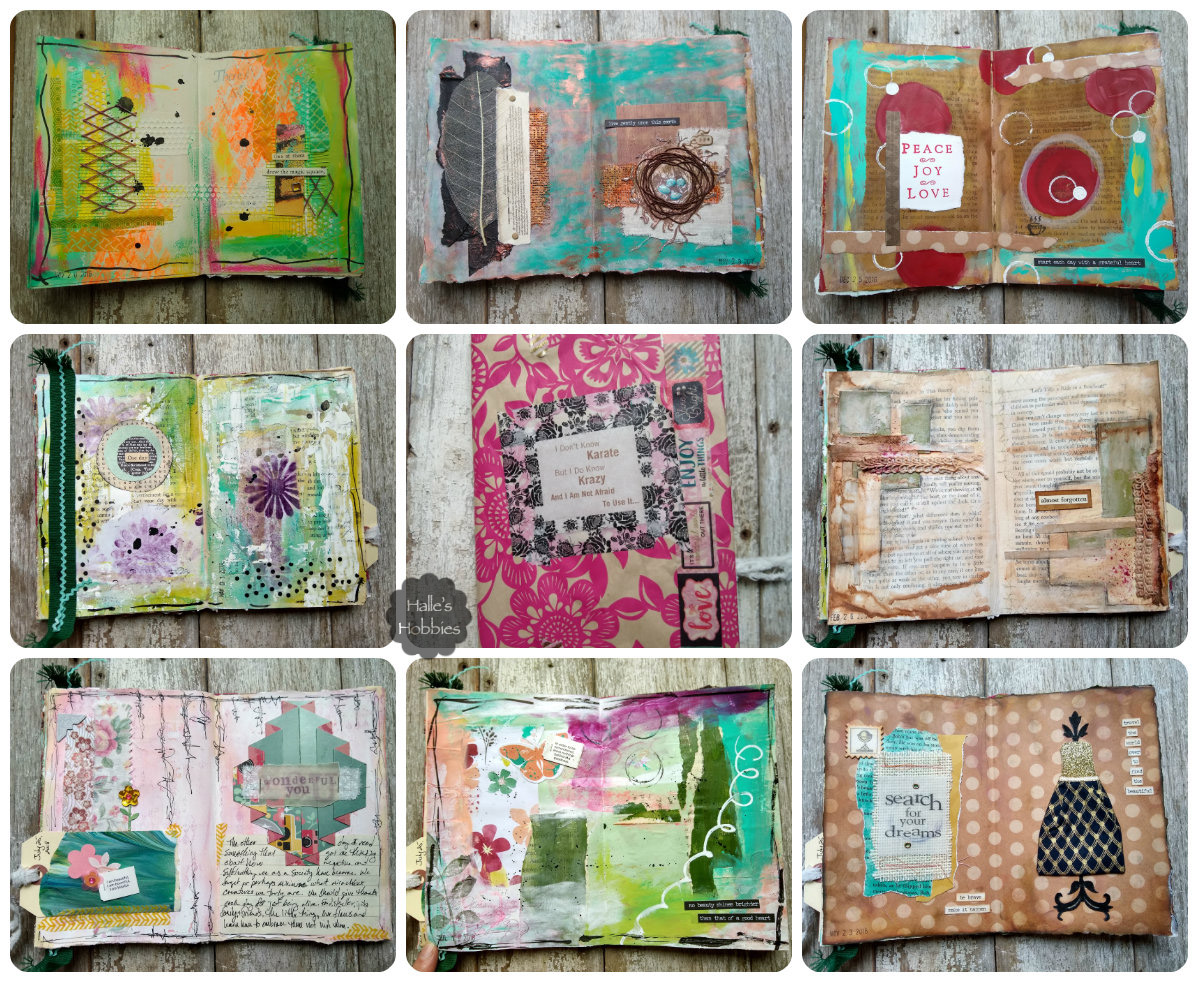
Hello and welcome to another edition of T stands for Tuesday along with Art Journal Journey: A Stitch in Time.

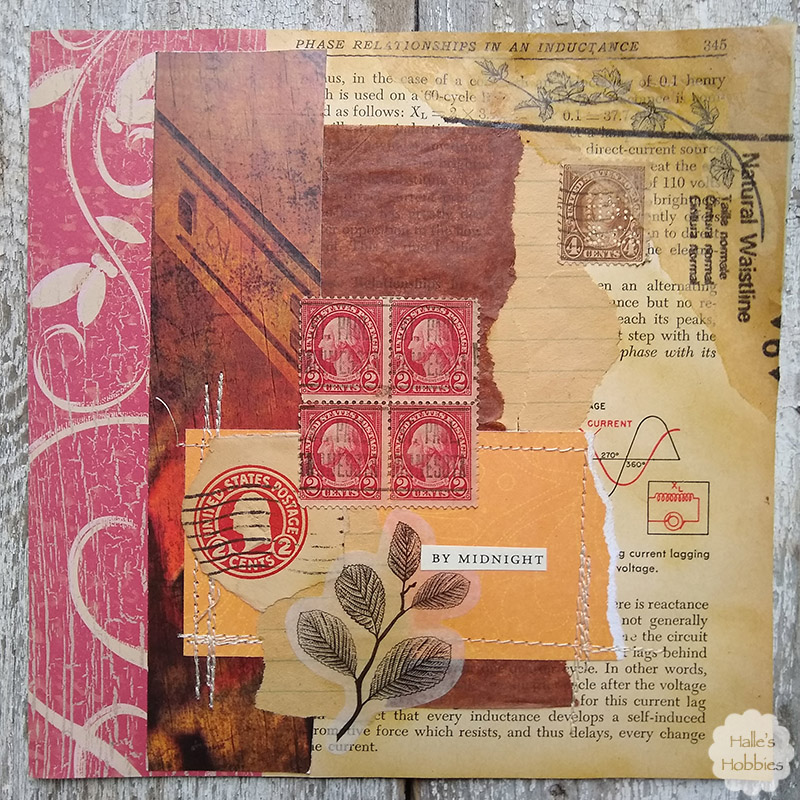
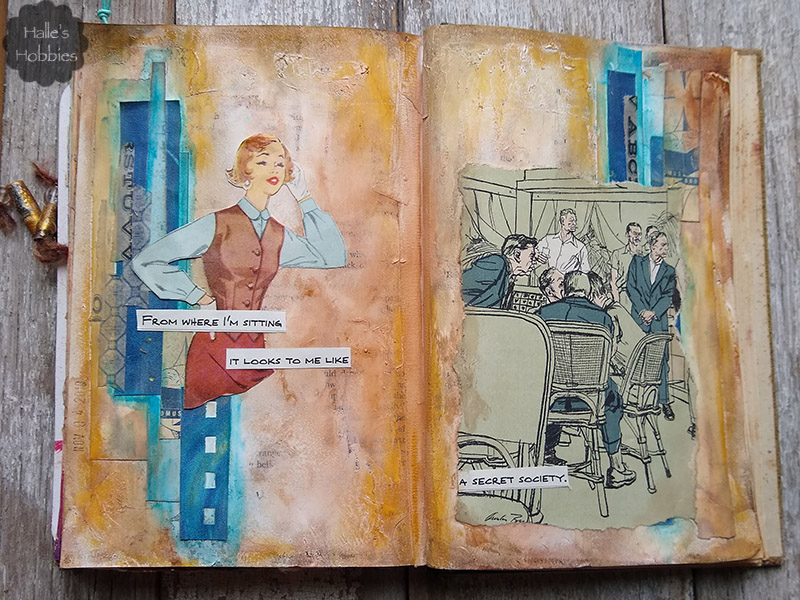
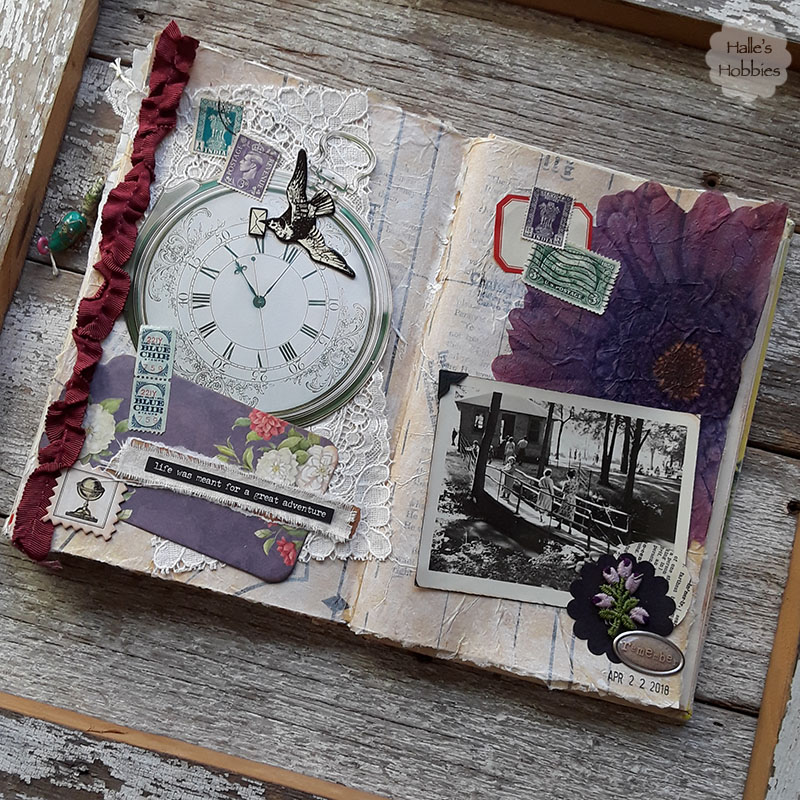
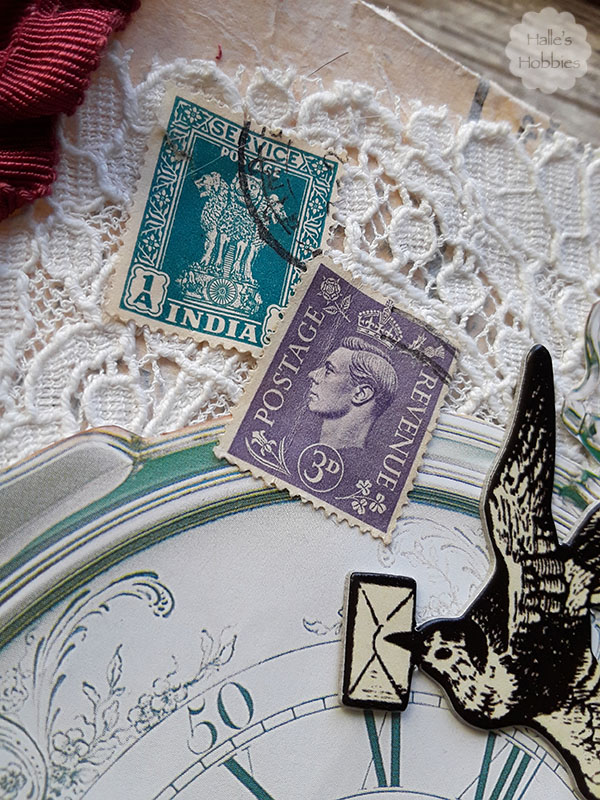
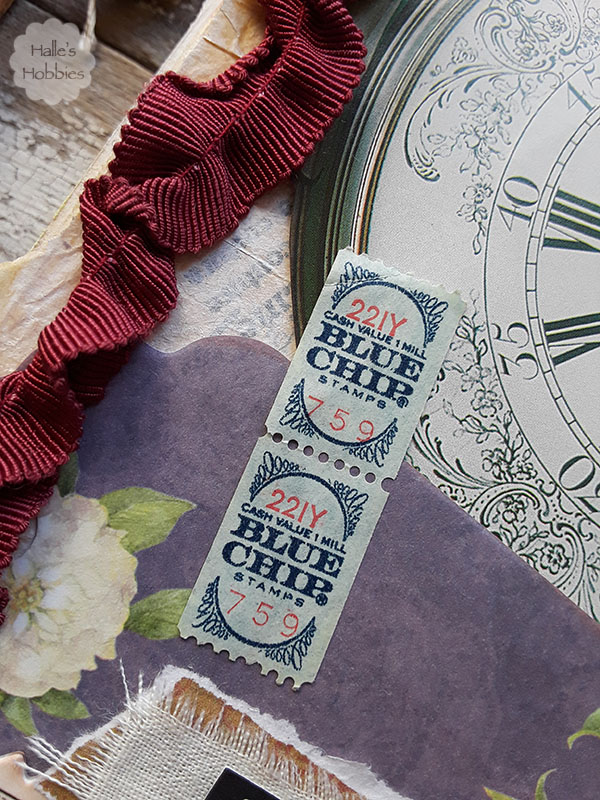
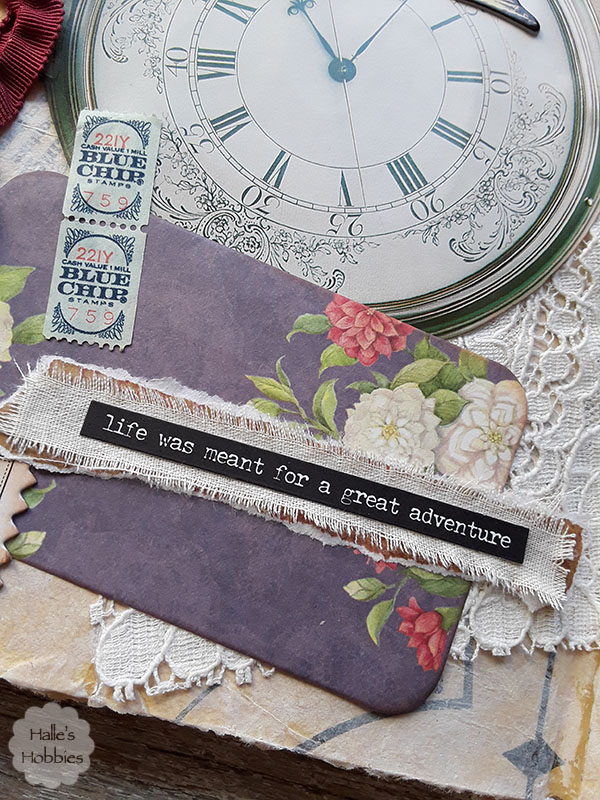
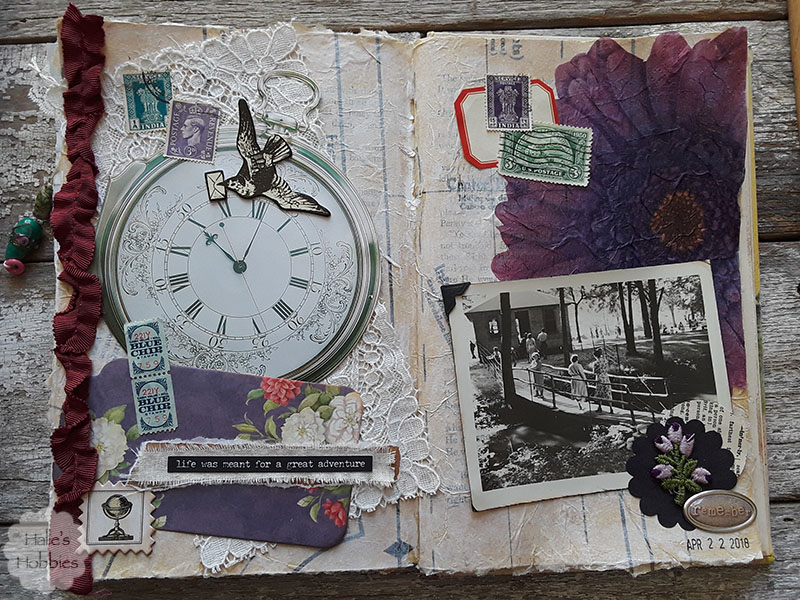
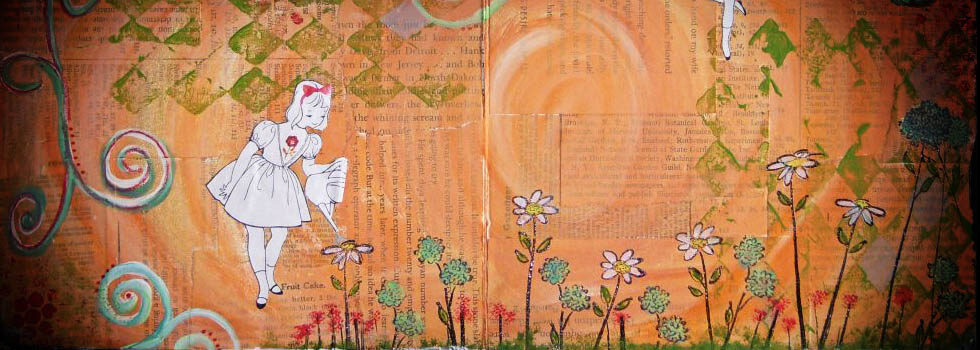
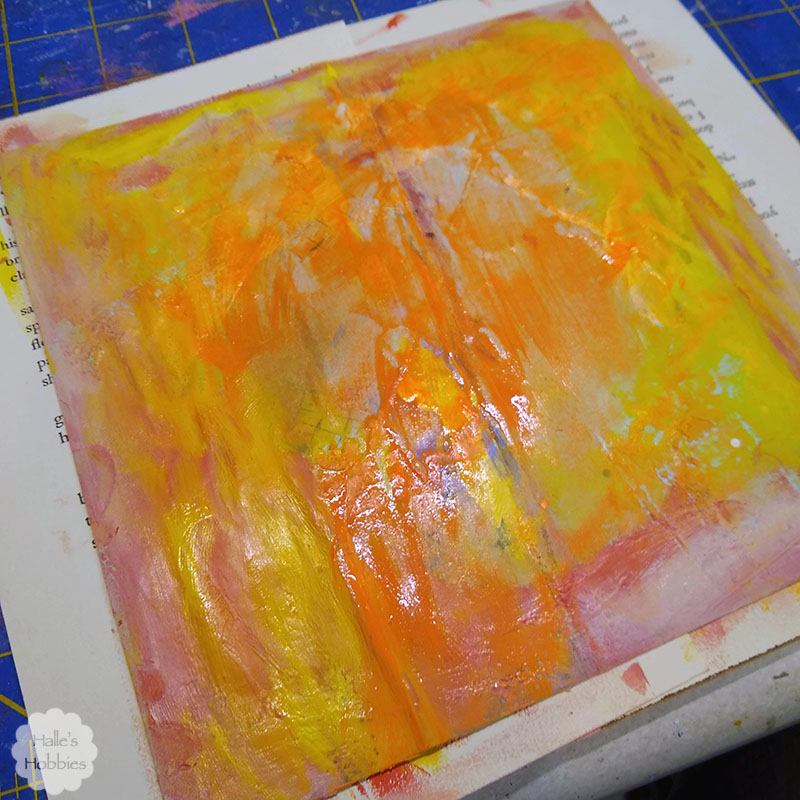
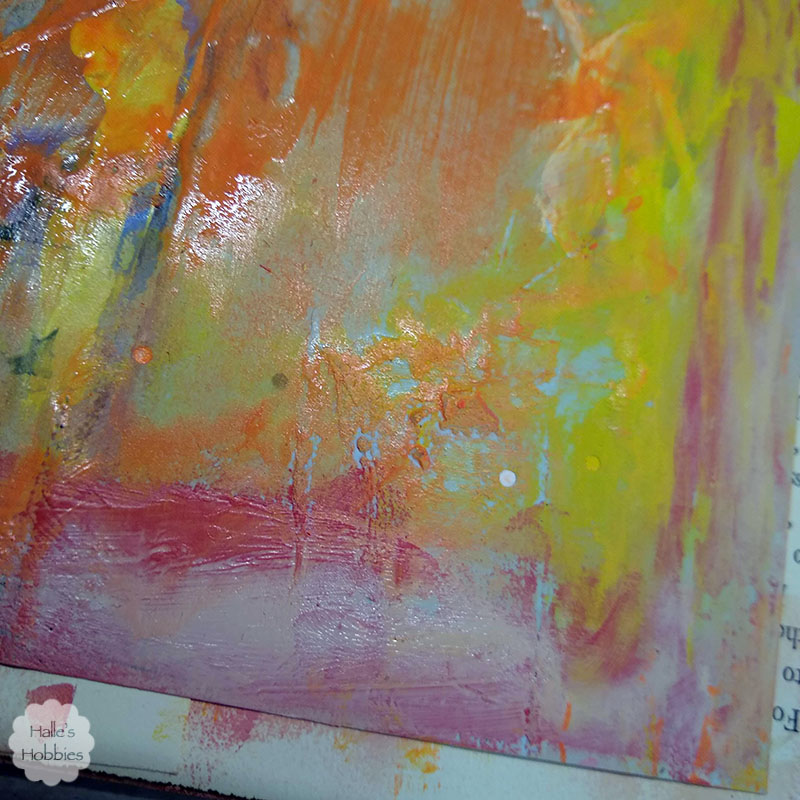
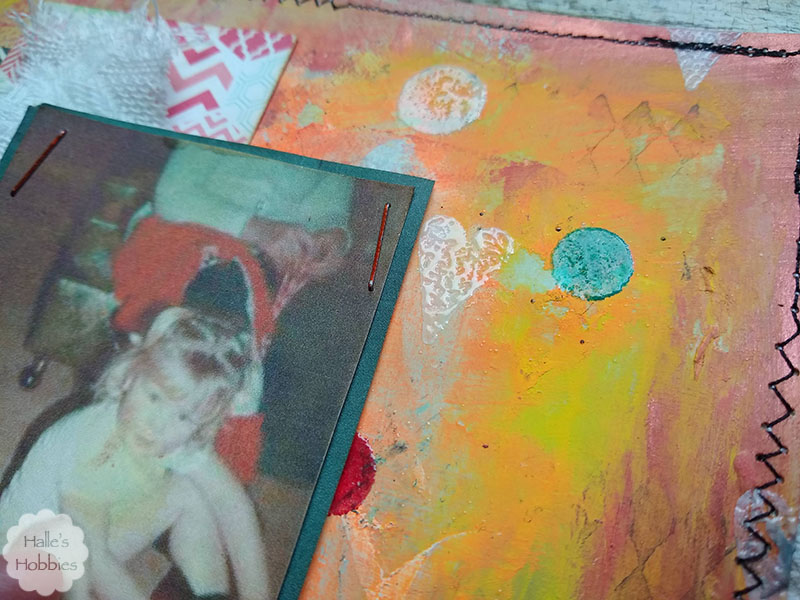
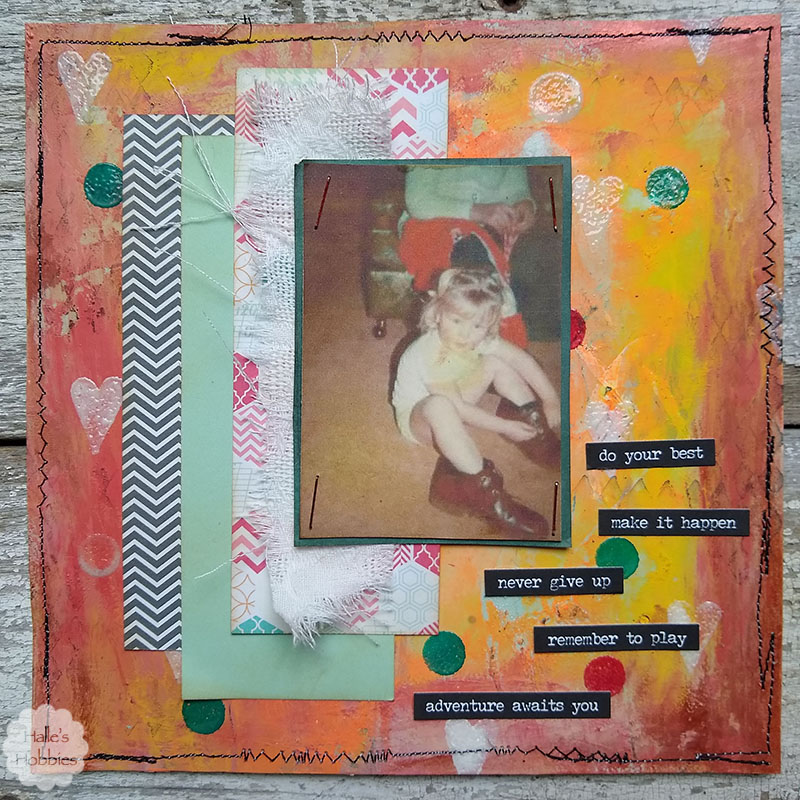
I have to admit this is my favorite so far of the pages I’ve created for A Stitch in Time. It has three of my favorites: a square page, warm color palette and vintage ephemera.

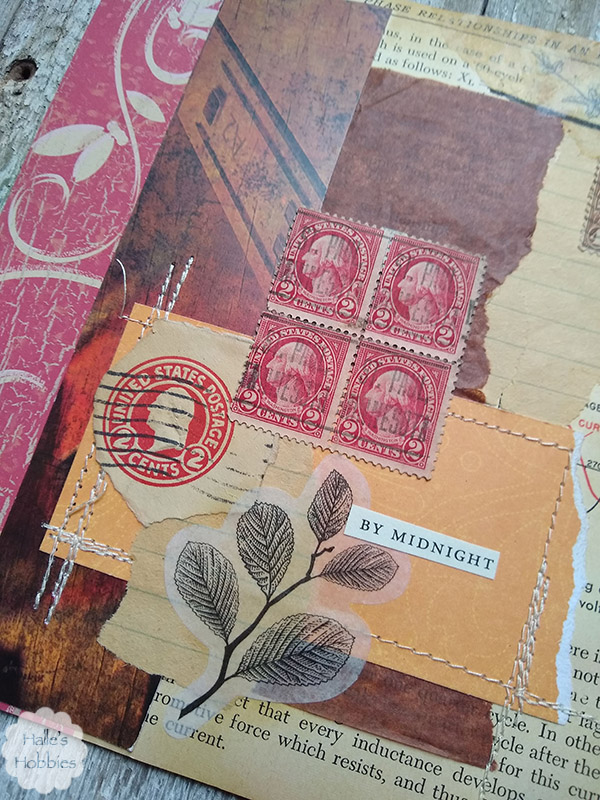
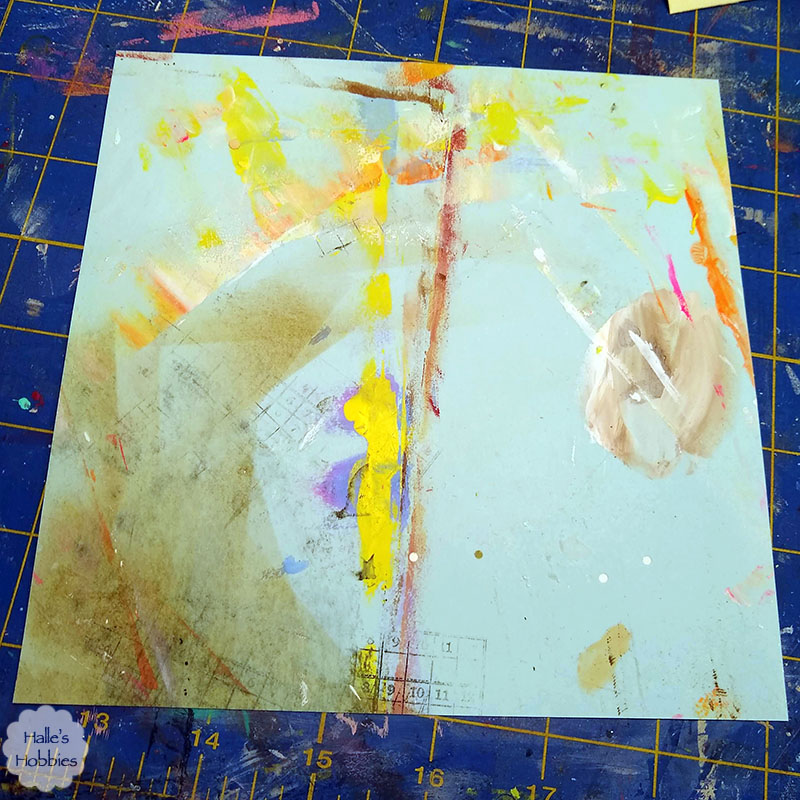
When working on a challenge I often am stepping outside my comfort zone either by the nature of the challenge or some self-imposed extra challenge. This was not one of those times.

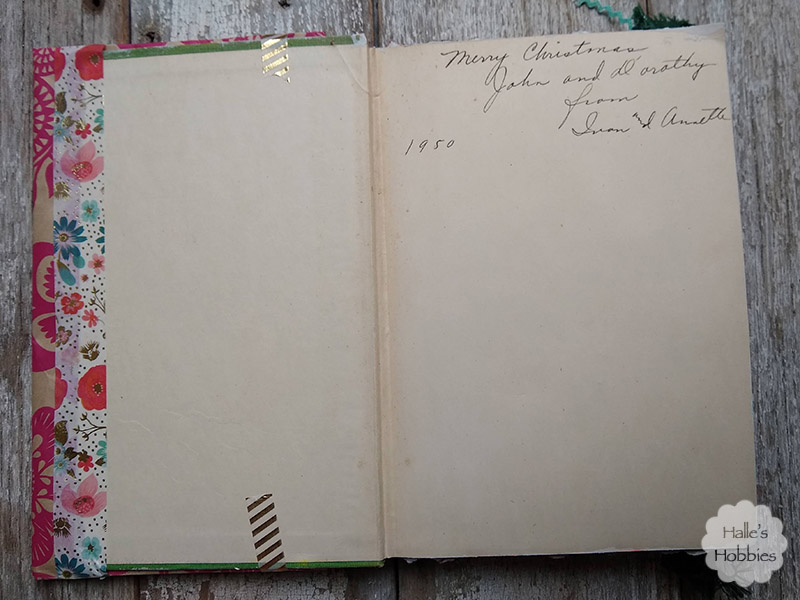
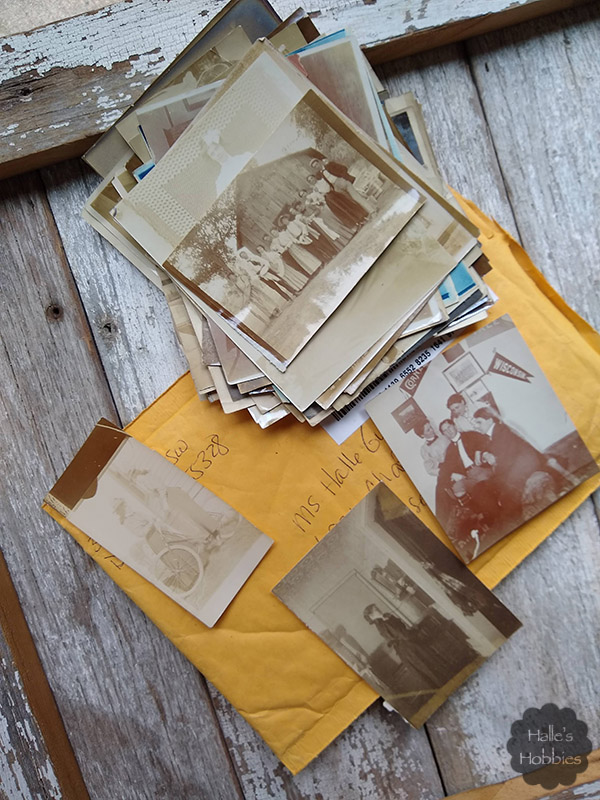
I indulged myself in all my favorites. Old books and postage get me every time. I also mixed in some new scrapbook papers in coordinating colors. I like the mix, it gives it personality.

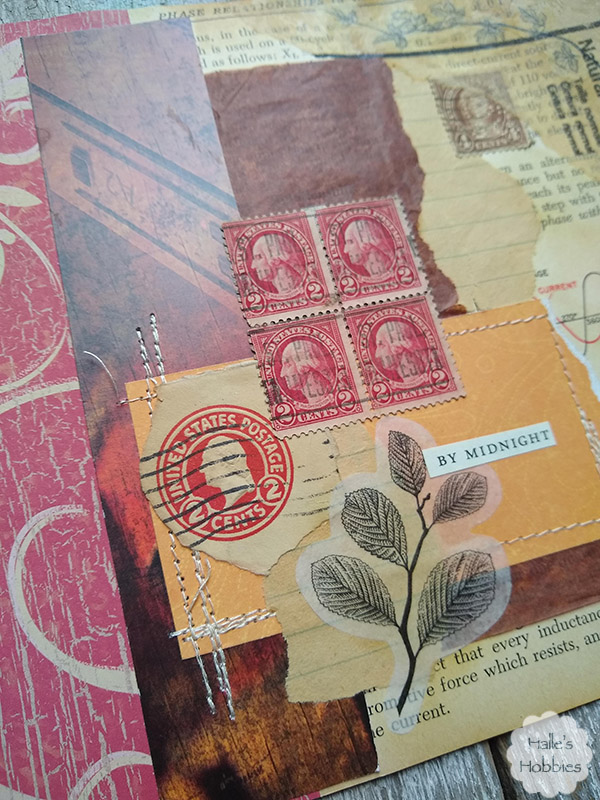
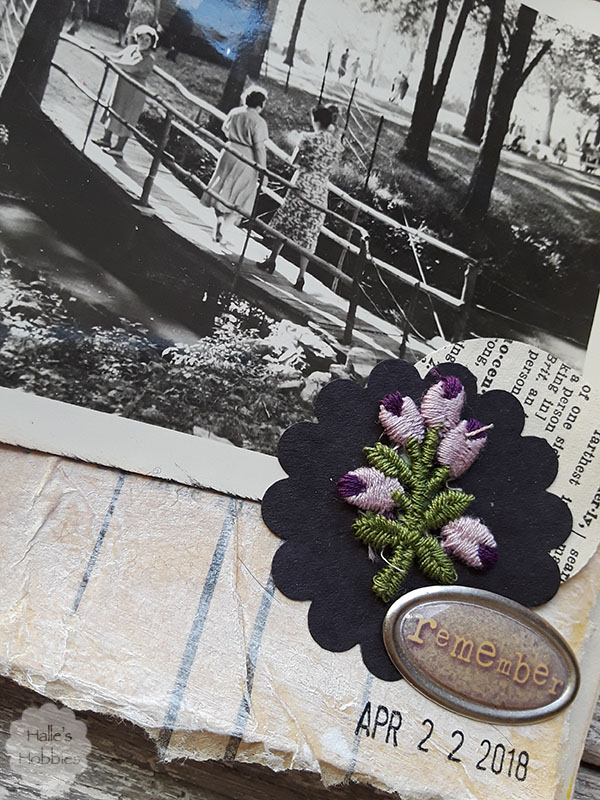
A good part of my stitching was hidden by the elements I added, but that’s ok. It adds interest. I am also loving these washi stickers I found on Amazon. The delicate botanical addition makes me smile.

This also makes me smile…

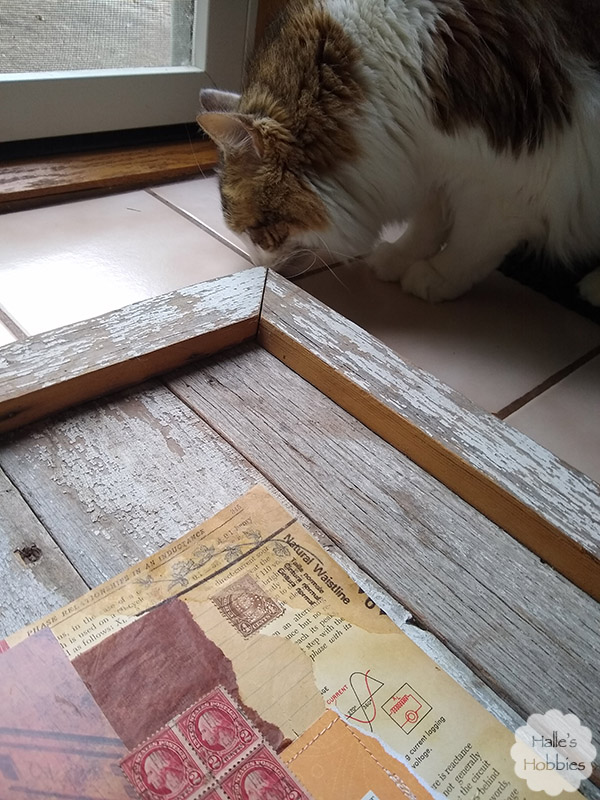
My helper as I photograph my pages.

I thought I’d also give a little peek at how my garden is growing.

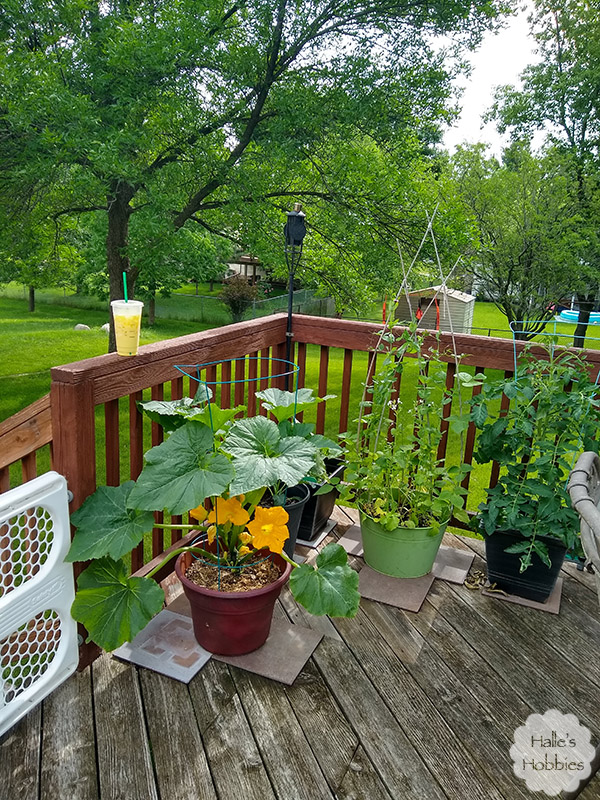
I had to move my containers that were alongside the garage onto the deck and into the fenced in shed garden.

A deer ate my potato plants down to nubs and started on my summer squash. UGH!

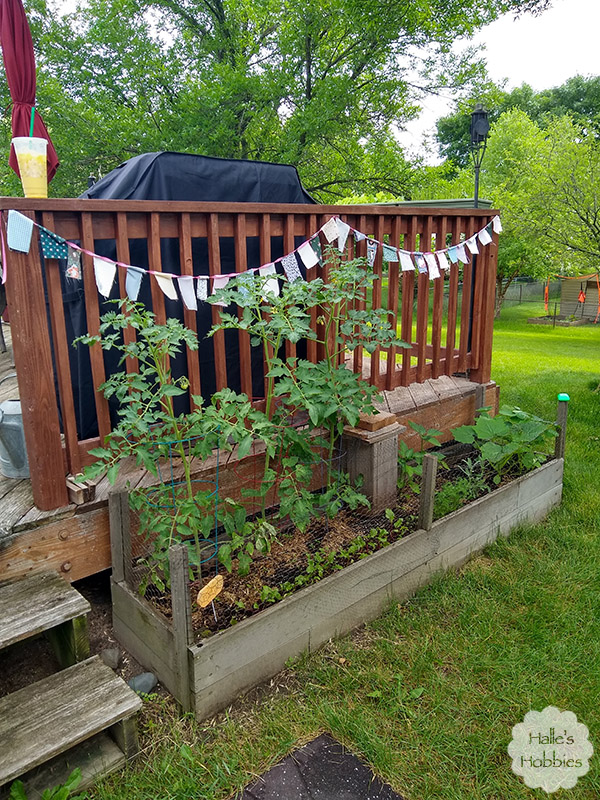
This garden is next to be pest proofed. A squirrel dug a hole between my tomato plants yesterday morning.

Today has me plugging away at my list

What are you doing today?

Last week I found this image I’d printed ages ago…I knew immediately that it would become a focal point in an upcoming journal page.

Since I’ve been using the term “mop up paper” quite often lately I thought I’d share a bit of a process post to give visuals to my words.

This is where my page started. A sheet of blue copy paper 8.5 x 11 inches. I used a glue stick to adhere it to some lightweight card stock.

After the glue was dry I cut it down to my desired size of 7 x 7 inches. Next I got out craft paints and used my favorite tool…my fingers…to spread several colors of paint over the page.

Some of the colors are more transparent than others allowing the original color and marks to show through.

Look at that yummy texture…  I decided to let this air dry overnight instead of drying it with the heat gun.

Of course this is where my process failed…I totally forgot about the fact that I was taking photos step by step.

I used rubber stamps to create some background texture. The black ink harlequin was super subtle…I felt I needed a bit more color and shape. Since most of my stamp pads are pigment ink I used clear embossed powder to set the ink.

I also took the completed background to my sewing machine to stitch a funky border in black to contain everything.

Next I created some layers with paper and fabric to give an anchor to my image.

Last but not least was the words of wisdom to a little girl learning to tie shoes with her daddy’s shoes. I love that they are on the wrong feet too.

Not only am I linking up with Words to live by on Art Journal Journey guest hosted by yours truly….

Art Journal Journey

but I am also linking up with Try it on Tuesday for Make a Mark.


I got my vintage vibe back today. I really felt like art journalling. Getting paint covered fingers and messy grungy pages was all I could think about.

I didn’t really give a whole lot of for thought other than wanting to use some really watered down sprays so show off the texture I was going to create.texture on art journal page

In the end I used gelatos and water color crayons as well to add the depth of color I sought.

I layered strips of yellow and blue scraps on both sides of the spread before adding the first layers of color sprays. Layer upon layer until I got the look I desired.  After I found this woman on a pattern envelope I knew she needed something sort of snarky to say. She just had that look about her.
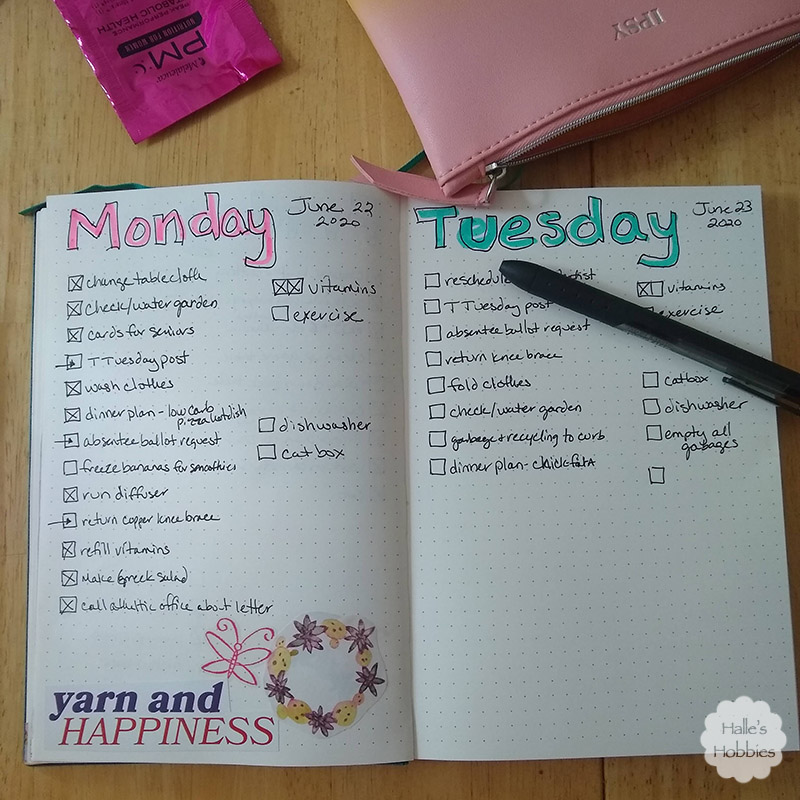
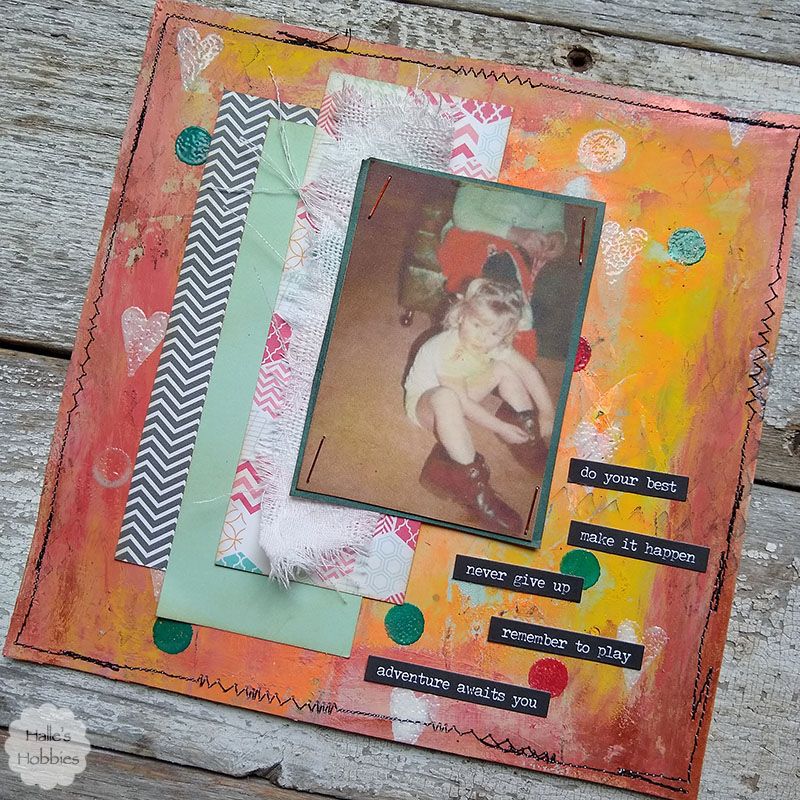
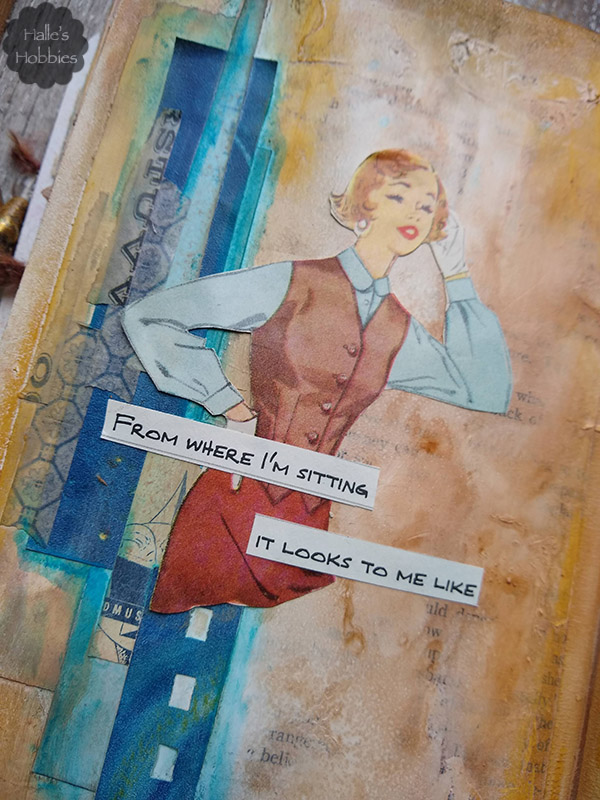
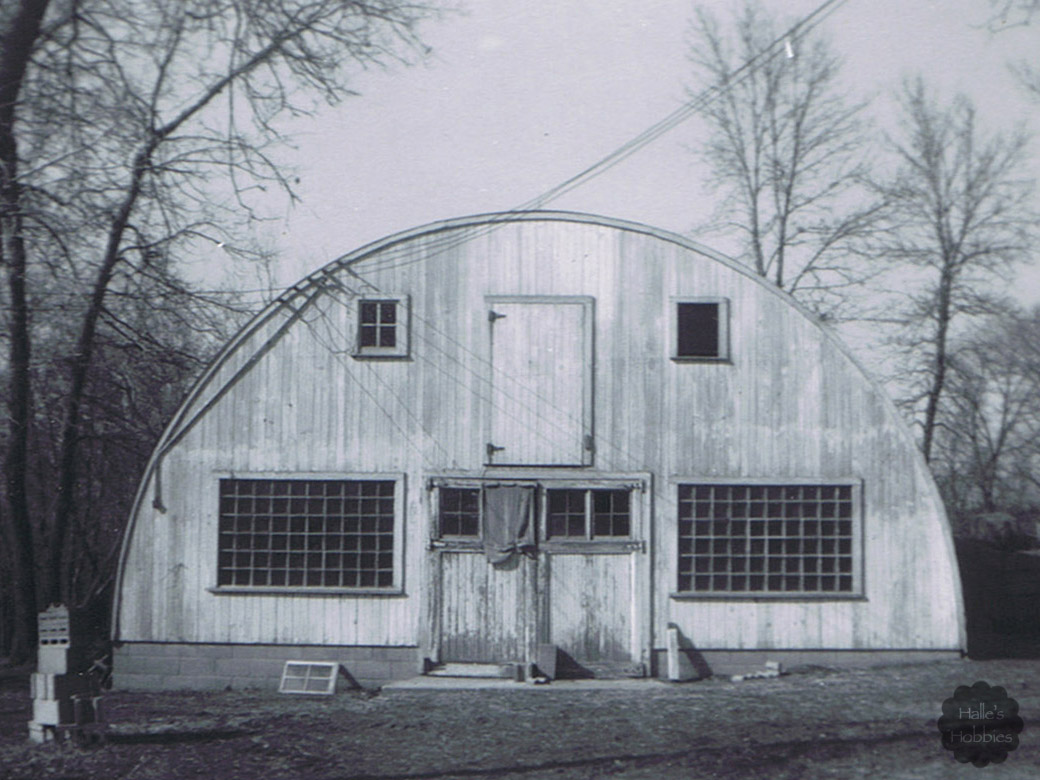
Then this image from one of the Reader Digest books I tore apart magically appeared. Well not magic but darn close…it was basically the first image I saw in the stack. 

 From where I’m sitting it looks to me like a secret society

Yep…in those days the ‘good old boys club’ pretty much was a secret society to women.


Art Journal Journey
Linking up to with Art Journal Journey for this months theme for Vintage or Modern.

I am finally finished….as in completely finished with another journal. The inside pages have been done for a month or so but I had not been inspired on how to pretty up the outside until now.

As you can see this was a big improvement from the original.

The pretty paper came from a flower Mini-me received at the end of her first campus tour.

They have a cool tradition there that every Friday local florists bring single flowers for the students to purchase and place in each others mailboxes. Since it was a Friday, each of the kids on the tour got a flower. Hers was wrapped in the lovely pink floral kraft paper.

I wanted to keep the original inscription so I used washi tape to adhere the paper like a book jacket. Remember covering textbooks with grocery bags…same concept. Just prettier.

Mini-me and I are both a little obsessed with washi tape. Sometime I’ll show you our collection.

I received some happy mail from a dear friend of mine the other day. She was doing a major purge and thought of me. Yay! Thank you!!

On a recent thrifting excursion I picked up a couple goodies for my stash. The journal is really cute but a little small. Not sure if it would work for me to art journal with as my original thought was for it. I’m always on the lookout for a new book to journal since I don’t work cover to cover in a methodical manner. I tend to jump between several journals. The one I shared today was started Nov 2016 and considering there are only 8 spreads…I definitely jump around.

Mini-me and I had our first taste of Fall with a Pumpkin Iced Crafted Press. So yummy!!

Tuesday we both head back to school. I’m ready for the schedule. I almost feel more productive at home when I’m working.

What are you doing today?

Life. Family. Memories. Adventure.

The journey.

I was inspired to sit down to create this morning. I didn’t have a specific theme in mind but as I began to pull interesting pieces together I realized that I did have something in mind. Life is an adventure

Over the last two days I’ve exchange emails with cousins from both sides of my dad’s family. A genealogy message board connected them even though they aren’t related, but I am to both of them. My “new” cousin was looking for photos and info on her Grandpa…who was my Grandpa’s brother. I was able to provide her with a photo she’d never seen of 4 of the brothers.  As it turns out we live within 10 minutes of each other and plan to meet sometime after school is done. So cool!

Anyway…all this digging into the past. Thinking of stories told to me by my parents. Old photos. Genealogy. Family. Memories. All came together to inspire the page you see. Life is an adventure

vintage stamps and lace

Life is an adventure

Blue chip stamps and vintage trim

Life is an adventure

B&W photo and flower embellishmentLife is an adventure

All of these pieces coming together as a vintage inspired tribute to my ancestors. Their life was a great adventure. Life is an adventure

Ours is too. This is something I think we often forget through the drudgery of everyday life. Live your life…make it an adventure.

~~~~~~~~~~~~~~

I’m linking up with Art Journal Journey for Recycle and Collage.

Art Journal Journey

A few months ago, one of the knitting ladies casually asked me if I could use any buttons in my art. She had come across her mothers collection while cleaning out the attic and wanted them to go to someone who would appreciate them.  The next time I saw her she had the stash hoard with her. I was shocked! It was a huge box. Over the past few months I’ve slowly sorted through… cleaning and throwing out broken bits from the several pounds of buttons.

vintage button stacks | Halle's Hobbies

This is just a very small fraction. Seriously.

vintage button stacks | Halle's Hobbies

I thought it may be fun to make some necklaces so I turned on Netflix then started sorting and stacking.

vintage button stacks | Halle's Hobbies

I kept auditioning different buttons until I found a stack that that spoke to me.

vintage button stacks | Halle's Hobbies

vintage button stacks | Halle's Hobbies

I used E6000 to adhere a bail to the back of each stack as well as gluing the buttons together.

I also saved out a few fancy mother of pearl buttons to try out some wire wrapping. So far my results are less than pretty with that endeavor. Practice, practice.

I’ll share the completed pendants when they are good and dry.

PAGE TOP

© 2007-2024 Halle's Hobbies All Rights Reserved -- Copyright notice by Blog Copyright